There are very few hobbies that you can just start without needing any equipment or tools and bobbin lace-making is no exception. So before you invest, see if you can beg or borrow any bits from anyone else, or get your hands on an introductory kit for around £20 If you get hooked (pardon the pub) you can always upgrade later.
So, what do you need? As a minimum:-
- A lace cushion (also known as a lace pillow)
- A set of bobbins (around 12 pairs i.e. 24 individual bobbins is fine to begin with)
- Some thread
- Some pins
- A pattern
So let’s go through each in detail to see what you need to consider.
1. A lace cushion (or pillow)
There are different types of pillow for different purposes, broadly summarised below:
| Type | Best for… |
| Circular/ domed | Small motifs, curved or round edgings, round or oval mats |
| Square | Square or rectangular edgings and mats, bookmarks |
| Block | Long pieces e.g. garters, tablecloth edgings, long edging strips/insertions |
| Travel | Small motifs, thin edgings, miniature lace (for dolls houses etc) |
| Roller | Long straight edges or insertions |
| Honiton | Honiton lace |
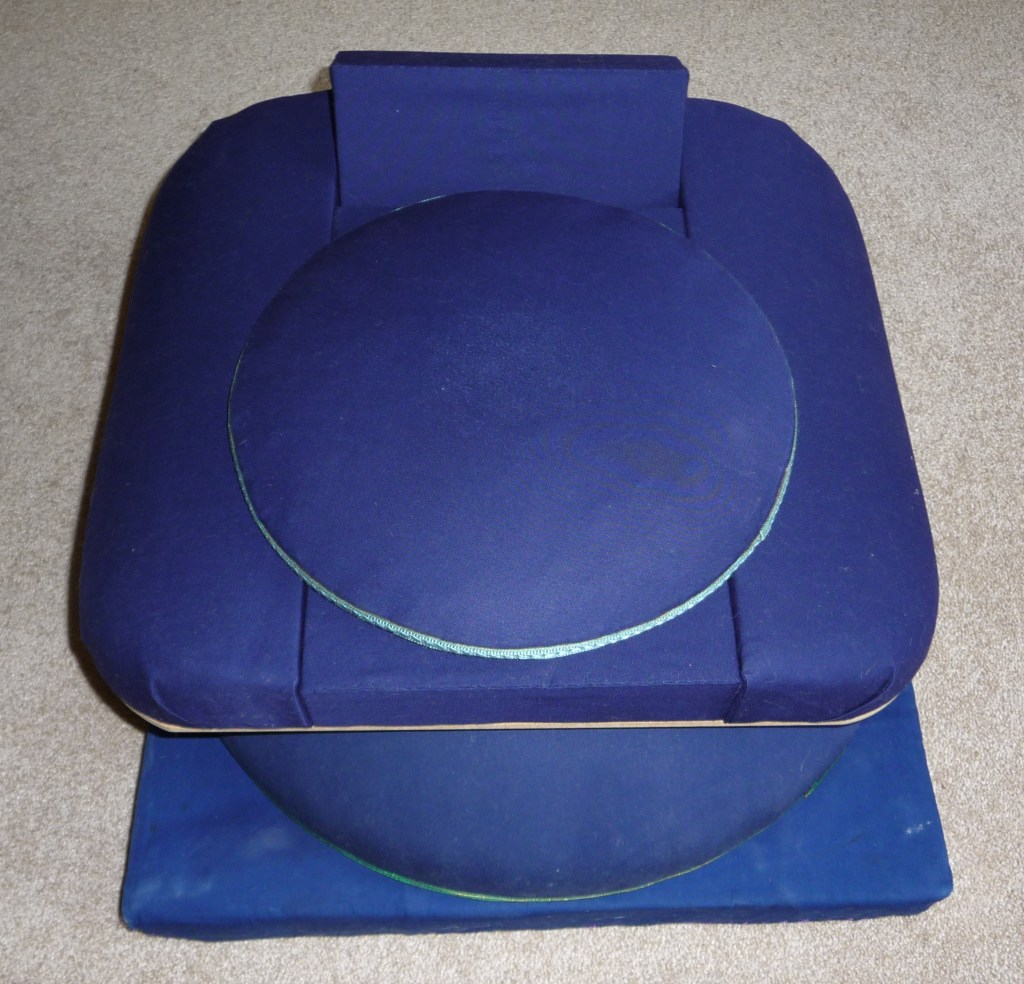
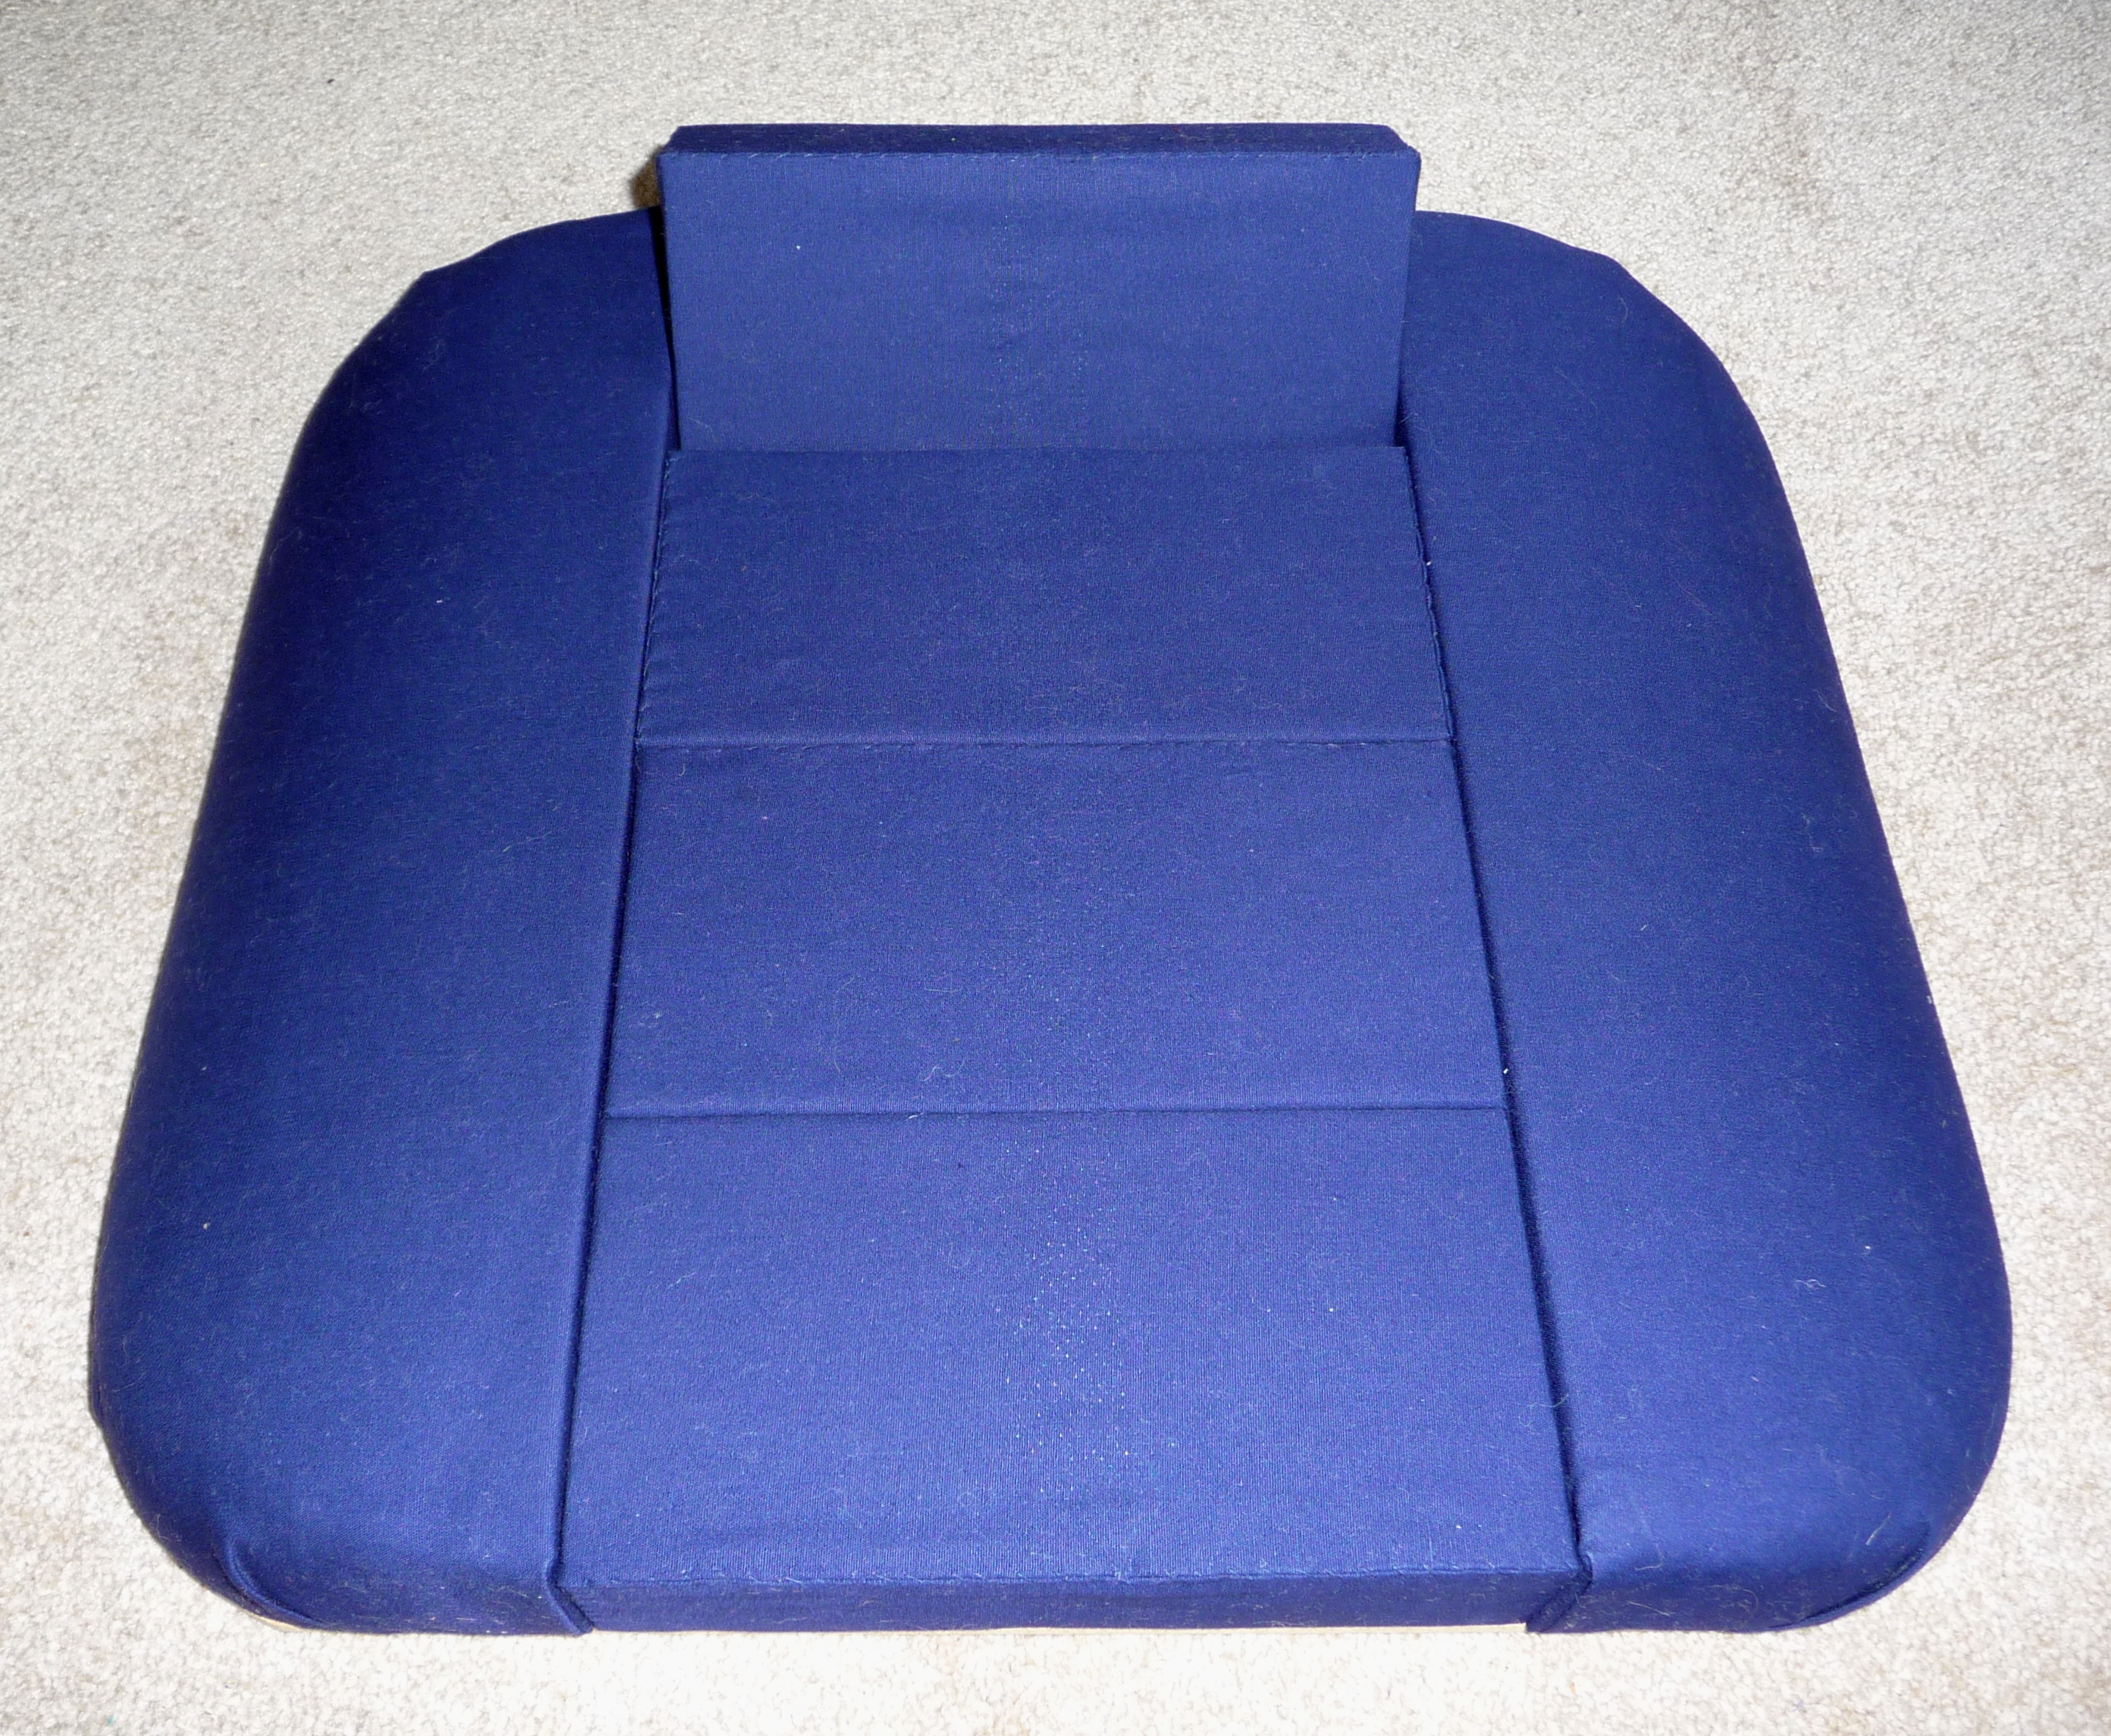
Pillows are also stuffed with different materials including straw and polystyrene. It’s perfectly possible to make your own starter pillow out of a square of polystyrene, a board of the same size and a piece of blue fabric to cover it. Indeed, this is how my Dad made my first pillow. Polystyrene can break down over time though and straw can be heavy, so consider alternatives such as loft insulation board.
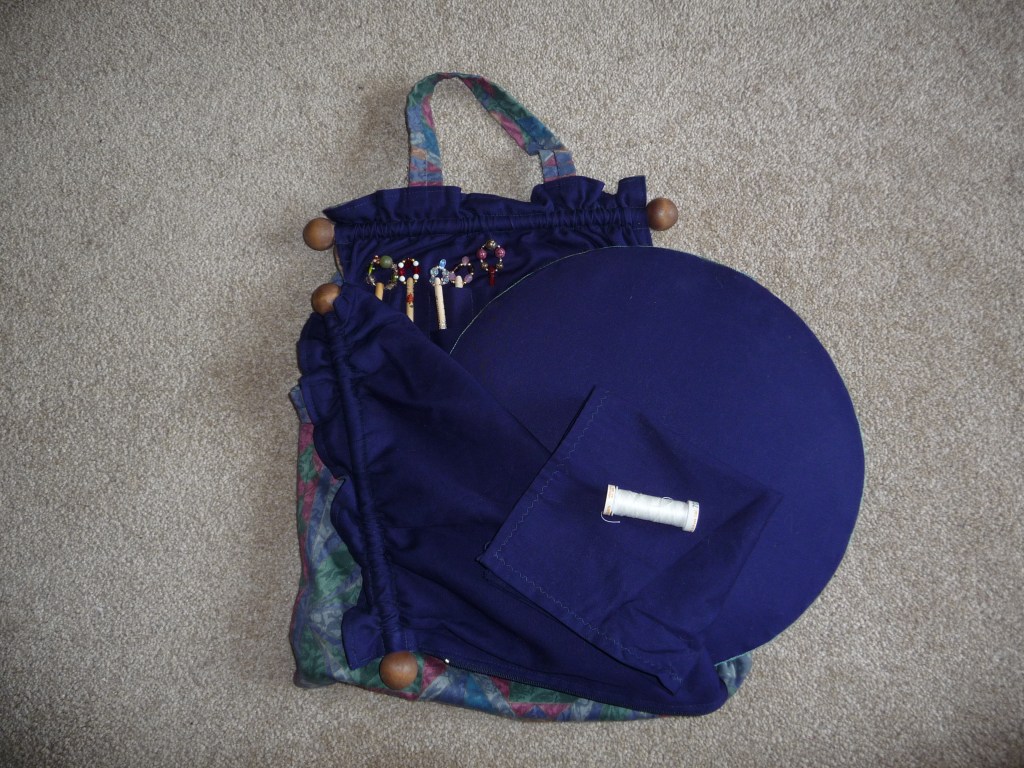
It’s also a good idea to have a cover cloth to keep your lace protected whilst it’s on the pillow and so that you can cover your bobbins whilst you’re not working. Pillows and cover cloths are usually dark blue or green because it is easier to see the thread (if of course you are working with dark blue or green thread, this theory doesn’t hold up…). Again, you can very easily make a cover cloth, using a piece of hemmed plain cotton fabric the same size as your pillow.
2. Bobbins
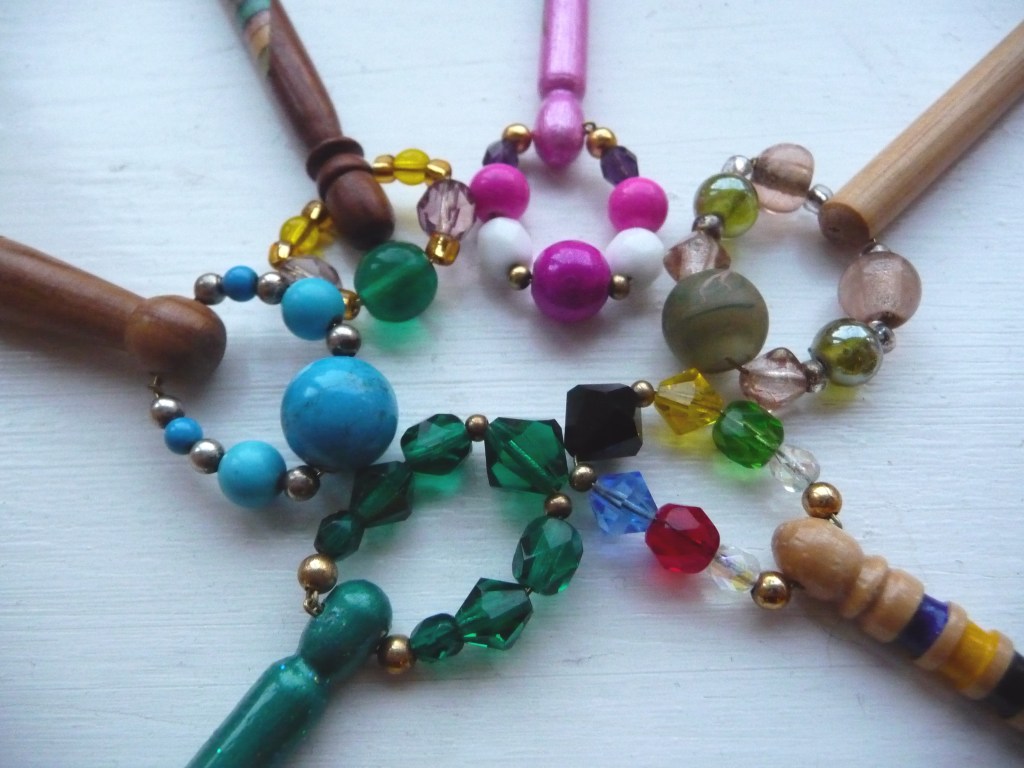
Just as with pillows, there are different types of bobbins for different reasons. The most common type used for Torchon, Bedfordshire and Bucks Point lace look like this:
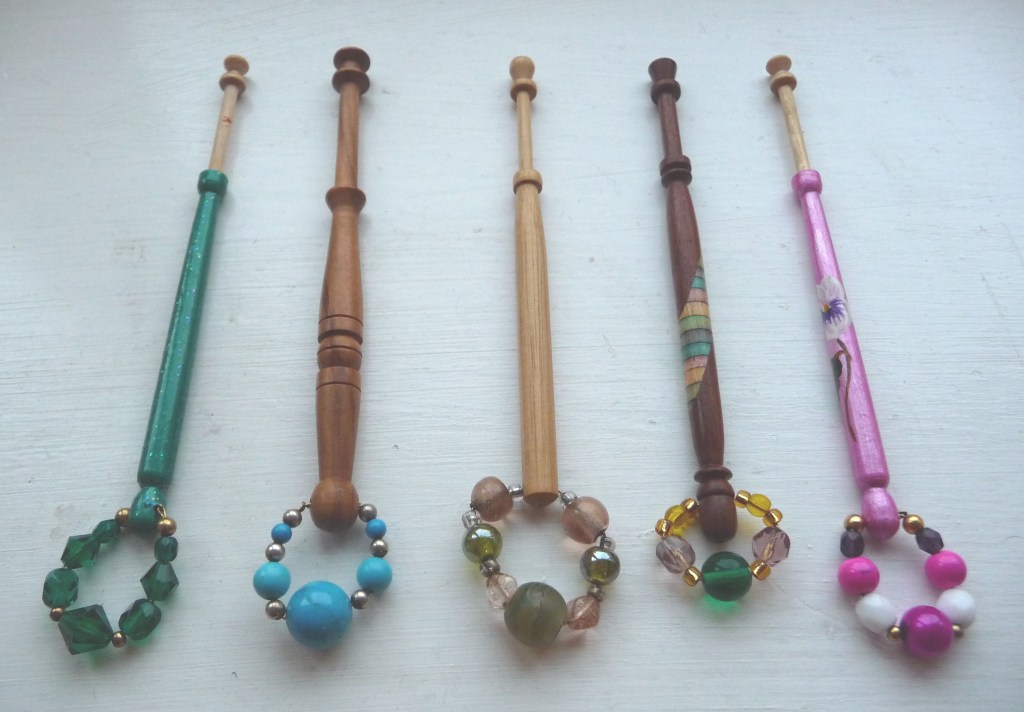
The key features are that the neck is quite long to allow plenty of thread to be held on the bobbin. The beads at the end are called spangles and serve to weigh the bobbin down so that it doesn’t slide around on the pillow and tangle all your threads up.
Honiton bobbins are thinner, lighter and without spangles as Honiton thread is easily broken so a light bobbin is needed:
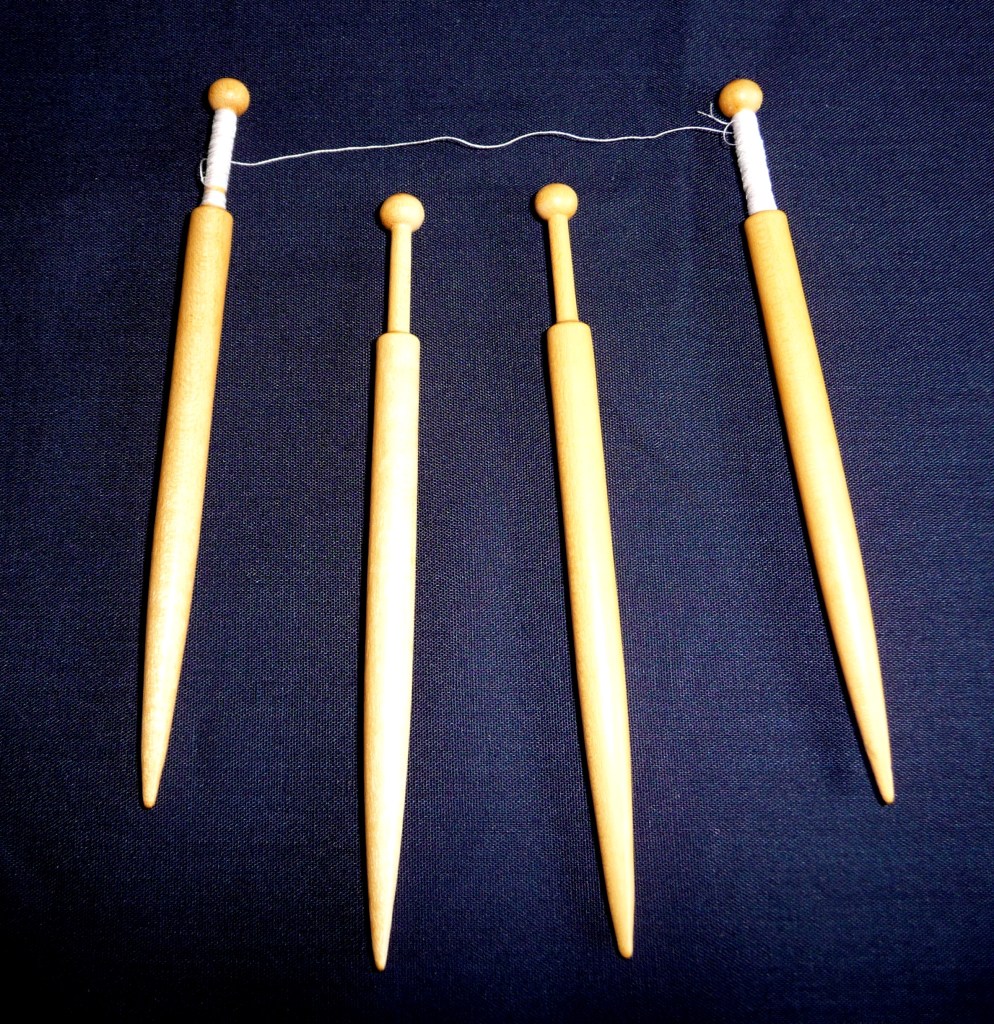
Continental bobbins used for e.g. Bruges Flower and Binche lace also don’t have spangles but the heavier end carries the weight to keep the bobbin from sliding around the pillow.
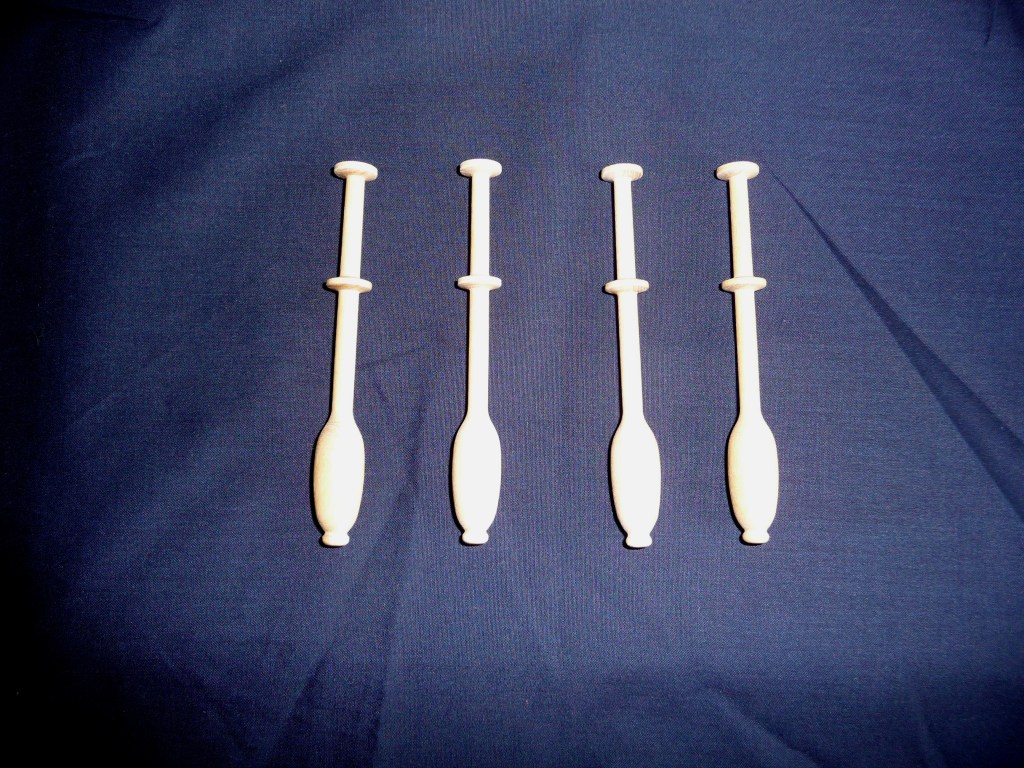
To begin with, plastic bobbins work perfectly fine:
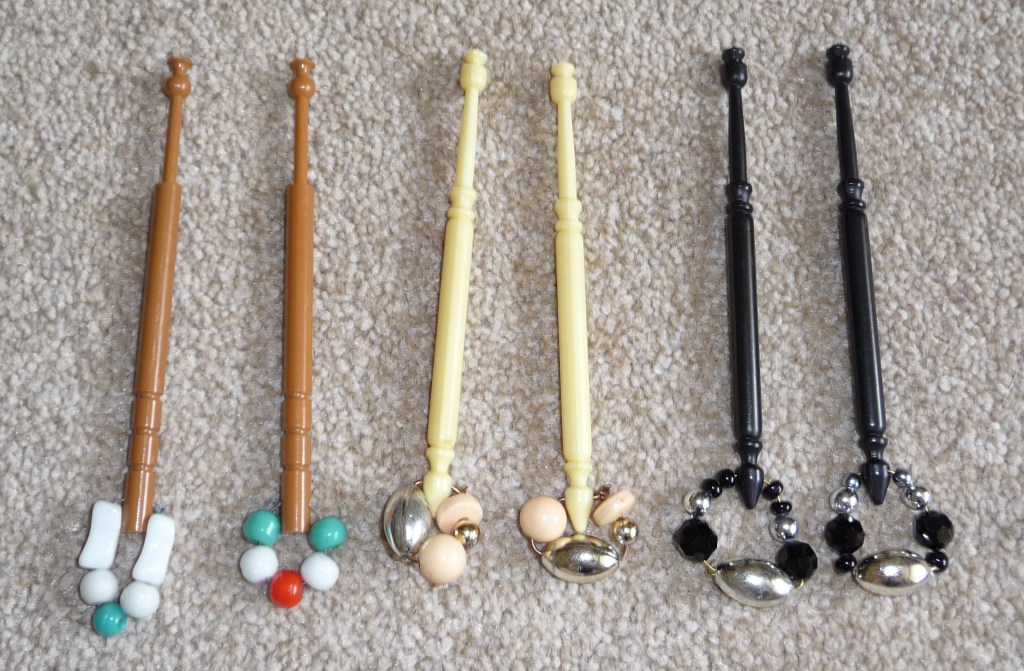
You can also find antique bobbins sometimes at collectable fairs and often online. Some people just collect bobbins, without ever making any lace at all!
I’d recommend trying different styles and find one which works for you. Some people end up only buying off a specific bobbin maker because they prefer the feel and handling of their bobbins. As you make more lace, you’ll probably find you prefer one style over another- some lacemakers I know have pillows full of bone bobbins, others use just plain wood with spangles, others have commemorative bobbins which tell the story of the milestones in their lives. I have a mismatch of lots of different styles for my Torchon and Beds lace and a modest collection of plain Honiton bobbins. The largest piece of Torchon I’ve made to date required 83 pairs (166 individual bobbins) but it is easy to amass that amount- even if I don’t need anything else, I’ll always pick up a bobbin or two at a Lace Day and there are always lots on suppliers sites and on eBay.
3. Threads
As you might expect, different threads are required for different reasons. You couldn’t for example do Honiton with a cotton perle gimp thread as it is just waaay too thick.
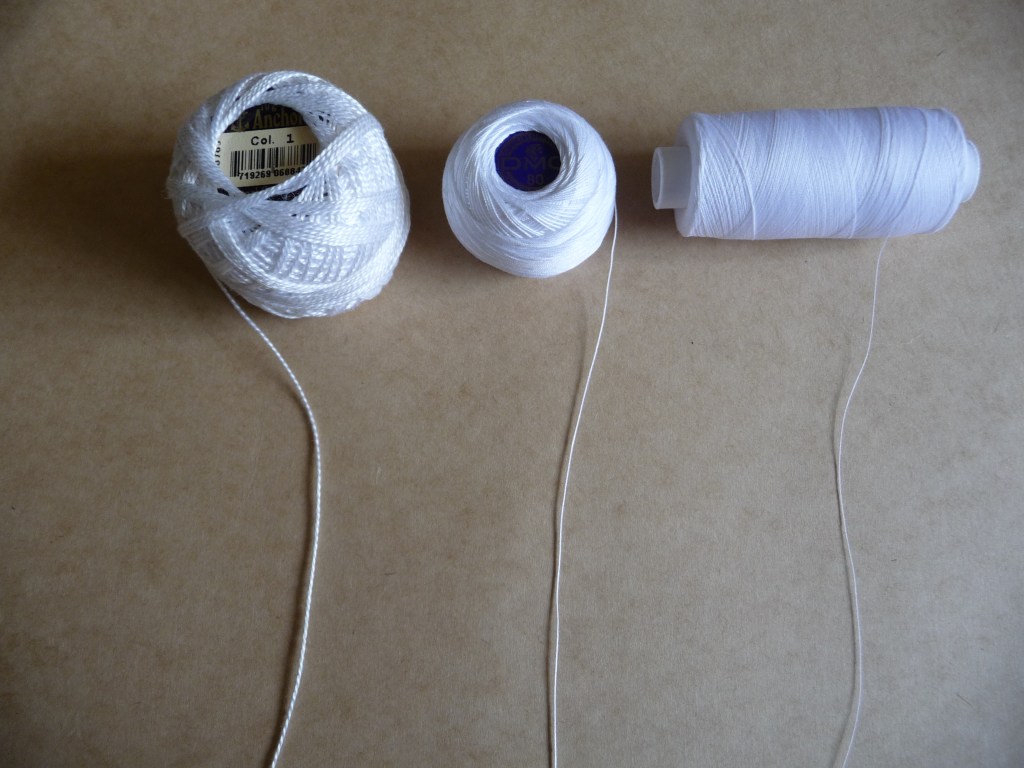
Standard sewing threads e.g. polyester thread and some cottons are not suitable either due to the twist/tension on them but can be used if you’re just giving lace a try. Most patterns will specify which threads are best, and good suppliers will also be able to advise you if you are unsure.
4. Pins
Yep, you’ve guessed it, there are different types of pins you can use. Basically, you don’t want something so thin it will bend each time you try to insert it into the pillow, or something which will rust and discolour your lace, or something too thick which will distort the holes and therefore the look of your finished piece. To get started, and for use with Torchon lace, I’d recommend a 26mm length 0.65mm pin.
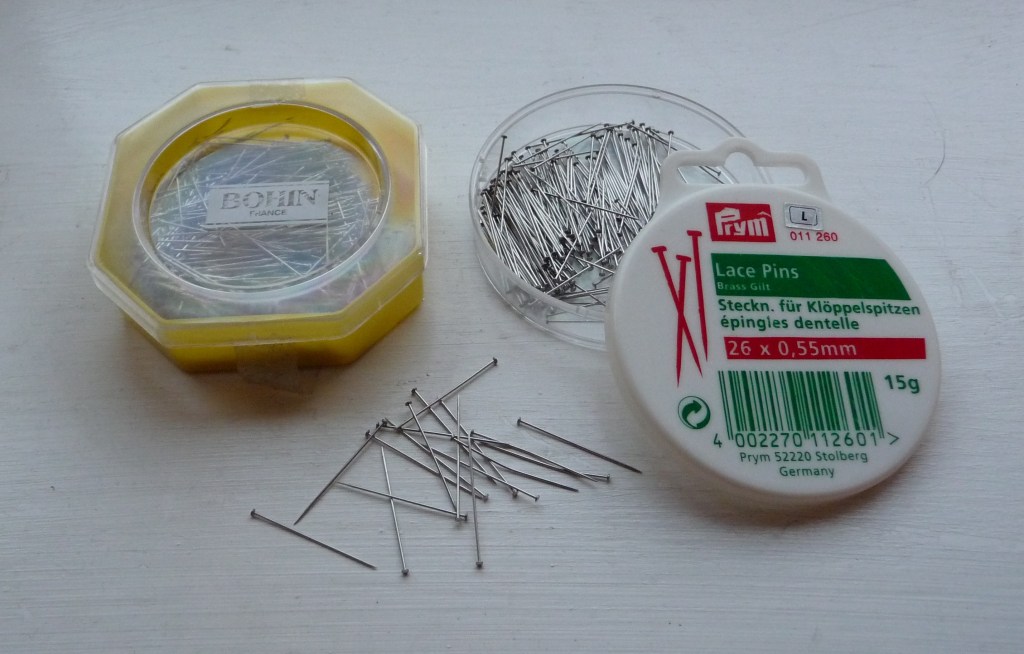
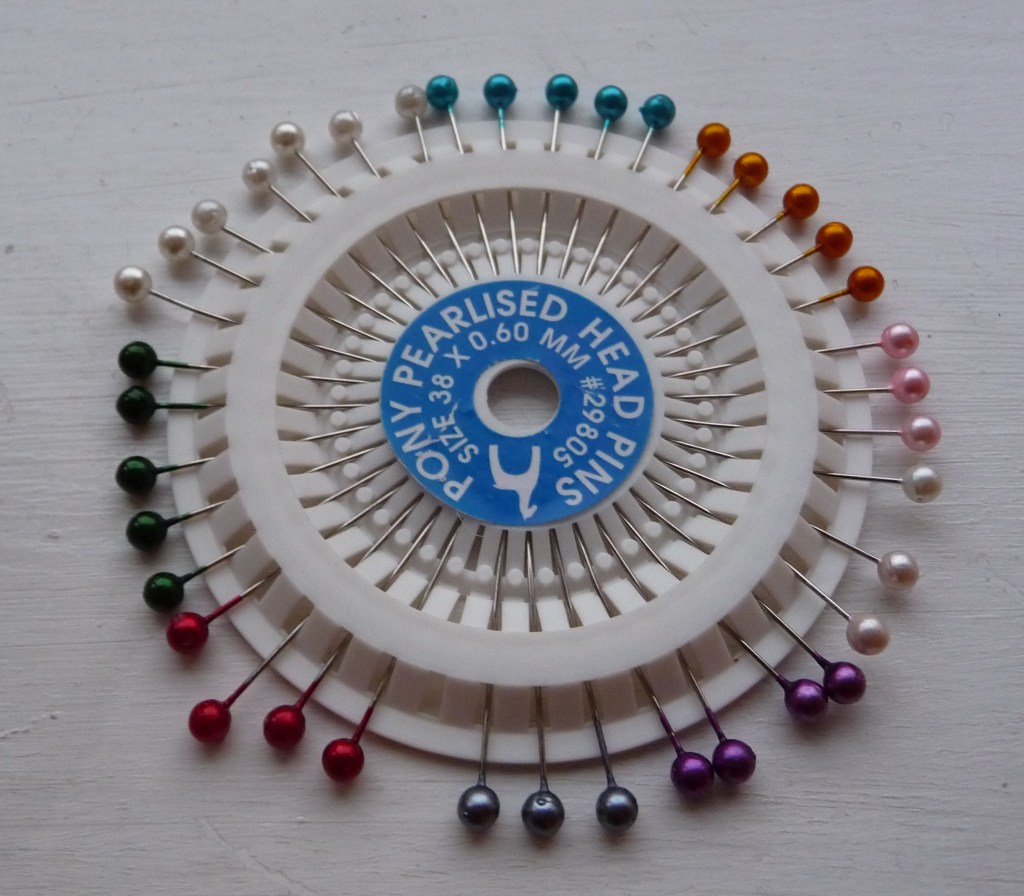
You can also get divider pins to keep your bobbins in separate sections, or use long bead-headed pins such as these.
The use of a pin cushion is highly recommended, not least because most of us have dozens of them lying around so you may aswell make use of one. But also (and perhaps more importantly) because they:
– keep the cushion tidy
– avoid damaging/bending your pins
– keep your pins close at hand
– can help to keep the pins sharp
– prevent damage to the pillow (especially polystyrene ones, where repeated stabbing of pins in the same area will eventually weaken the pillow).
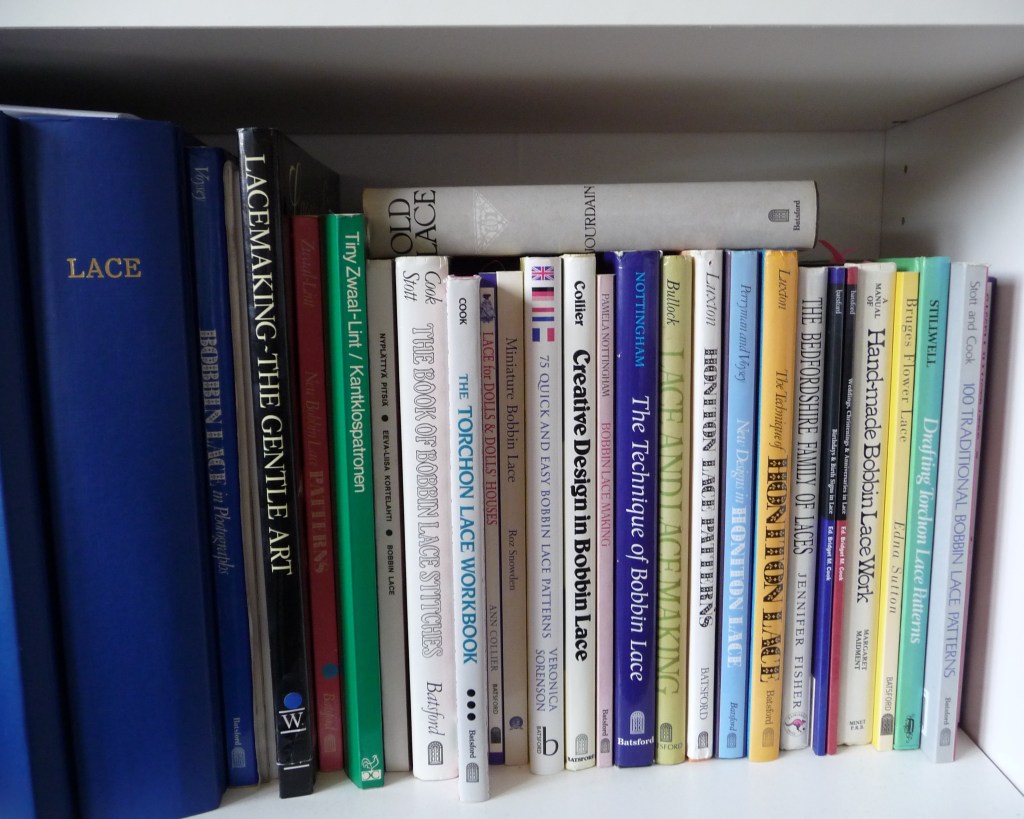
5. Patterns
You can find lace making patterns in books (at Lace Days, or try your local library, second hand bookshops or the internet). There was a surge in lacemaking in the 1970s and 80s and publishers, notably Batsford books, published a number of titles, many of which are now out of print but you can still sometimes find them second hand and online.
Many lace suppliers produce pattern sheets which you can buy online or at Lace Days. You may also be able to photocopy patterns from other lacemakers, although check the copyright restrictions first.
The pattern looks a bit odd at first and not much at all like a piece of lace:
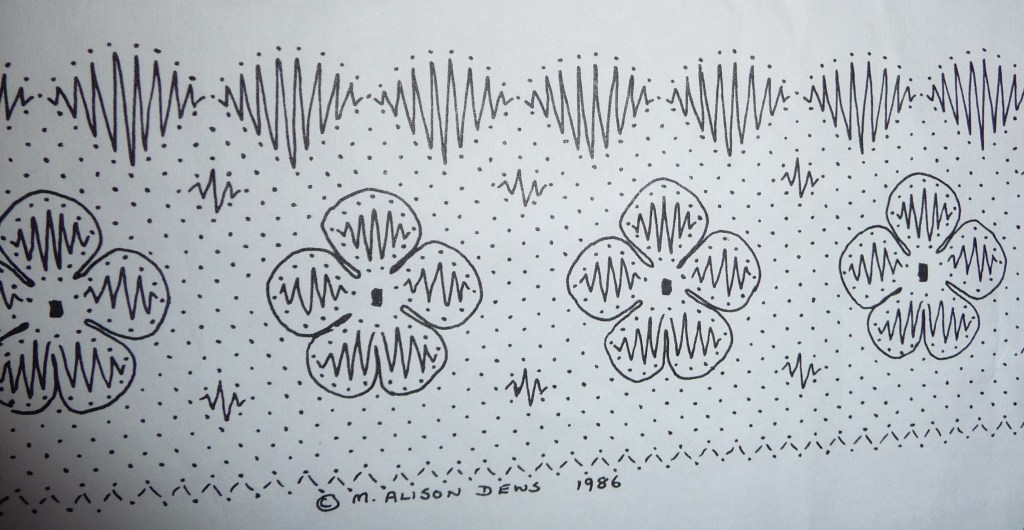
Each dot represents a pin hole so careful reproduction is necessary to avoid misshapen lace. When I was first taught lace, I was told to trace the pattern onto tracing paper, then trace it onto thin card, and then prink out each hole. This can be a useful process to understand the elements of the pattern and is good practice if you later decide to design lace patterns. It can be quicker, easier and more accurate to photocopy the pattern directly onto thin card, (or onto paper then stick it onto thin card). If you will re-using the pattern or if your pattern is on white card and you’re using white thread, you can cover it with sticky back plastic known as blueing (which protects the holes from ripping and shows the thread up), then prick the holes out. Other methods include putting the pattern sheet over your pricking card and pricking directly through (this is the method commonly used for Honiton patterns and small motifs).
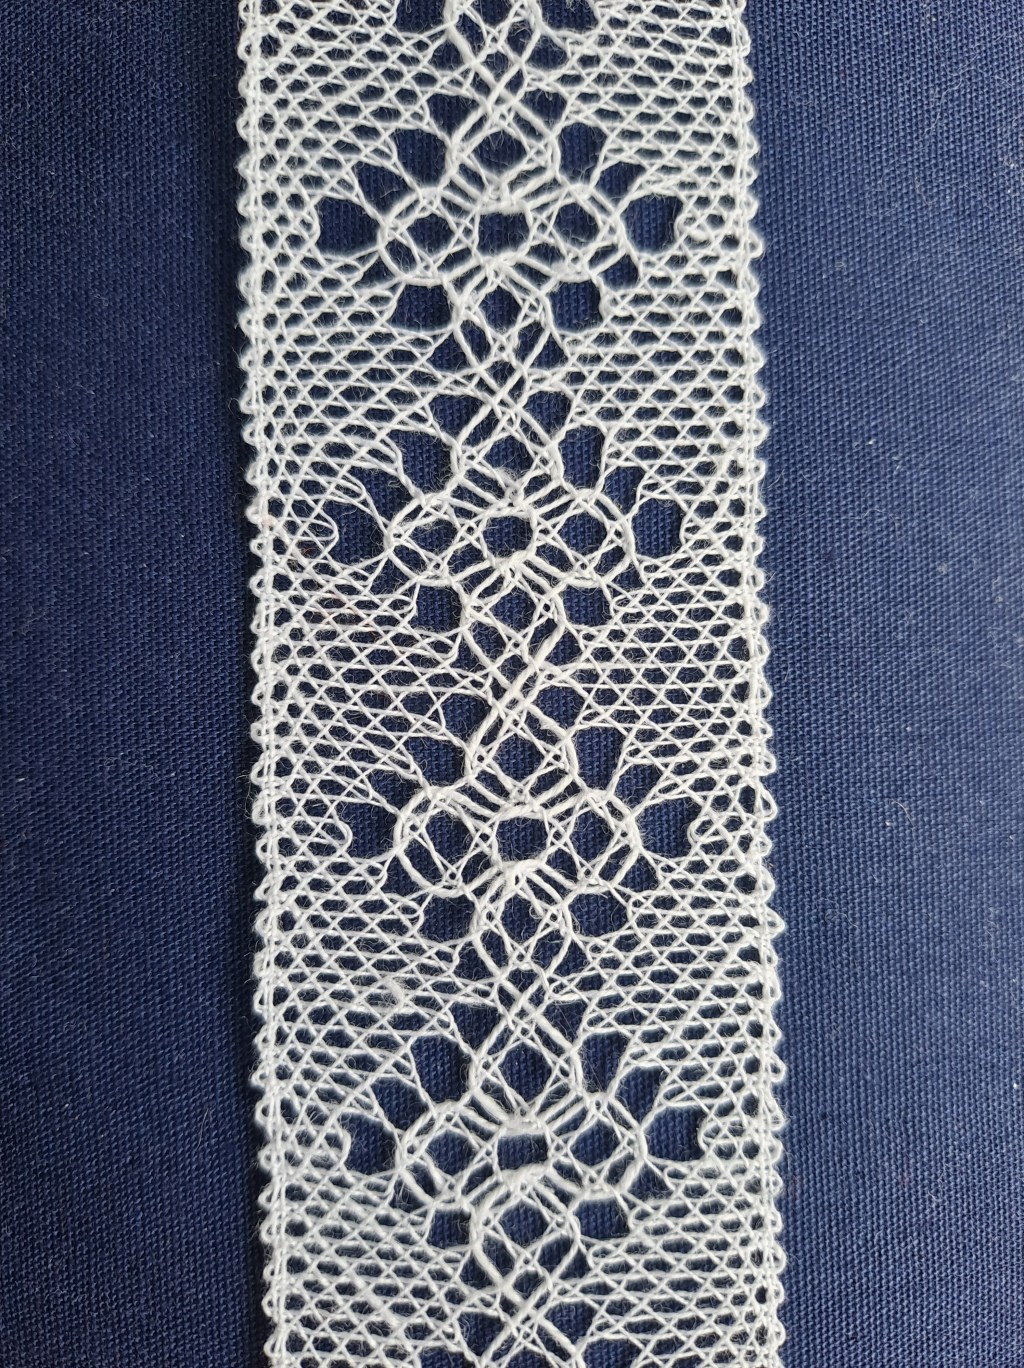
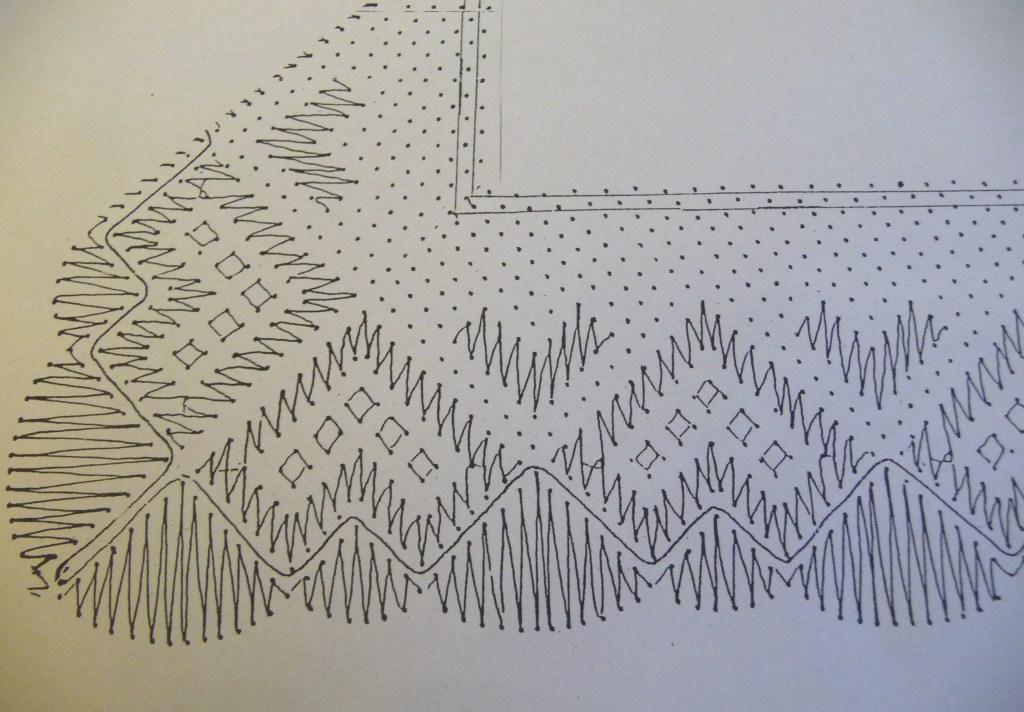
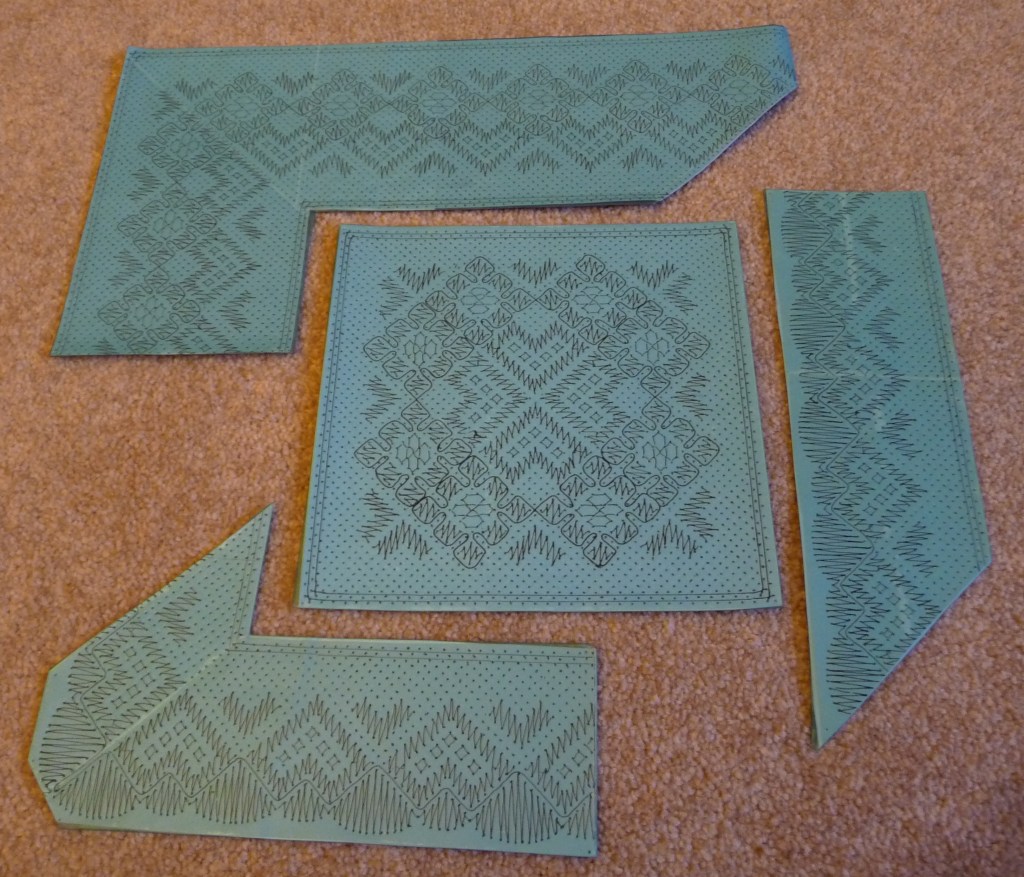
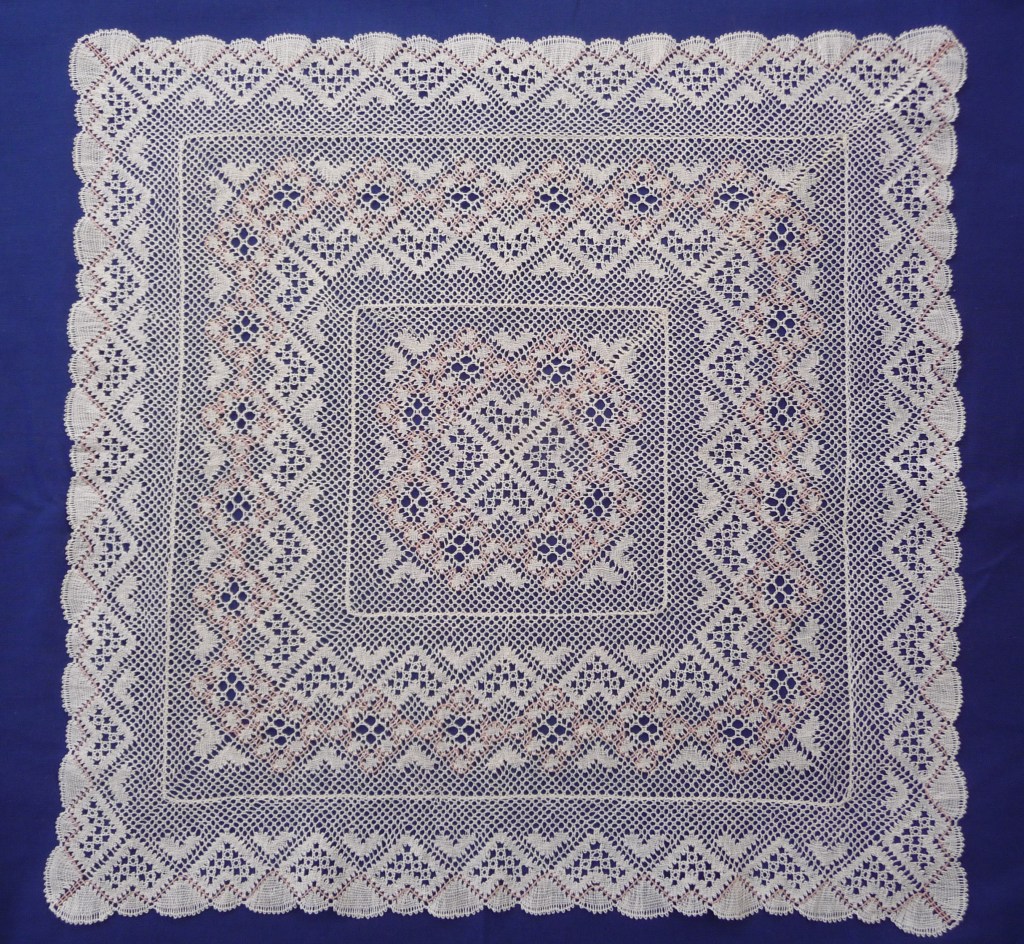
From pattern, to pricking, to finished lace:
Although pricking can be a bit tedious when you just want to get going with the actual lace making, it is a vital step, much like preparing a pattern for dressmaking or preparing your ingredients for baking a cake. You would end up damaging both your pins and your pattern if you didn’t prick the holes out first.
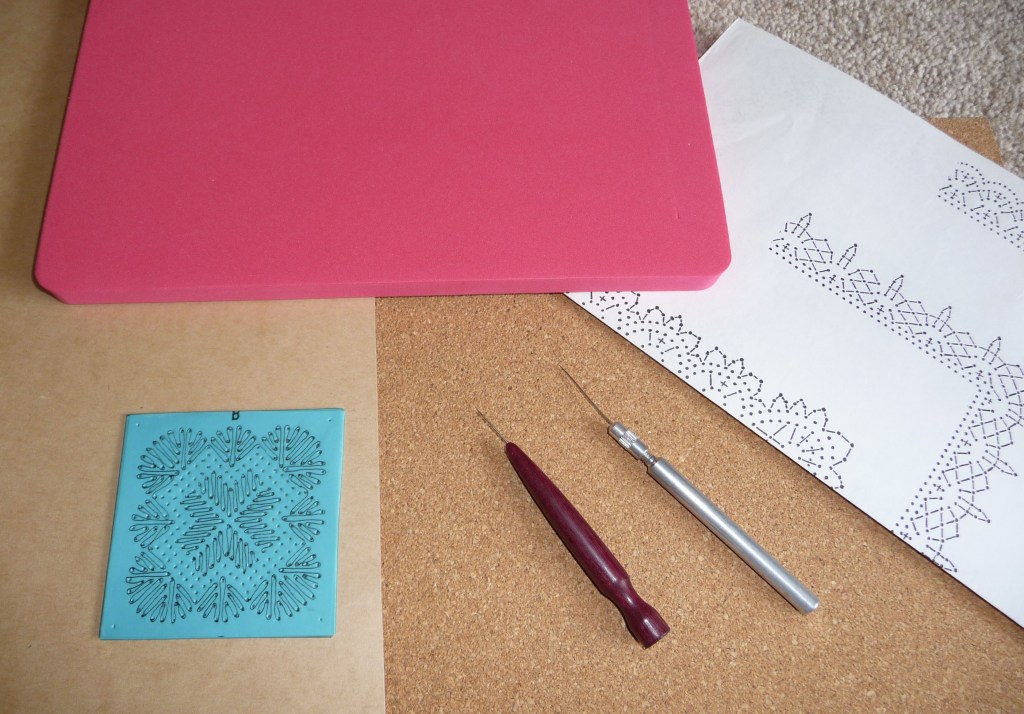
To do your pricking accurately, and without putting holes in yourself or your table, get a pricking board – cork or ‘self-healing’ versions are available, or you can just use a cork board to begin with – although make sure it’s a soft cork and don’t push too deep or you’ll come through the other side! Alternatively most small Honiton motifs are pricked out on the pillow without the use of a pricking mat.
You should also use a pricking tool (see image above) which should have a point that is the same size as your pins, to avoid stretching the holes. However for your first couple of practice patterns, you could get away with just using a sturdy divider pin or similar.
What else?
Of course it doesn’t stop there- the above is just the basics but there are lots of additional accessories and tools out there which will help in your lacemaking. Some of the more common and useful are listed below.
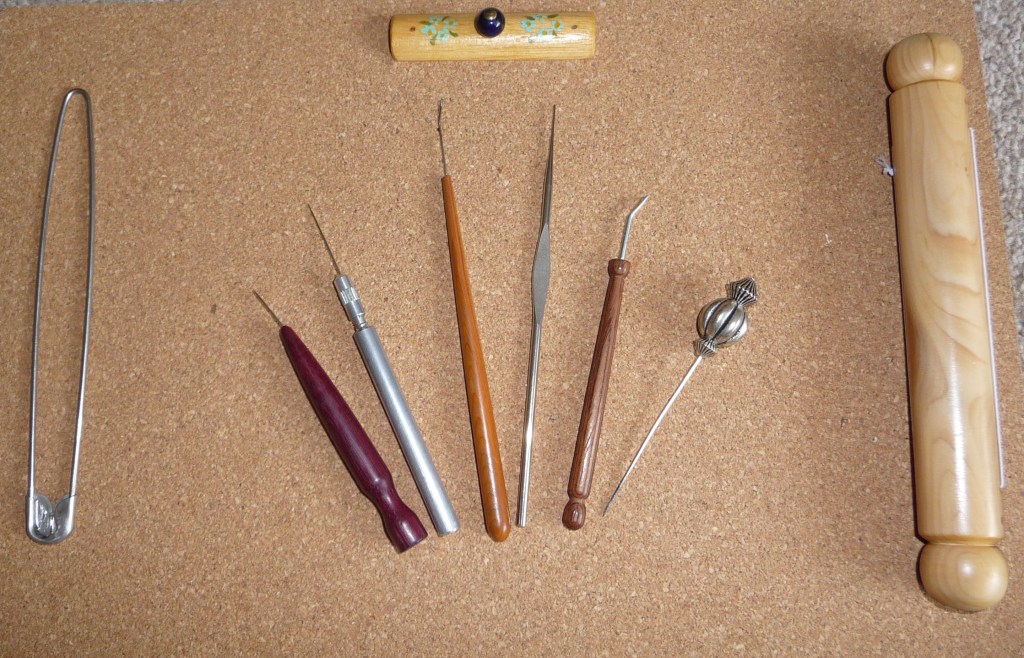
Left to right
Bobbin holder- sold as stitch holders for knitting/crochet, these can be looped through the spangles to keep bobbins in order when not being used
Needle pin- used in Honiton lace to make sewings
Pricking tool- see above
Lazy Susan- used for sewings (i.e. joining lace together or adding beads or sequins)
Small (0.40mm) crochet hook- used to sew ends in and to add beads into a piece of lace
Pin lifter- does exactly what it says on the tin. Could also be called the ‘manicure saver’.
Divider pin- used to separate the bobbins when working on a particular section. Of course normal pins will do the job just as well but these are prettier.
Wooden roller- used to roll long lengths of lace round to keep it out of the way when working on a large piece such as a garter, tablecloth edging or scarf.
At top
Bobbin holder- used to hold down threads to prevent them getting tangled when the cushion is not in use or is being transported.
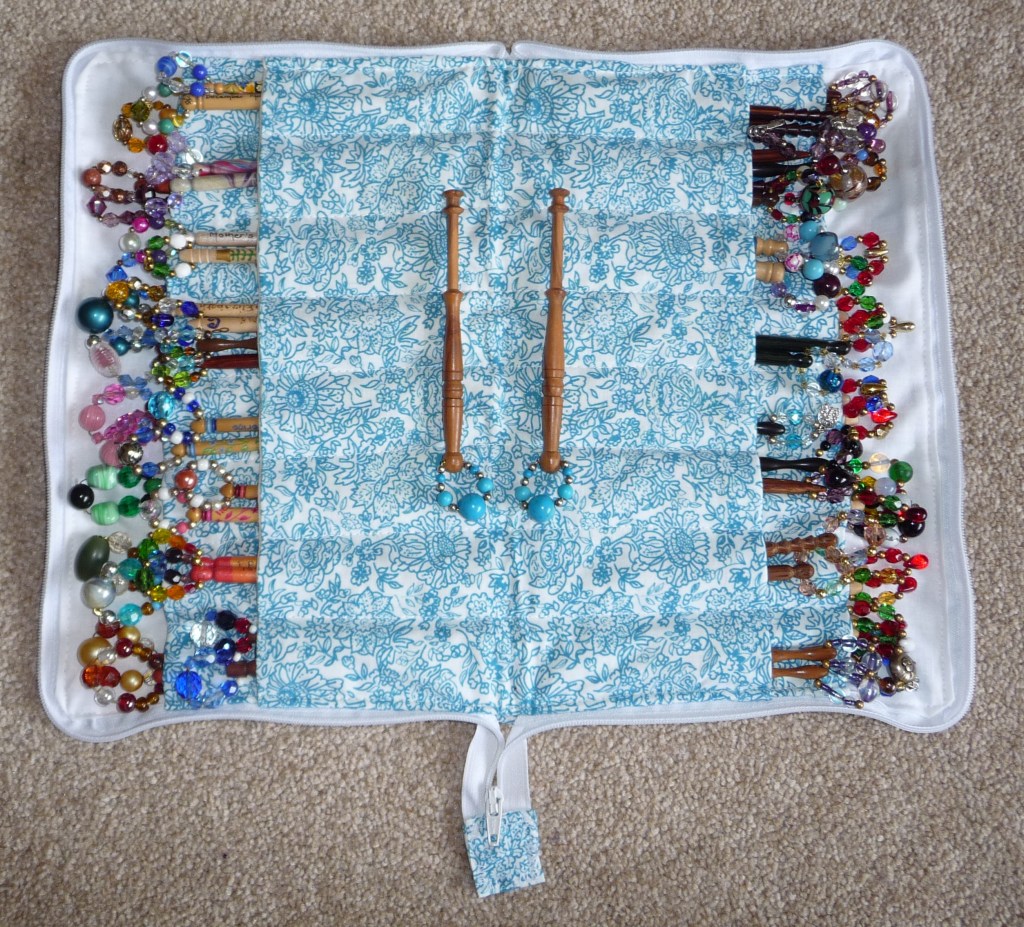
Bobbin roll- to store your bobbins when they’re not in use.
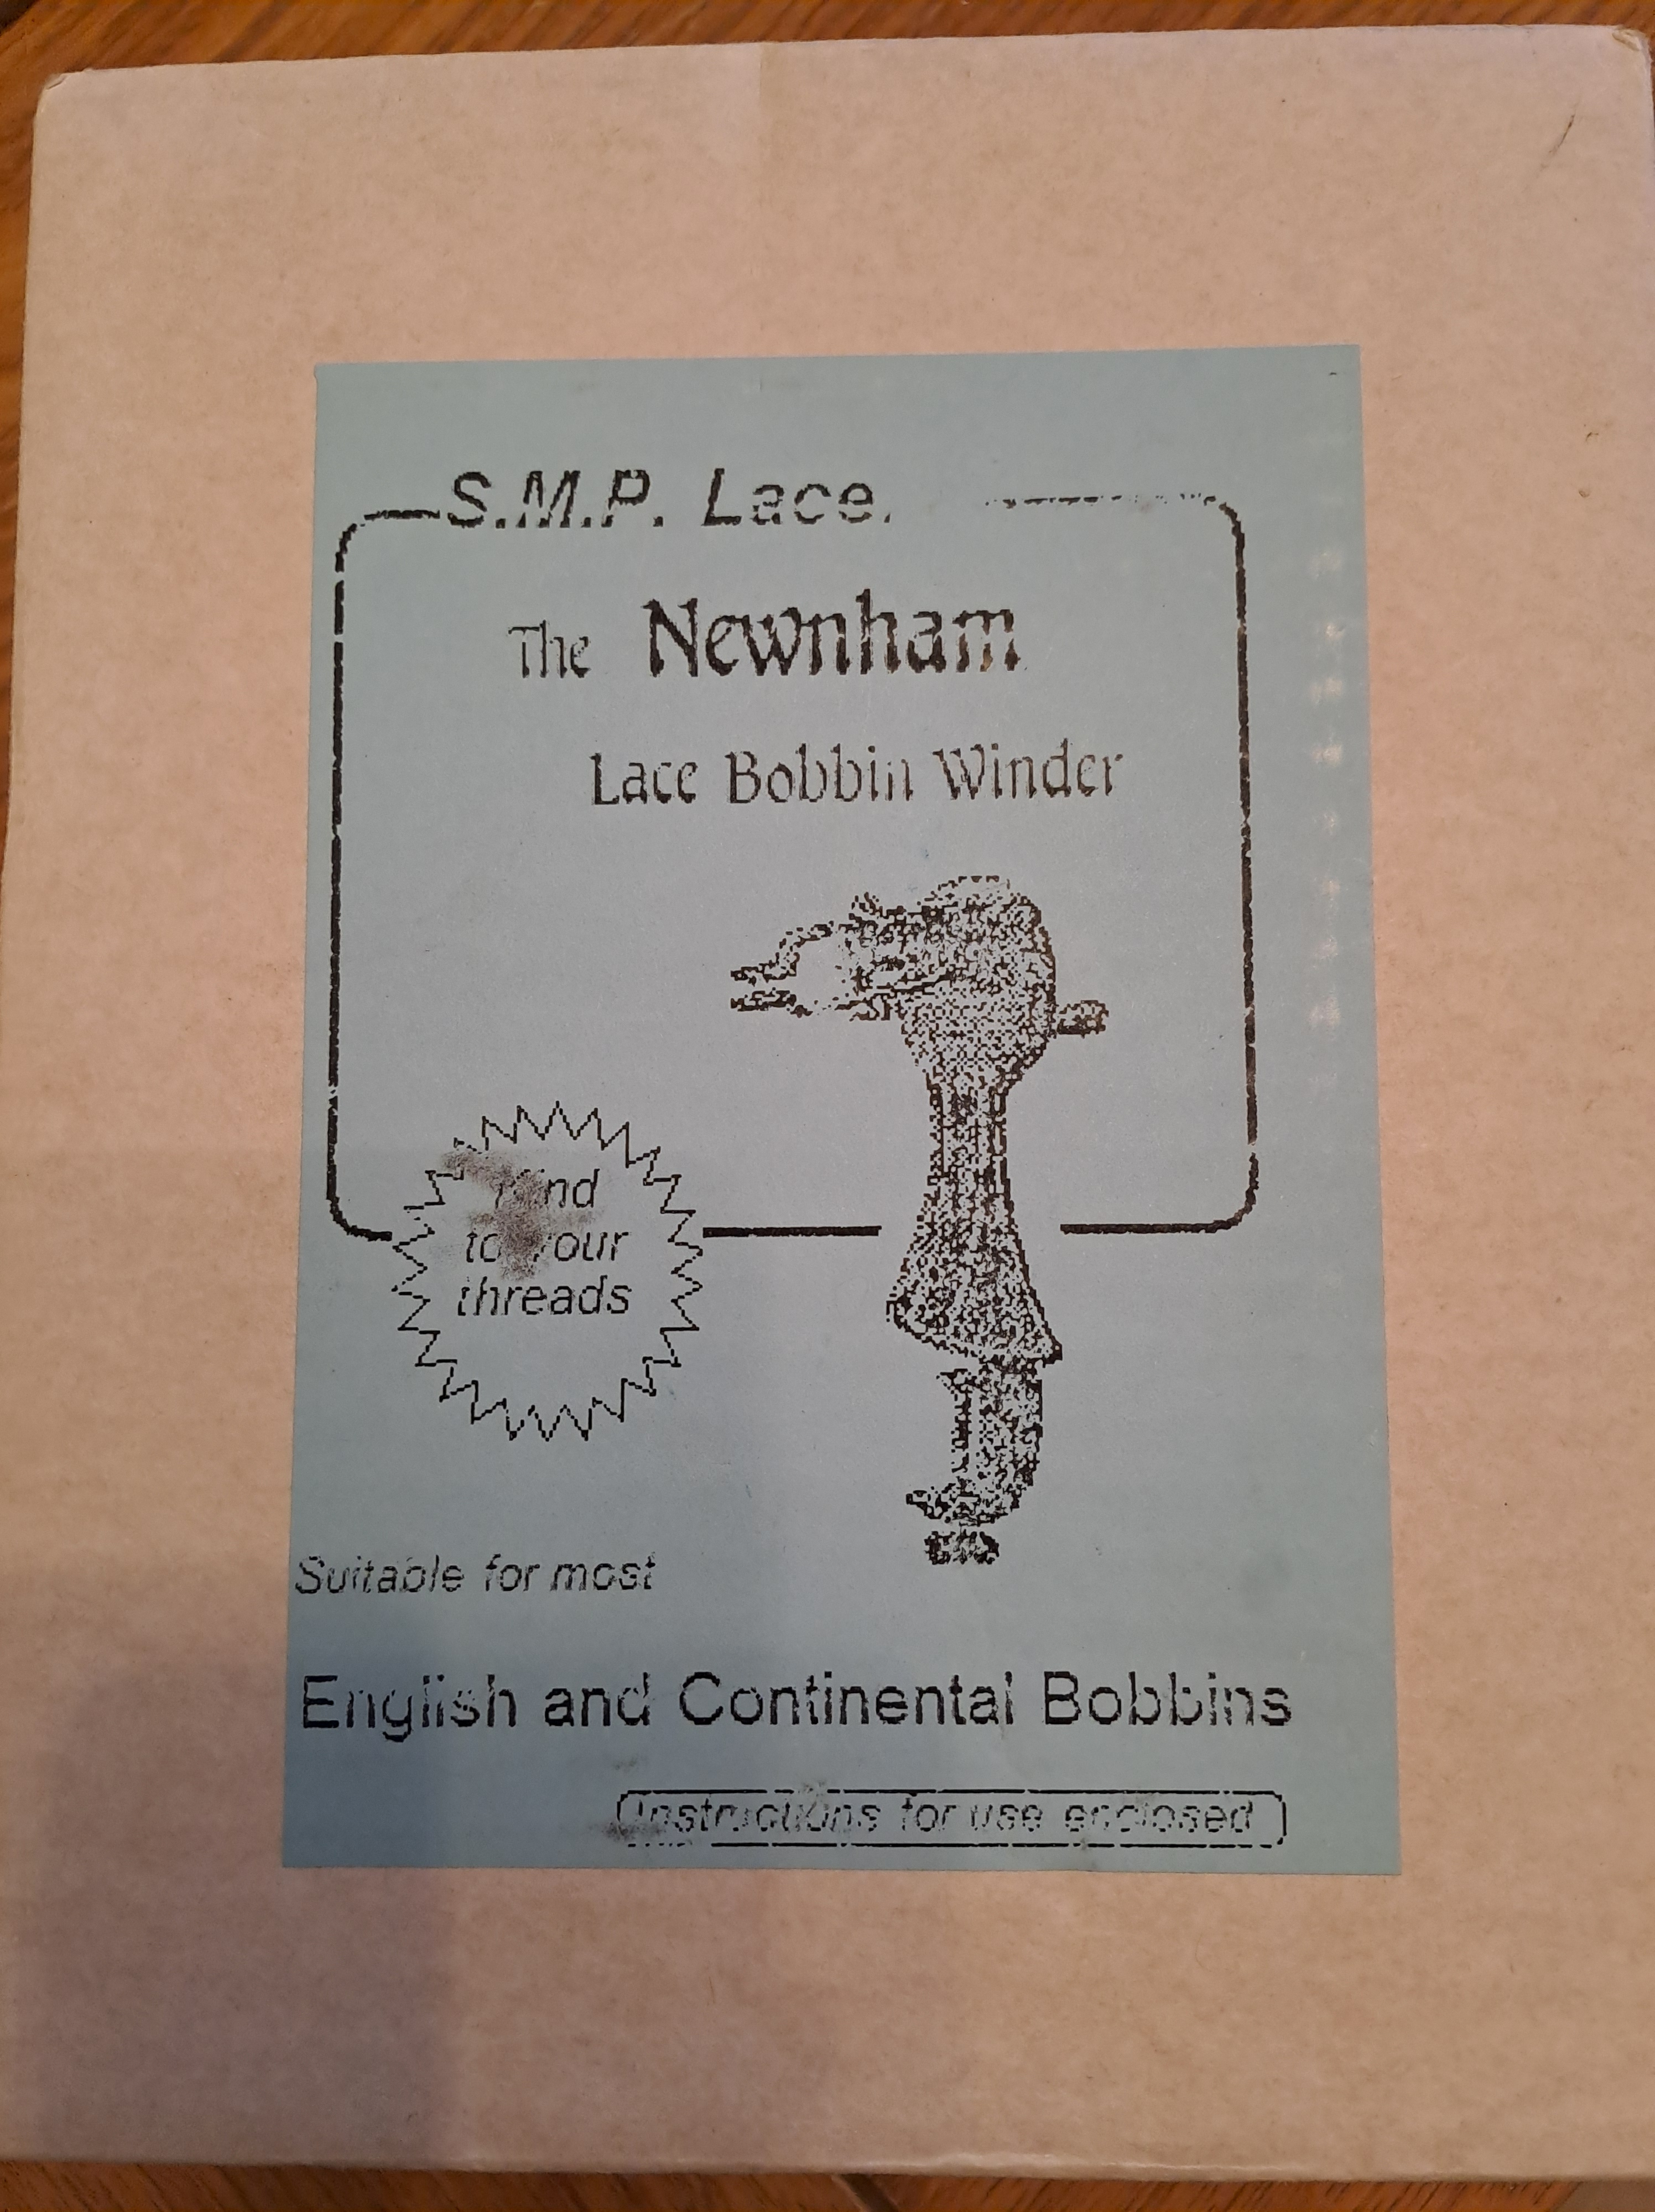
Bobbin winder– you get a much more even-tensioned wind when using a bobbin winder, and it can be a little quicker when you have lots of pairs to do. I have the ‘Newnham Type’ winder:
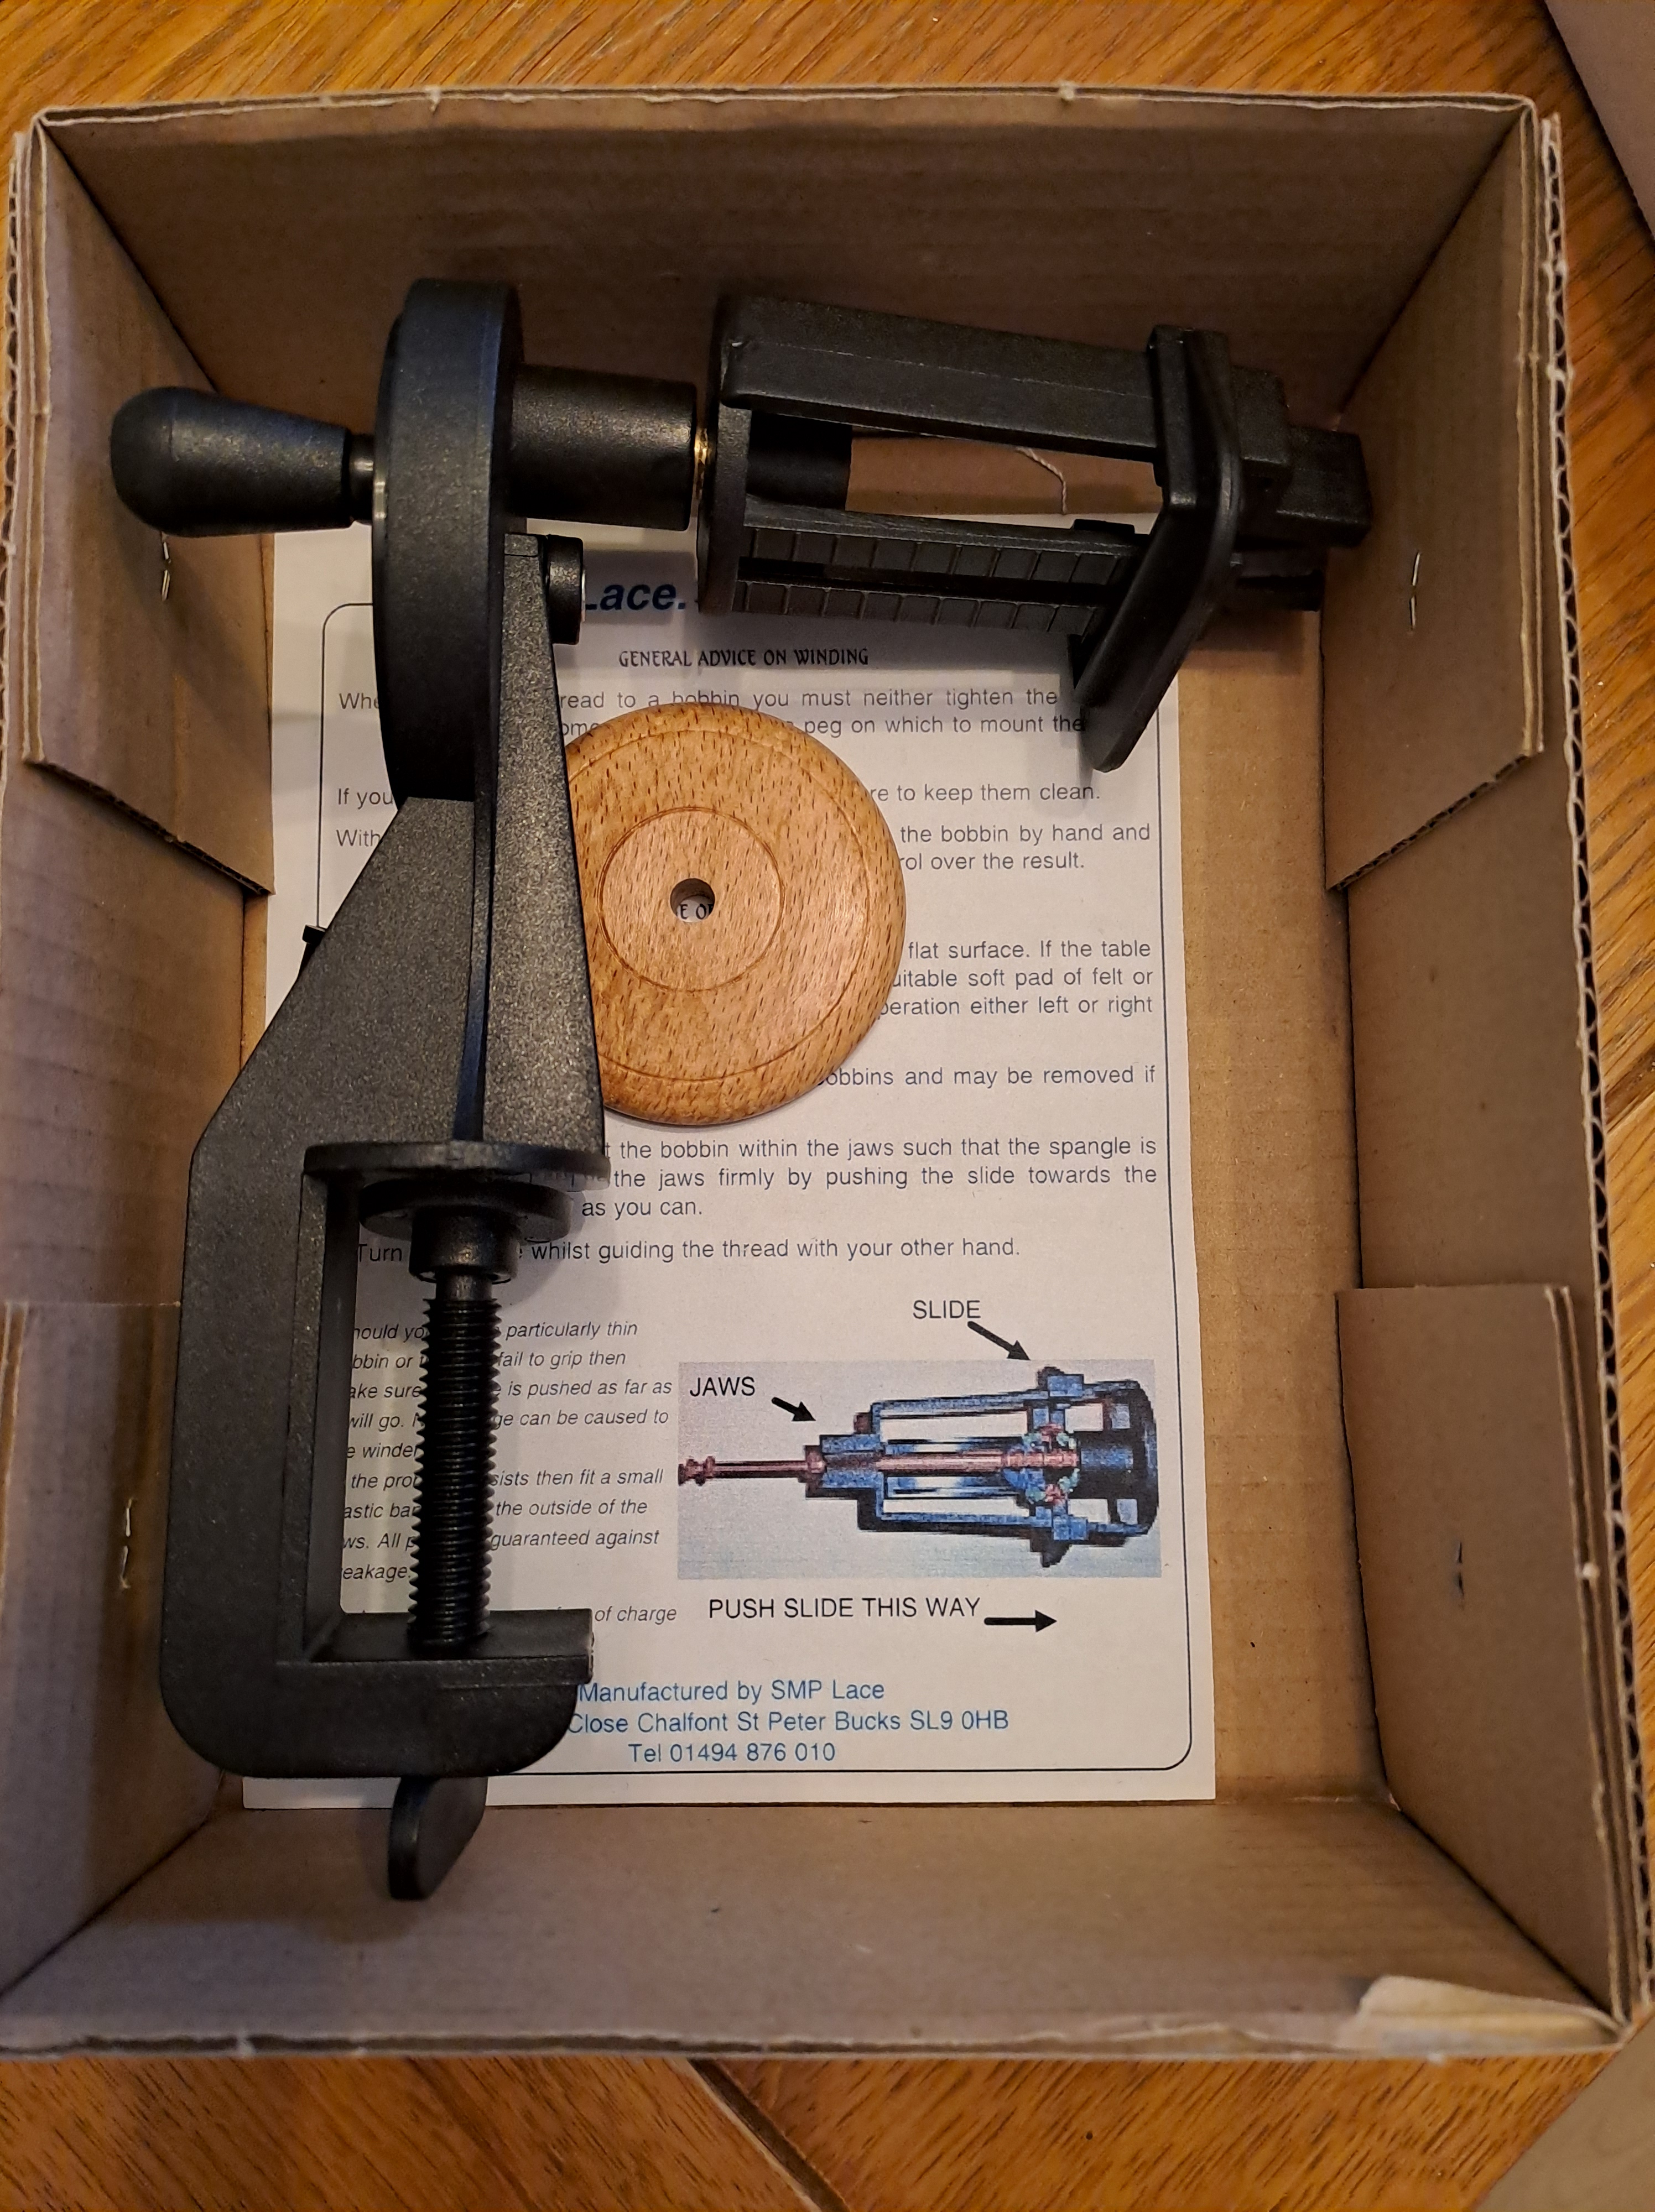
But as I said at the start, to get started you only really need a pillow, some bobbins, some thread, some pins and a pattern. What’s stopping you?!