Before we kick off, if you are totally new to lace-making and you’ve not already read the tutorial Getting started- the basic equipment you should do so now so that you know what the basic equipment looks like, what tools to choose and how to prick your pattern out.
All done? Ok then, let’s get started making some actual lace!
(If you’ve made lace before and just want a quick reminder of how to do the stitches, go ahead and skip below!)
We’re going to cover how to wind your bobbins and how to do the two basic lace-making stitches- whole stitch (also sometimes referred to as cloth stitch) and half stitch. Once you’ve mastered these, the lace-making world is your oyster.
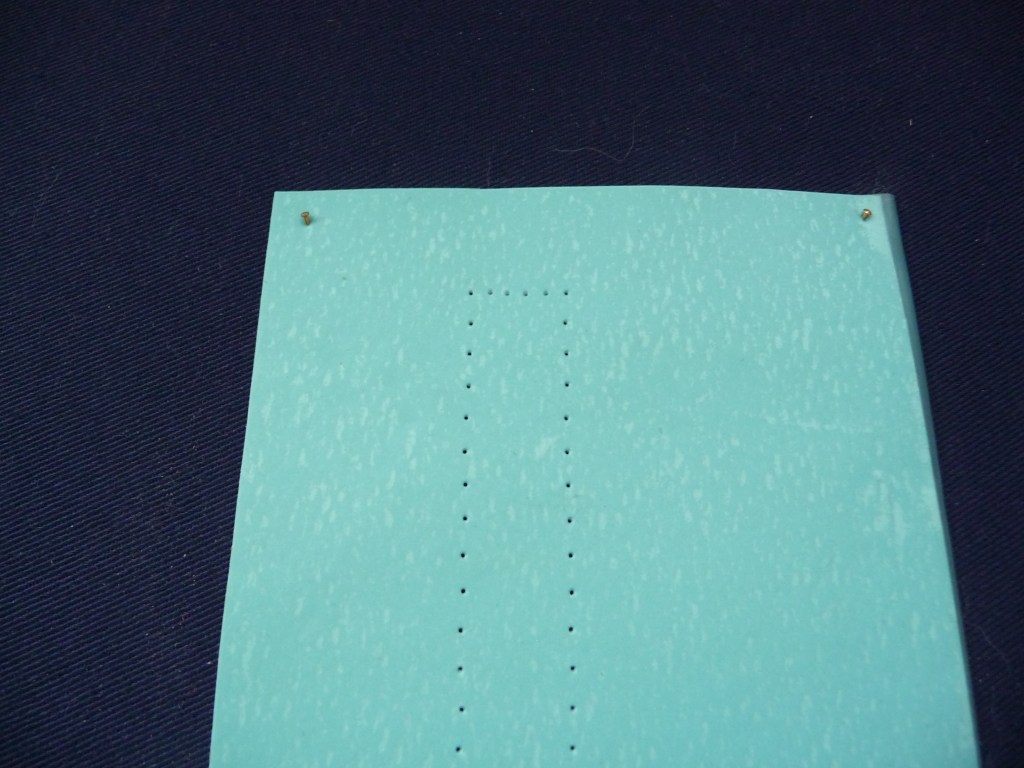
So first you need to print off a pattern to use. Get a piece of regular graph paper and prick your grid out using the squares as a guide- it needs to be about an inch wide. Alternatively you can download a pre-prepared grid from e.g. here (use the medium or large square grid). You can then either print your grid:
– onto thin card
– onto paper and stick it onto thin card
Or trace it onto pricking card if you have some already- don’t go out and buy any unless you’re sure this is the hobby for you!
Prick all the holes (see section 5 of Getting started- the basic equipment).
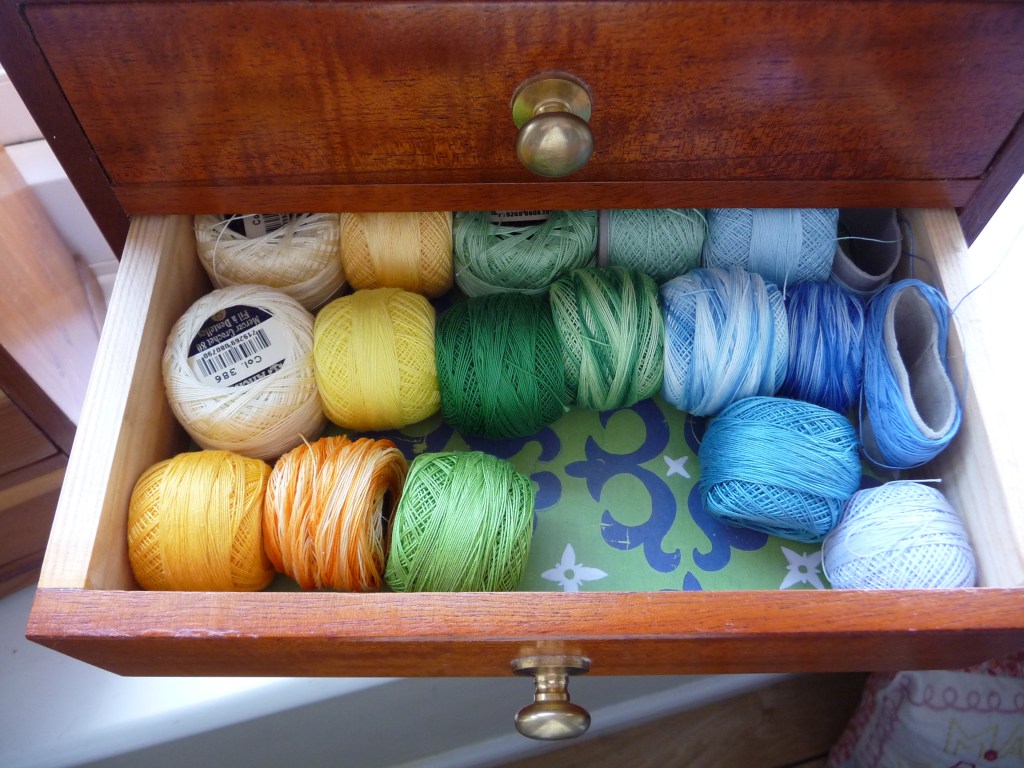
Now we need to wind some bobbins. For this practice piece of lace I would recommend using a DMC Special Dentelles weight thread. Any colour will do.
Before I go any further I should say that these instructions on winding a bobbin are for right handed people- if you’re left handed, just do the opposite 🙂
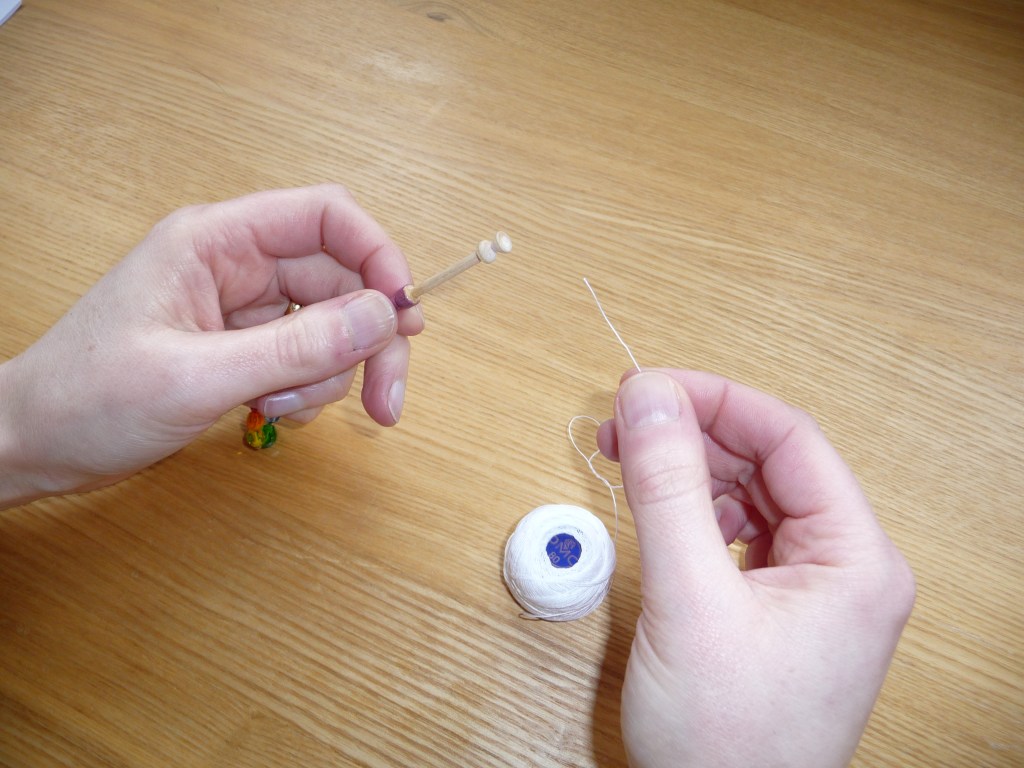
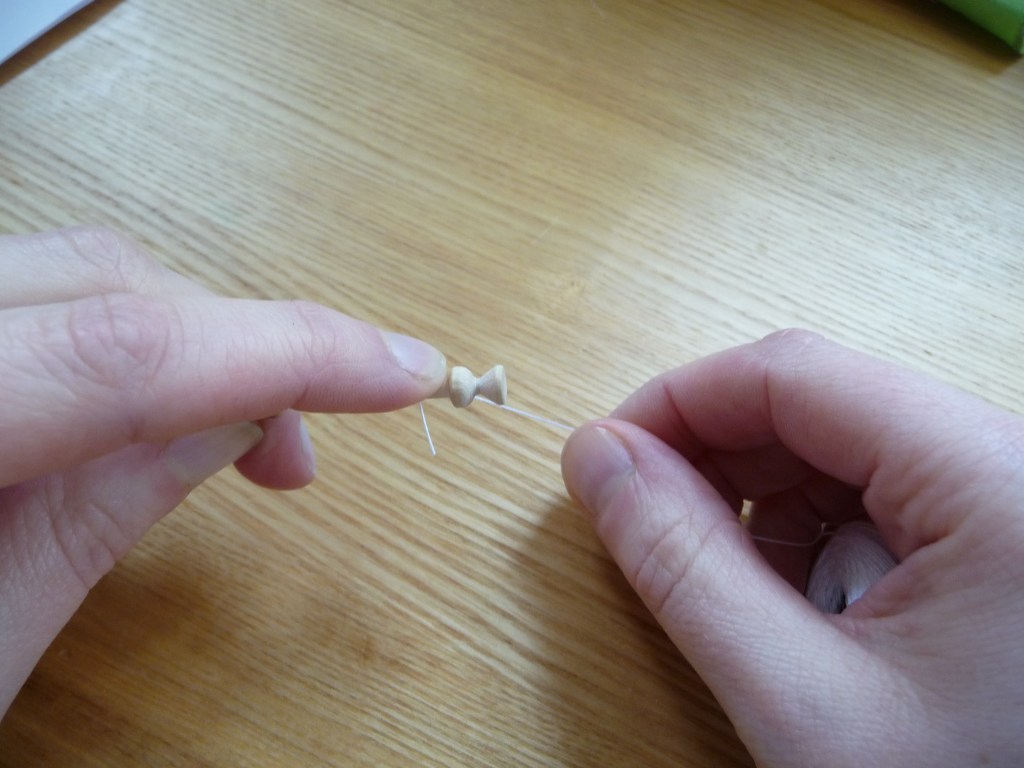
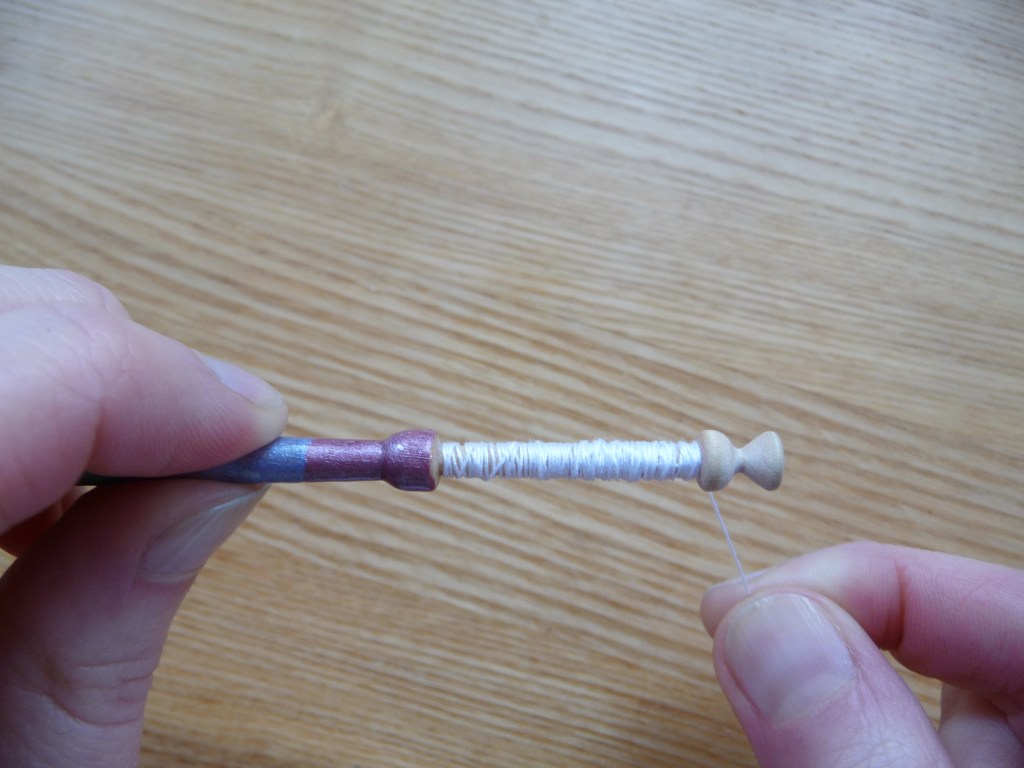
Hold the bobbin in your left hand and hold the end of the thread onto the neck of the bobbin, so that the thread will wind on in a clockwise direction
Then just keep wrapping it round, nice and neatly until either the neck is full, or you think you have enough thread. A good rule of thumb is around 3 times the length of the piece you are making. Knowing how much thread is enough comes with experience, but even large pieces don’t take more than about a couple of metres or so per bobbin, and you can always add a new bobbin in if one runs out of thread. For this practice piece you will need about half a metre per bobbin at most.
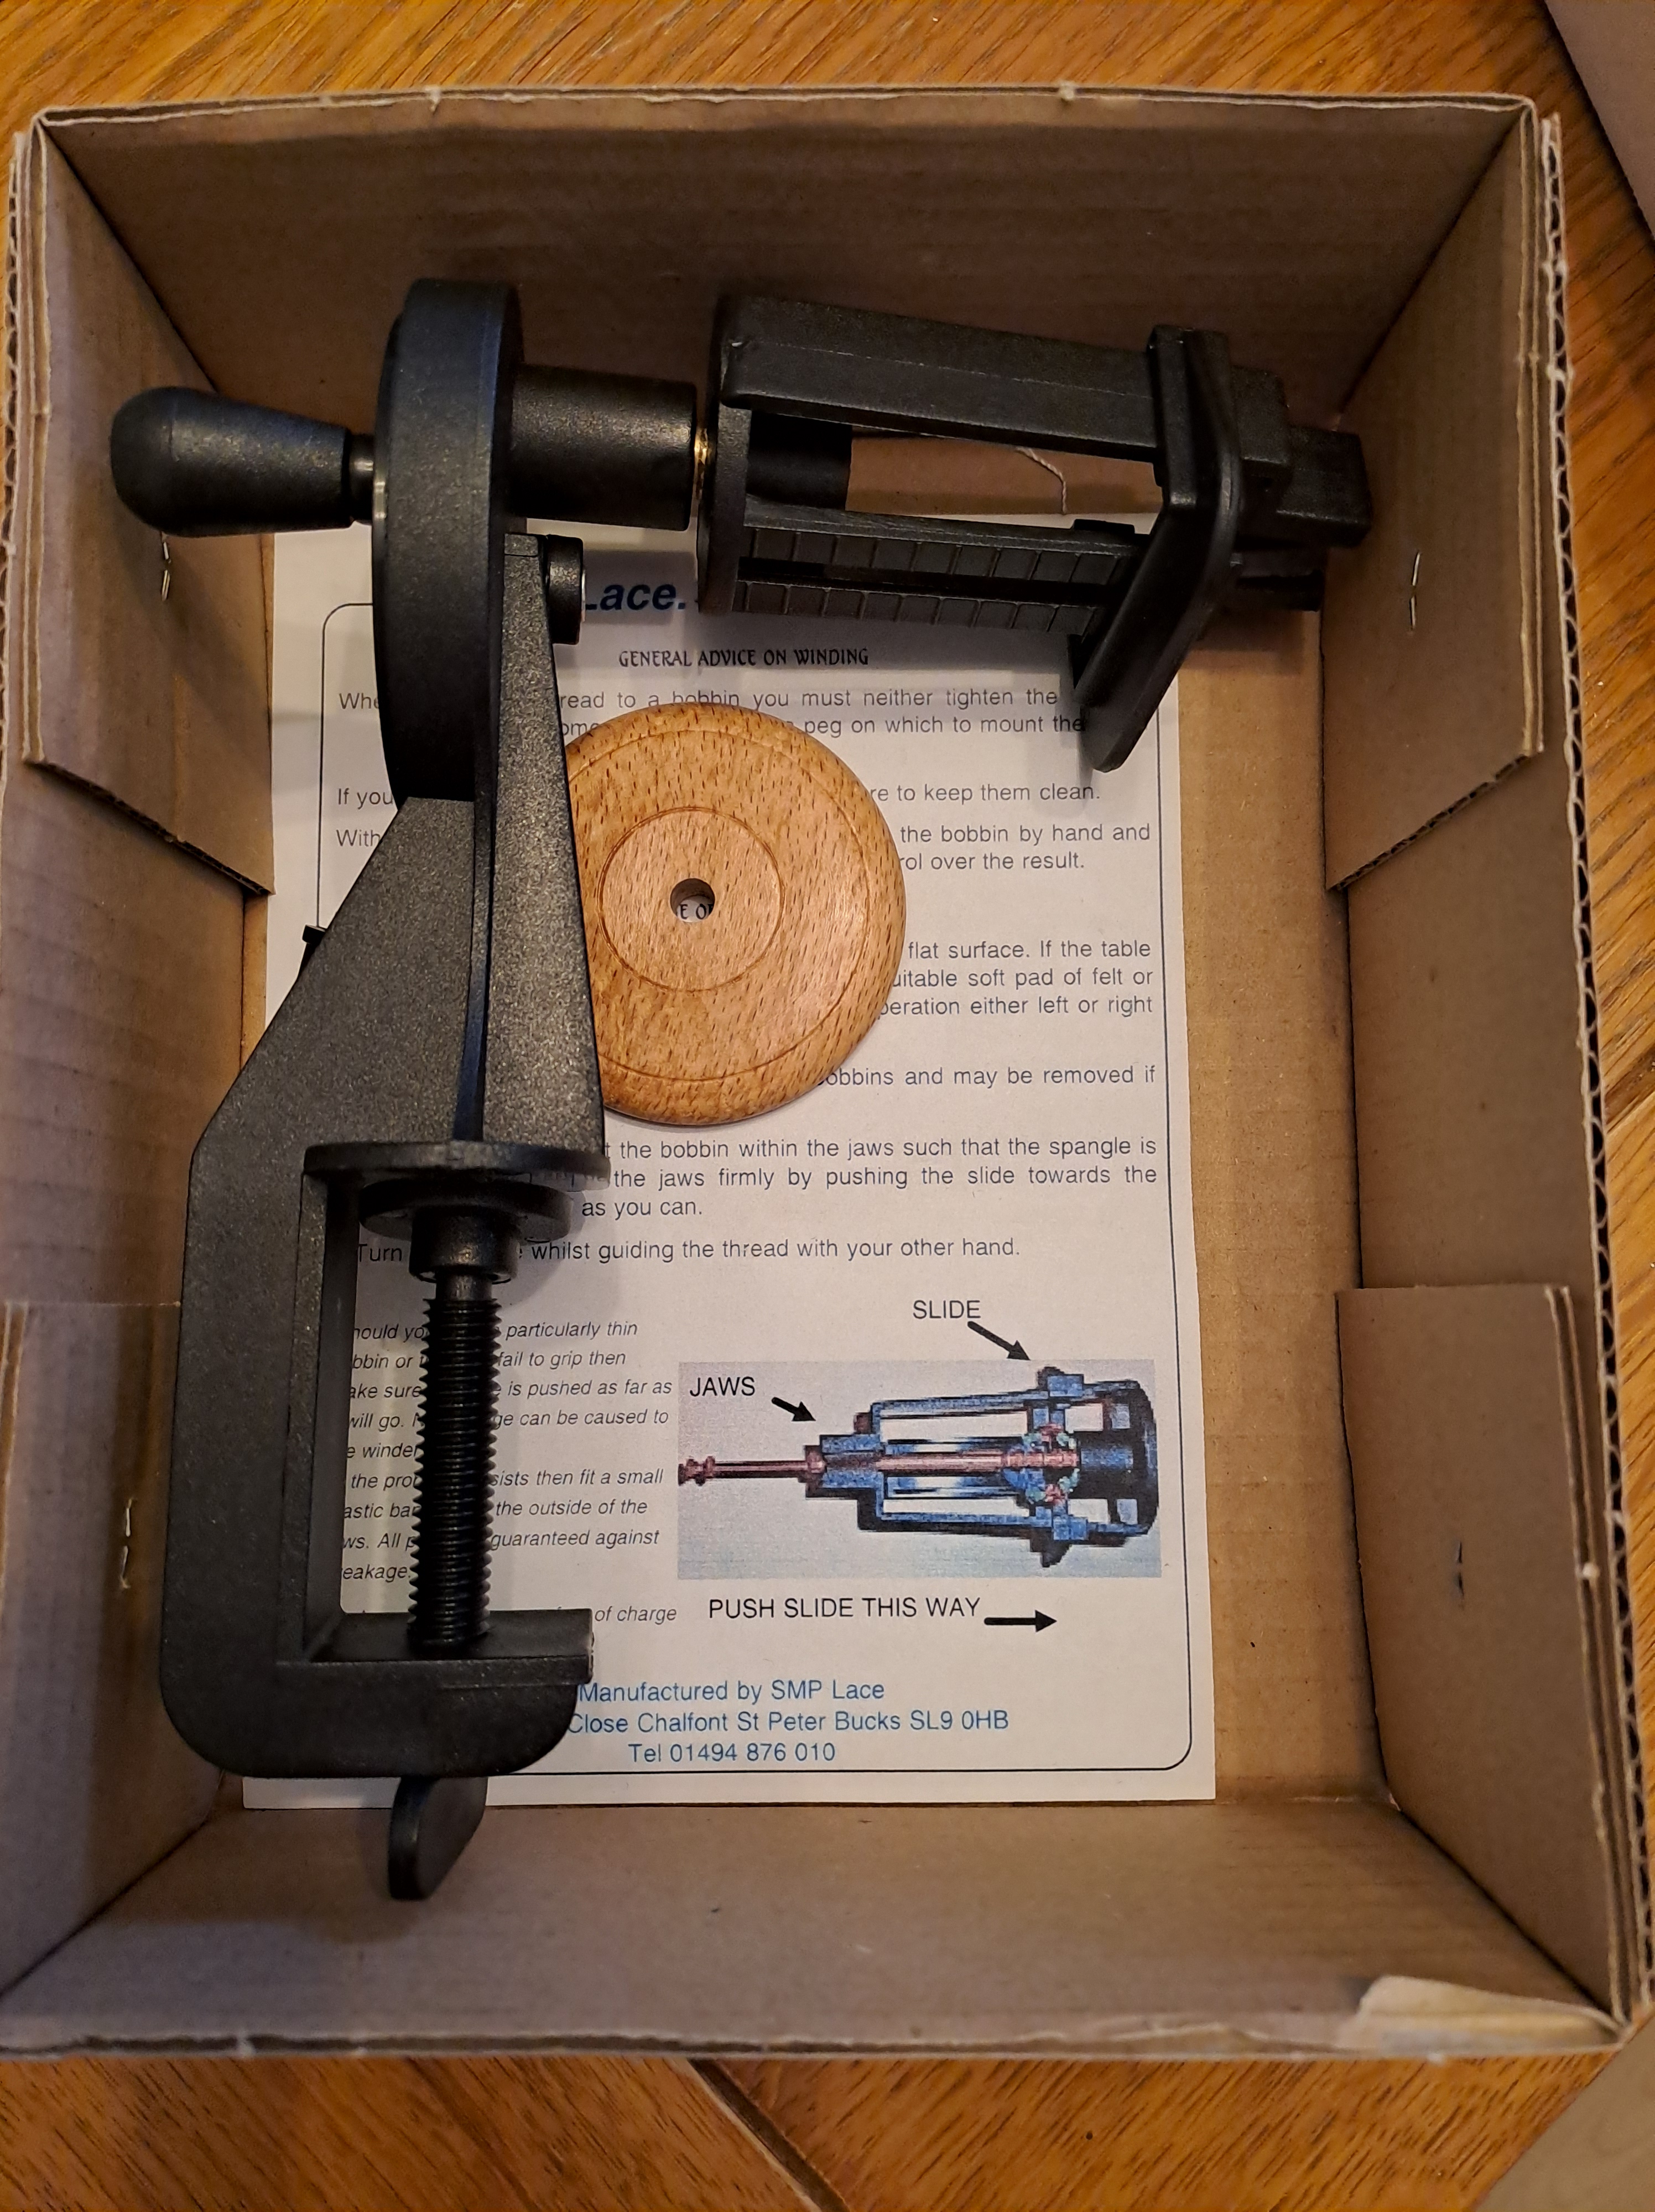
It’s important to keep the thread tension and winding neat otherwise it can affect the finished appearance of your lace. Bobbin winders get the best results for this.
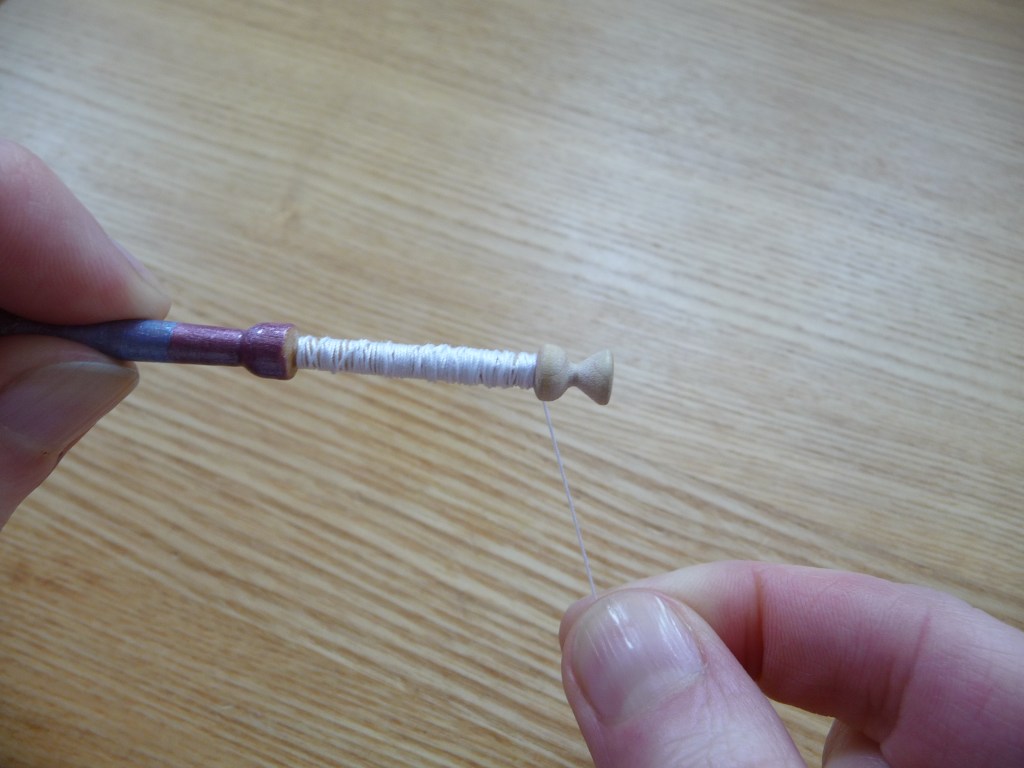
So once you think you’ve got enough thread, you need to wind roughly the same amount again, as this will be transferred to the second bobbin. (If you were making Honiton lace you could ignore this, as you would just wind thread onto each bobbin, then tie the ends together and hide the knot onto one of the bobbins).
Start with the second bobbin in the same way as the first and keep winding until you think you’ve got roughly the same amount of thread on each one. If you’re making Honiton, Milanese or other piece-laces, it’s usual to wind a lot of thread onto one bobbin and a little on the other so that you can just re-wind one bobbin between sections of the pattern.
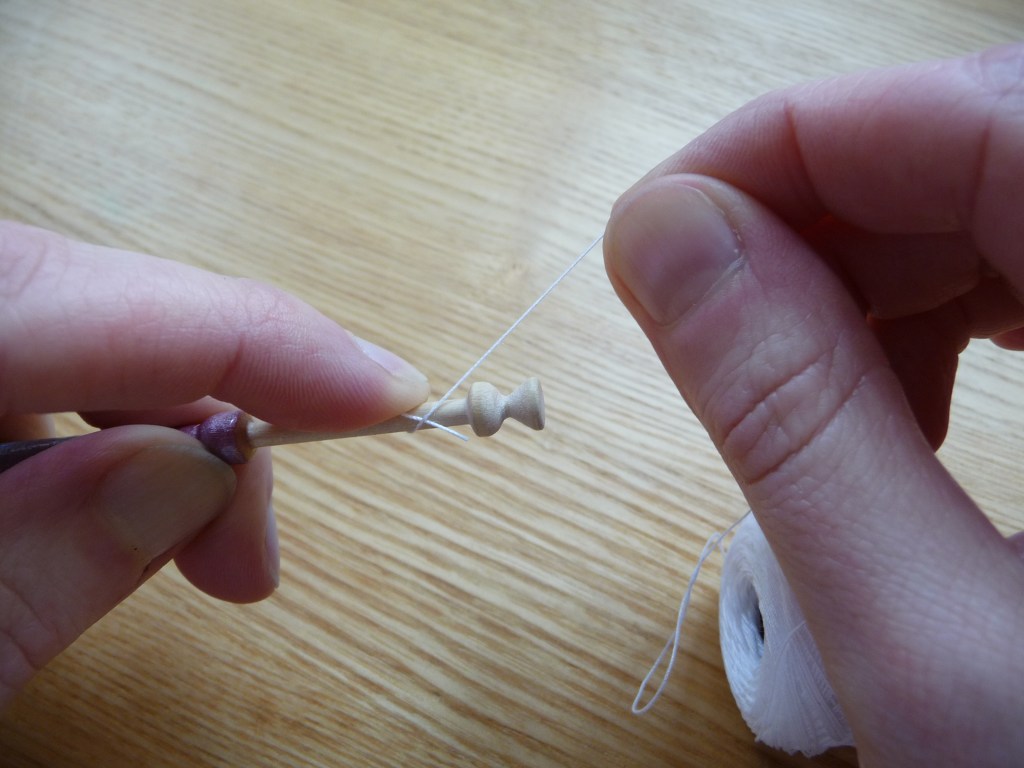
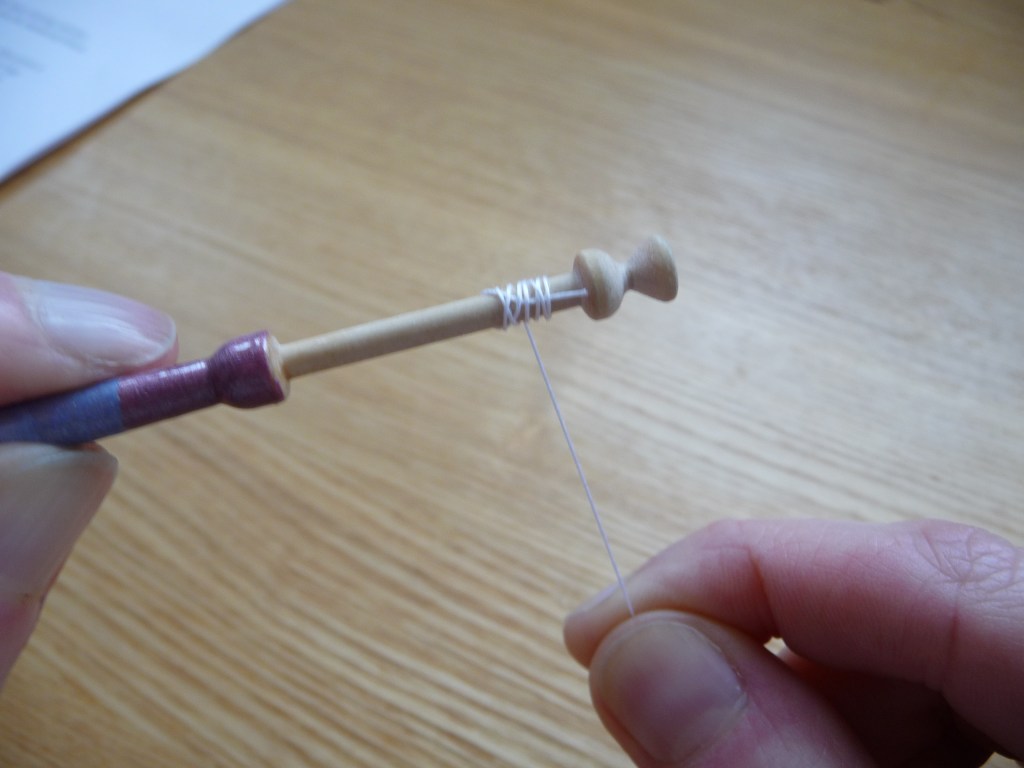
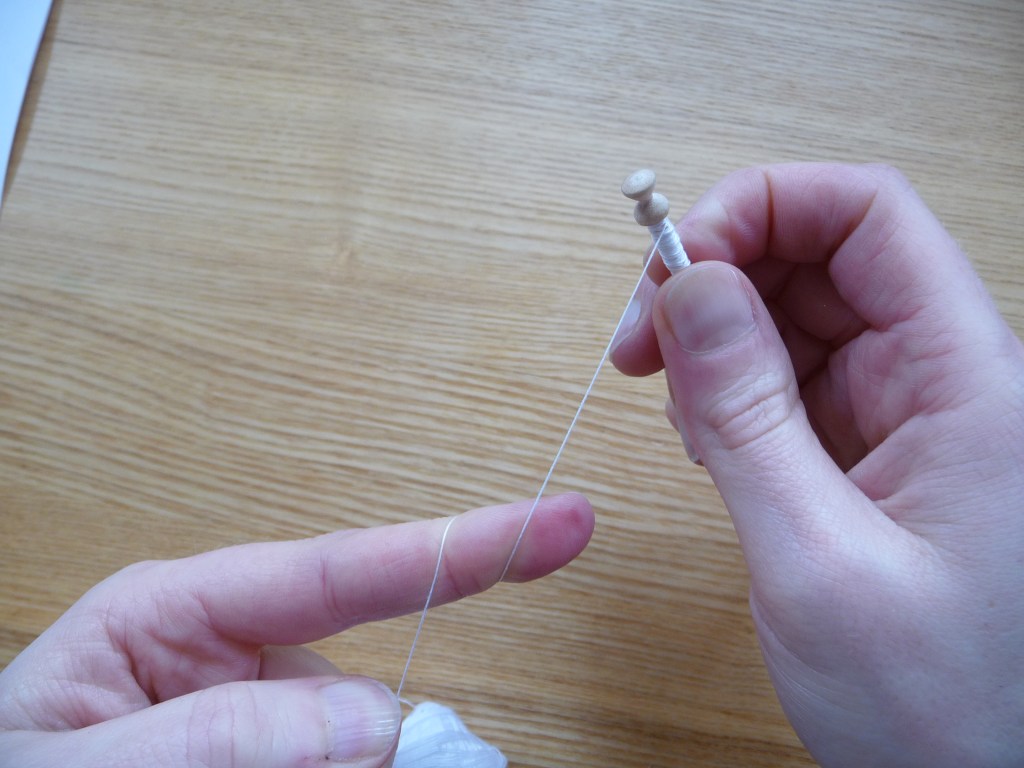
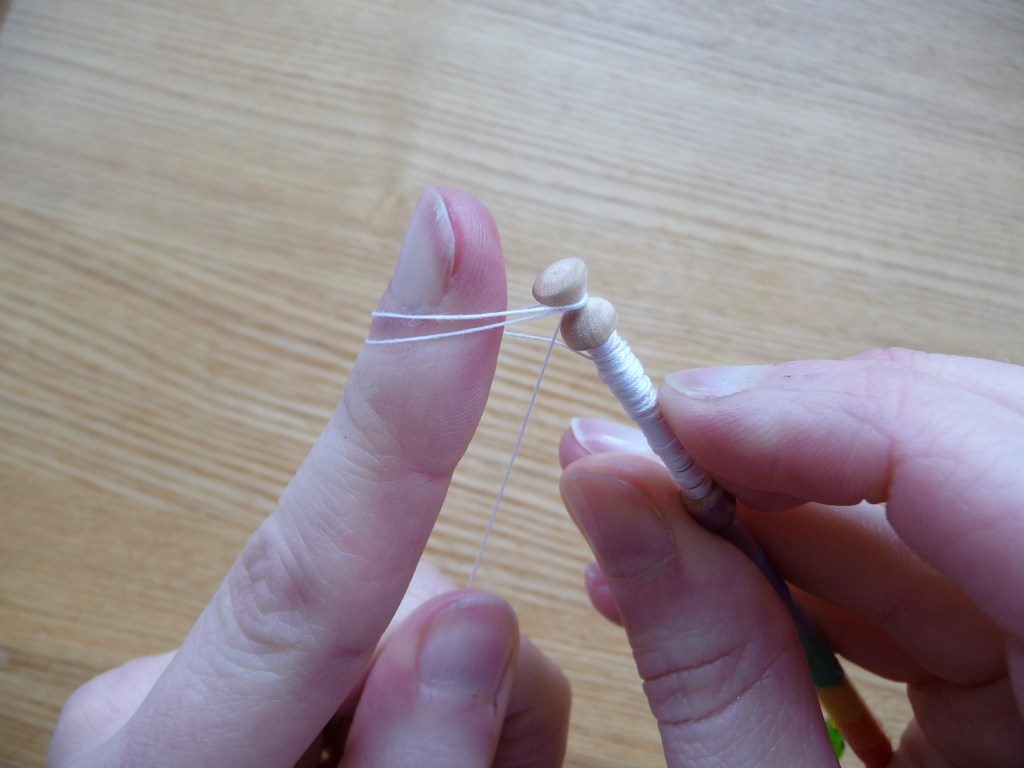
To make a hitch to keep the thread tight onto the bobbin, swap hands and put the bobbin in your right hand. Wind the thread round your left index finger twice, then slip the loops onto the end of the bobbin and pull it up so that all the thread doesn’t unravel.
You now have a pair of wound bobbins ready for action- hurrah!
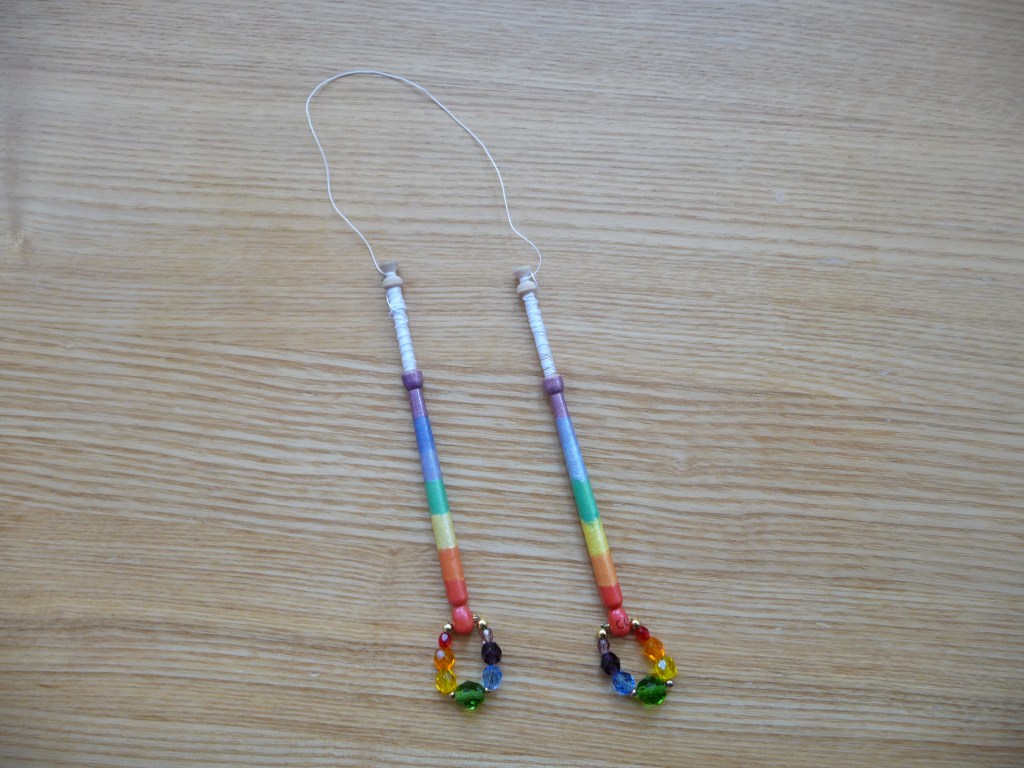
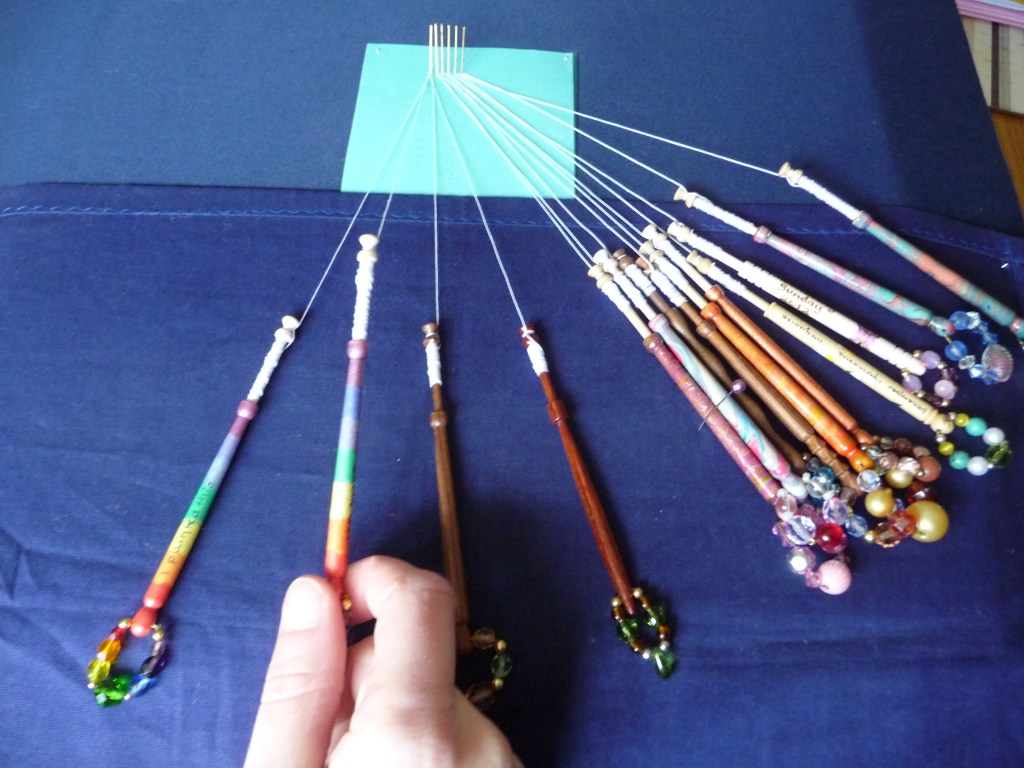
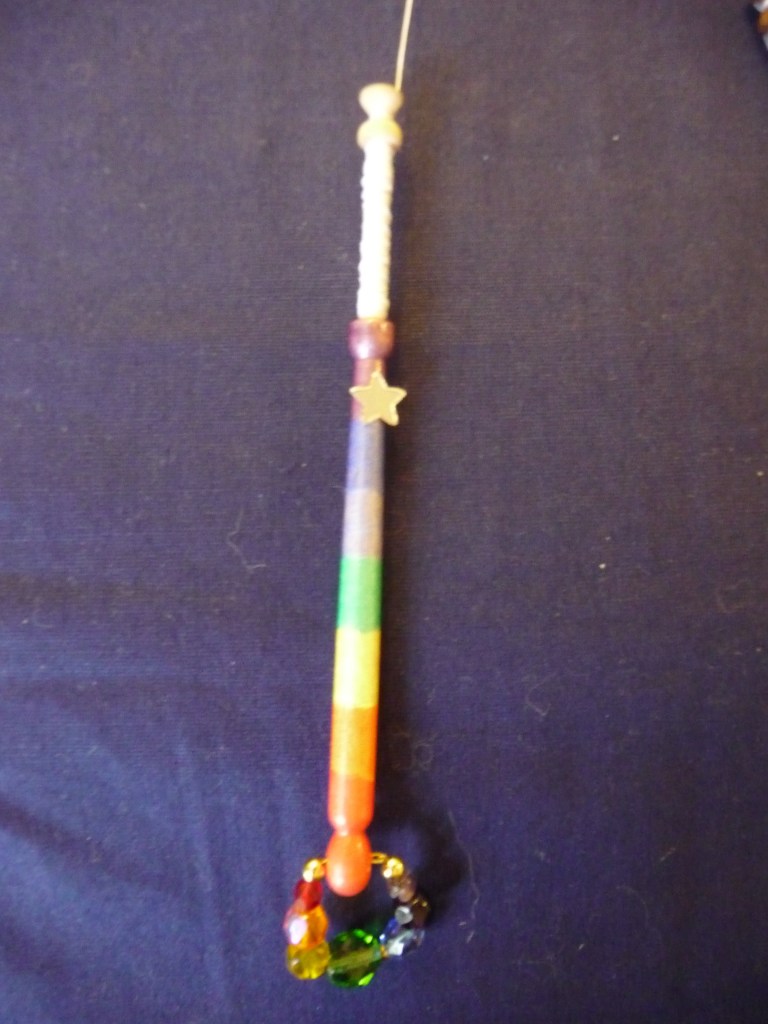
For this practice piece you will need seven pairs (six passive pairs and one worker pair) so you’ll have a bit of chance to practice your new winding prowess. Wind a little extra thread onto the pair that you’d like to be your worker pair as these will travel further and therefore use up more thread. If you have a pair of bobbins that are in some way different to the others (different colour, significant spangles etc) use these as your workers so that if you do get into a muddle, you know you’re using the right ones. For the pictures with this tutorial I used a pair of rainbow striped bobbins so that it is obvious which one is the worker pair and what it is doing.
Ok, so your bobbins are all now wound and looking lovely and it’s finally time to make some lace.
I recorded videos of these two techniques for the #40lacestitches project for Wolds Lacemakers so if you want to watch them being done, you can do so here:
Whole stitch: https://www.youtube.com/shorts/TUftnYnh78M
Half stitch: https://www.youtube.com/shorts/qzedkLmMEq0
And here’s a TL:DR version of what’s below
Whole stitch: 2 over 3; 2 over 1, 4 over 3; 2 over 3
Half stitch: 2 over 3; 2 over 1, 4 over 3
Twist: right bobbin over left one
Cross: left bobbin over right one
Whole stitch
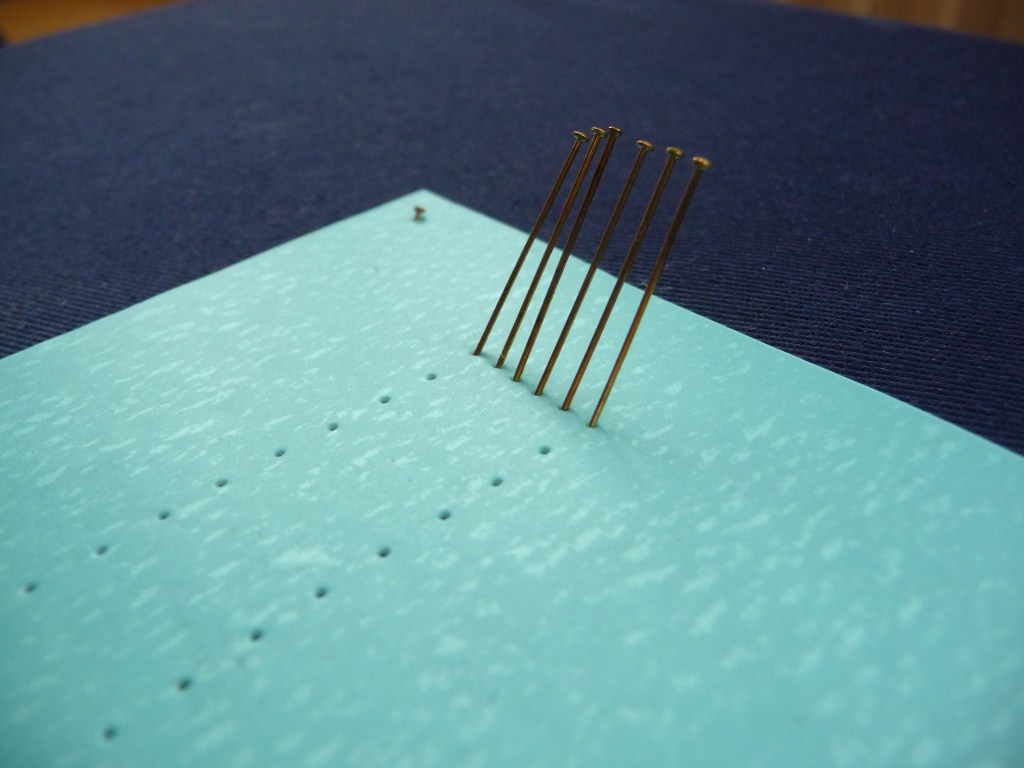
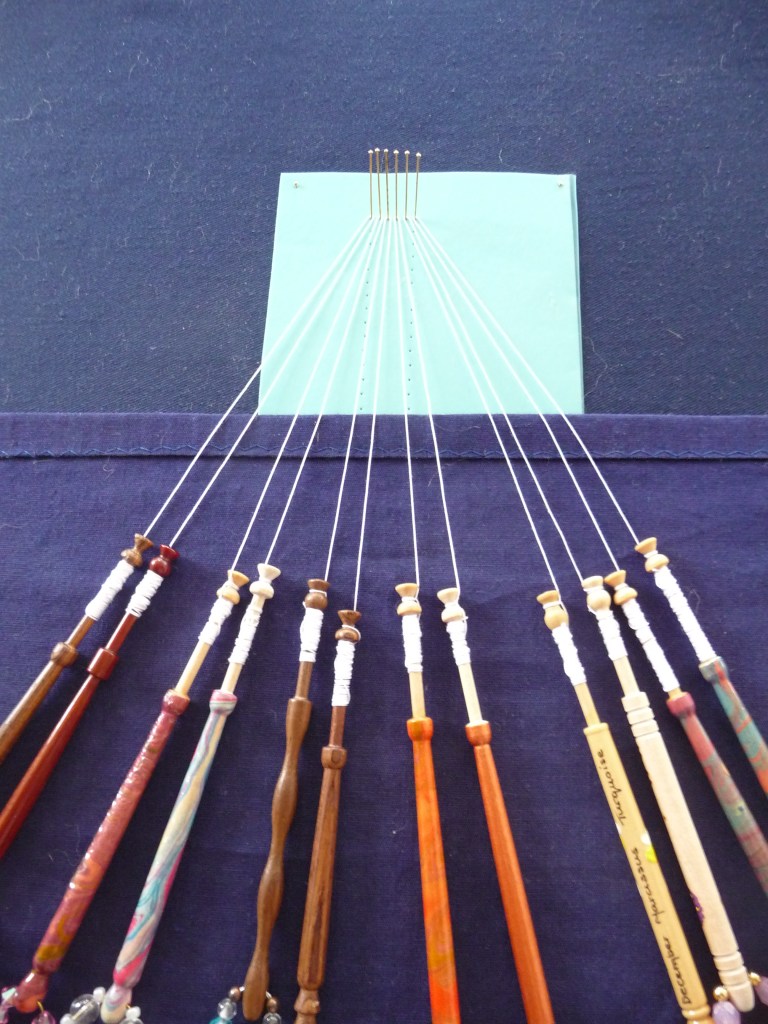
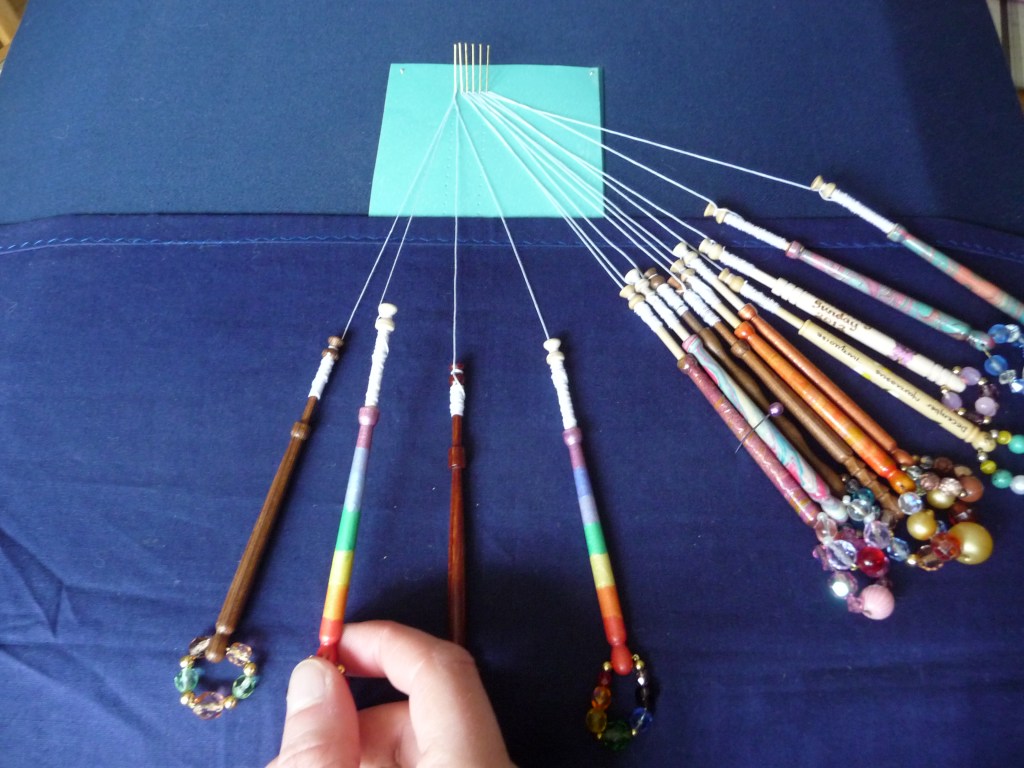
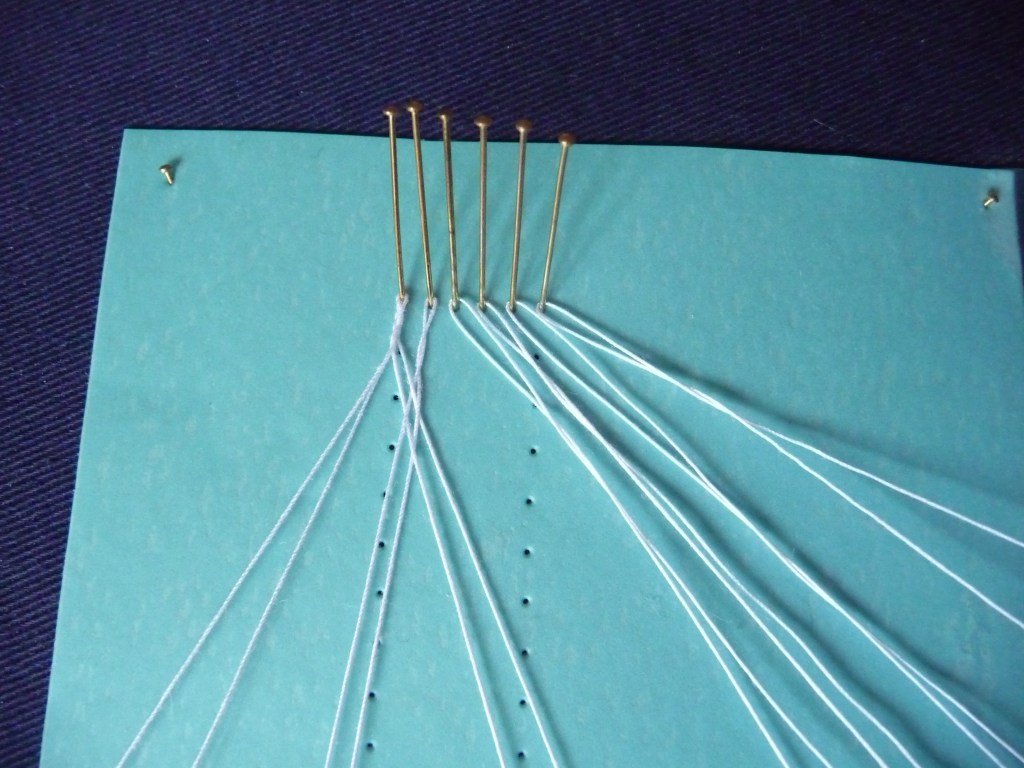
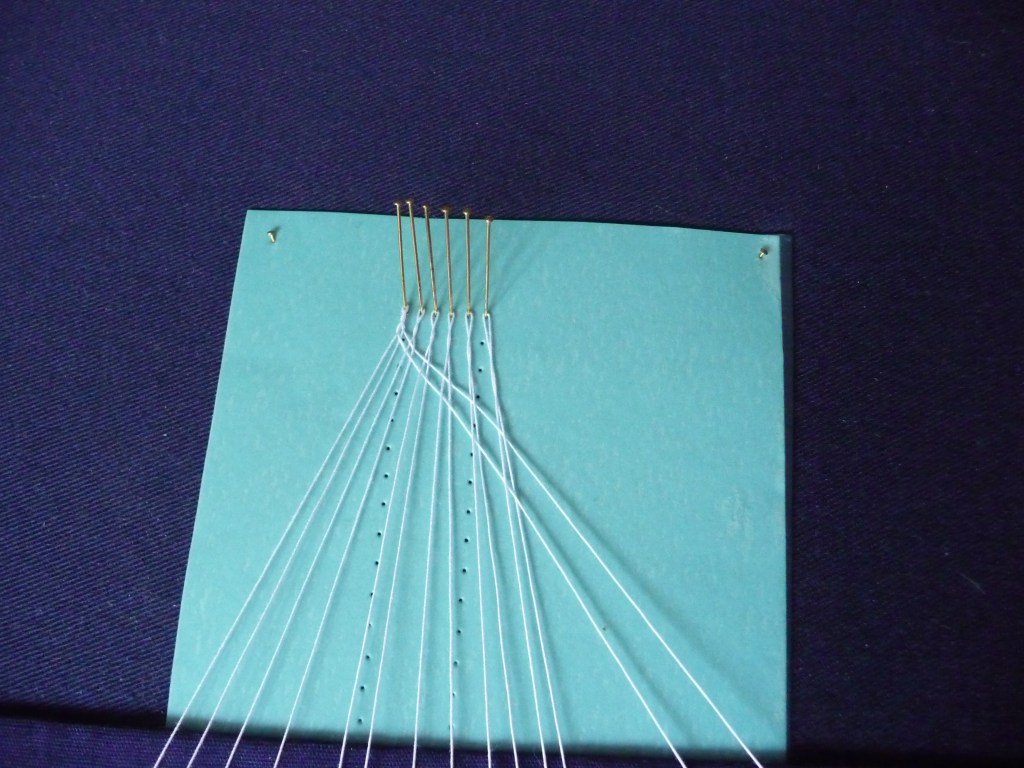
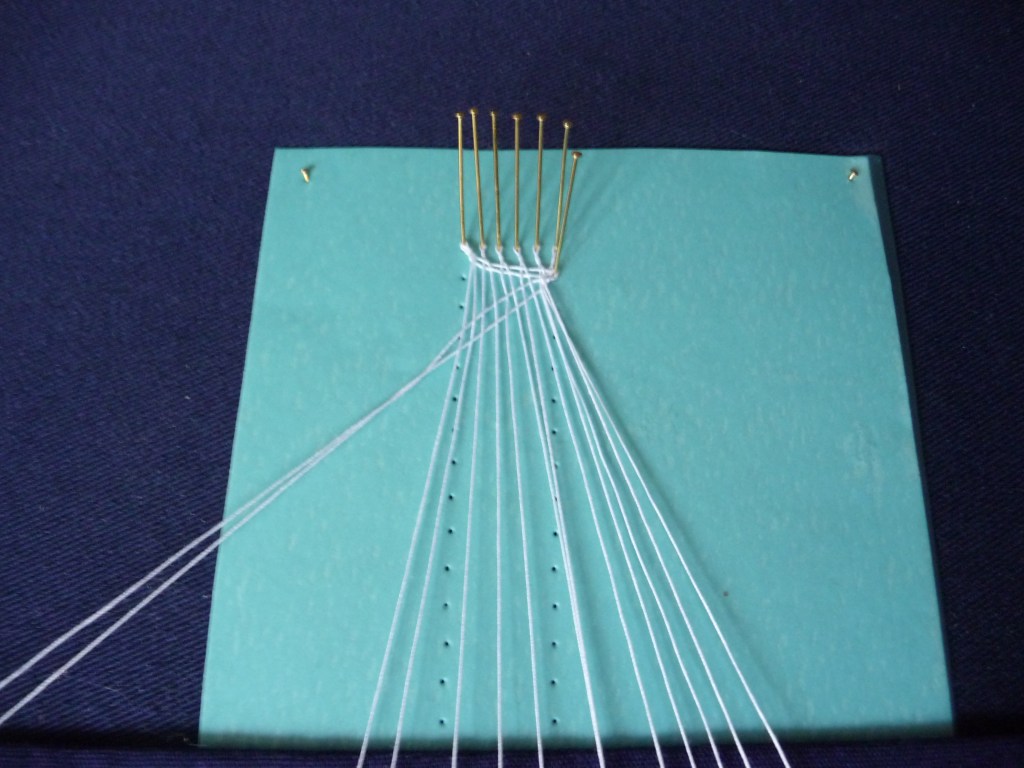
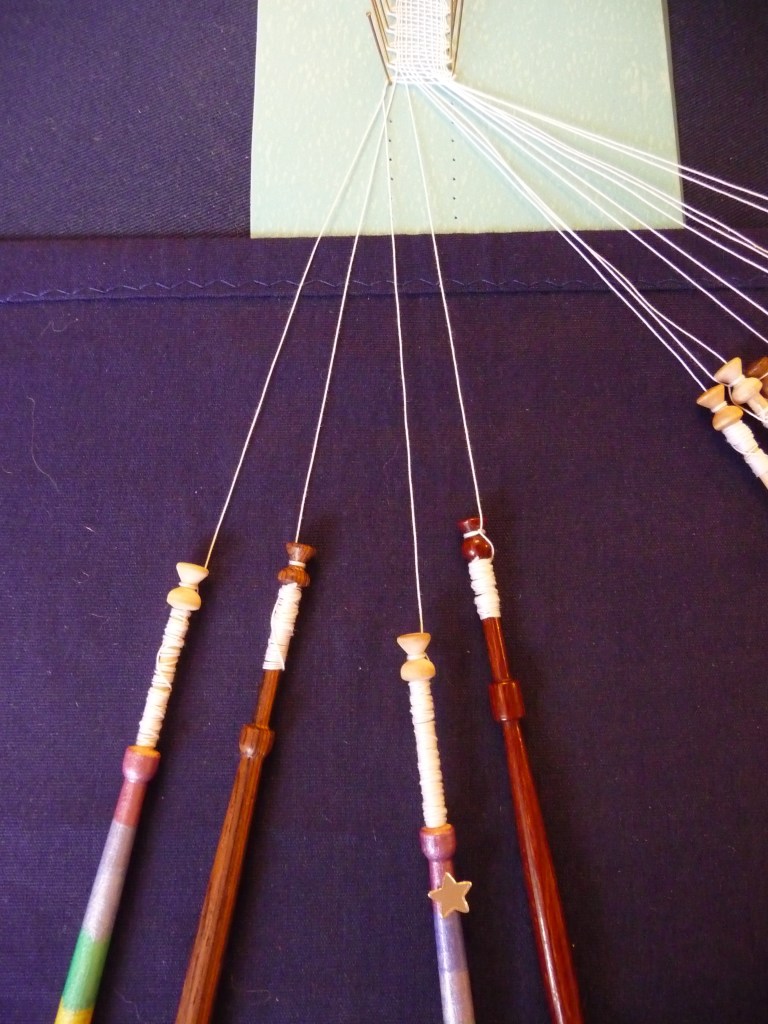
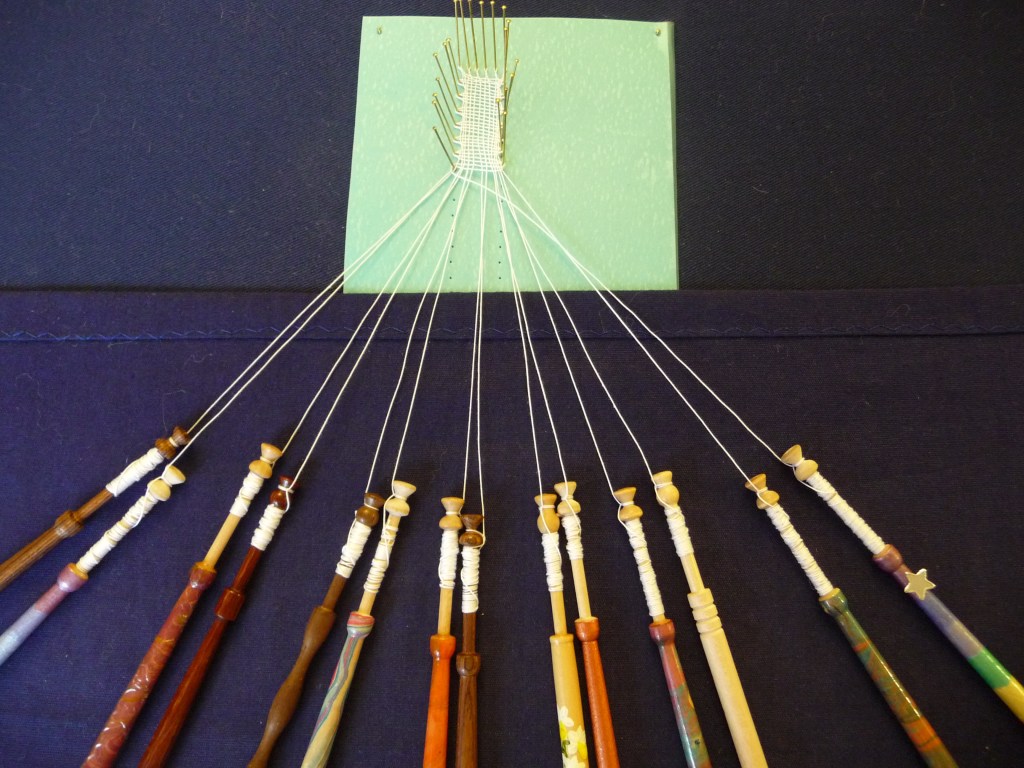
- Put the pattern you prepared onto your lace pillow and pin it into place at the corners.
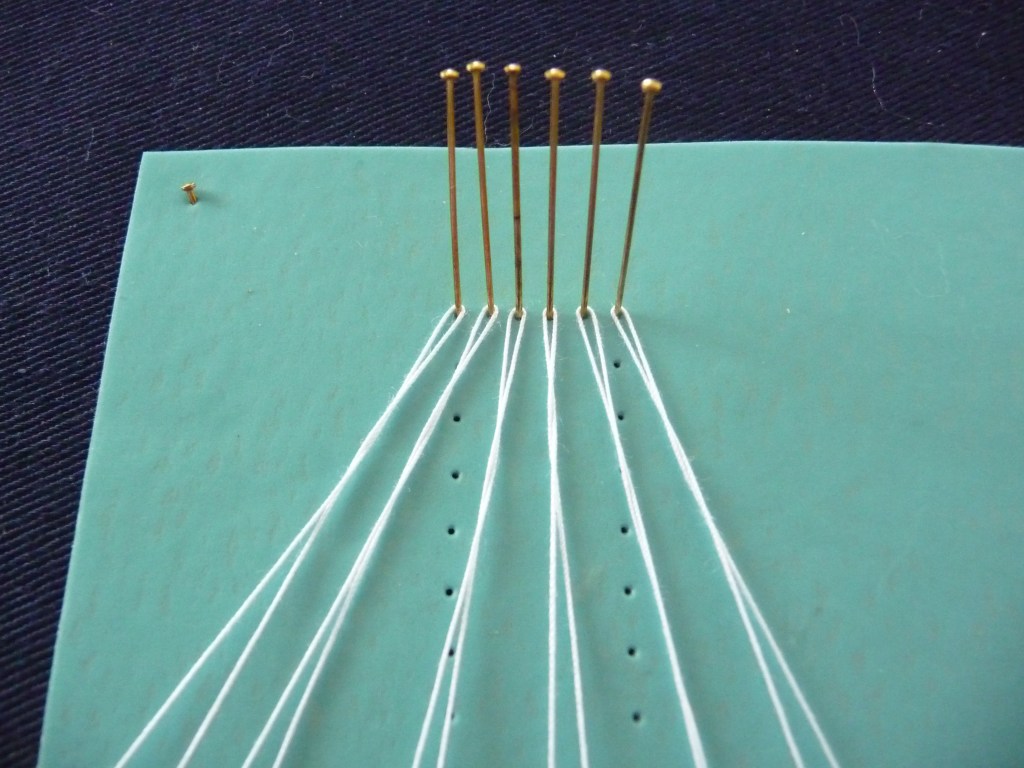
2. Put pins into each of the pin holes along the top of the strip, pushed in around a quarter of the way down and angled slightly backwards
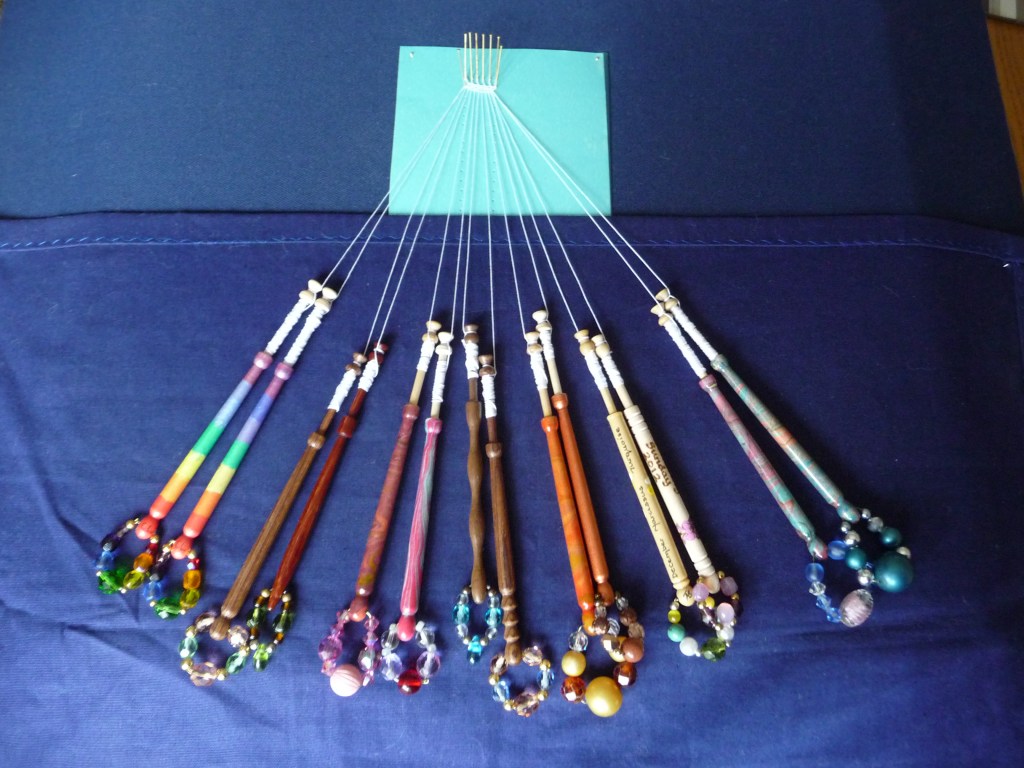
3. Hang one pair of bobbins on each pin, leaving out your worker pair (the one you wound extra thread onto). Unwind enough thread so that there’s about a bobbin’s length of thread between the pin and the end of the bobbin.
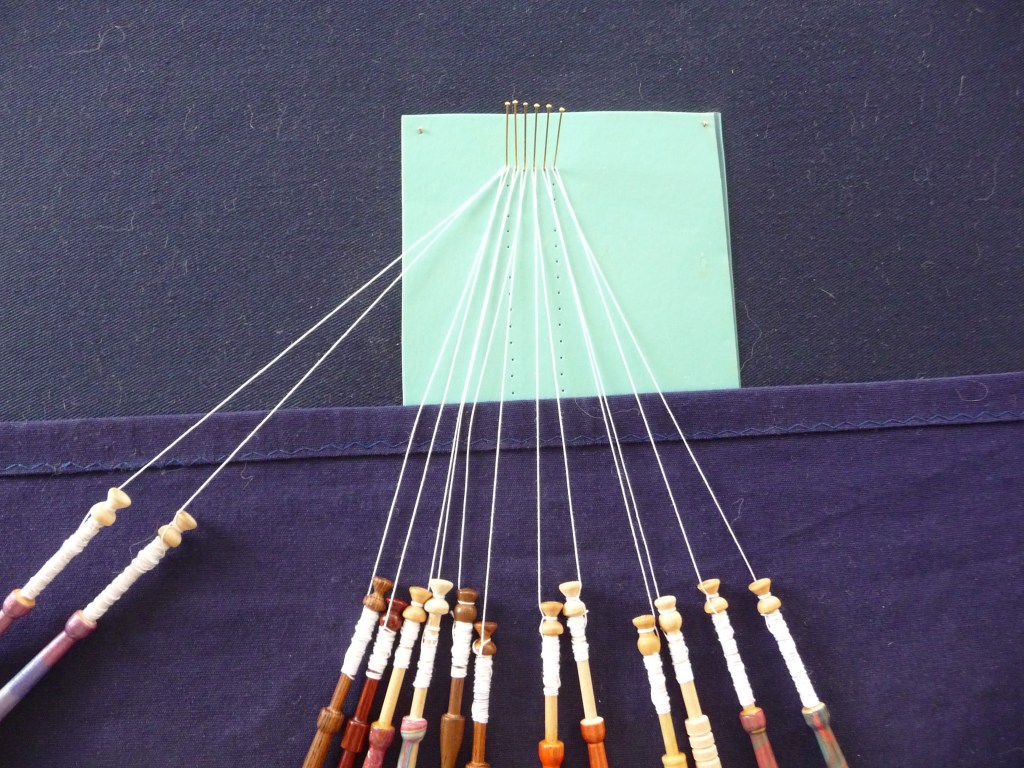
4. Then twist each pair twice; that means cross the right one over the left one twice for each pair.
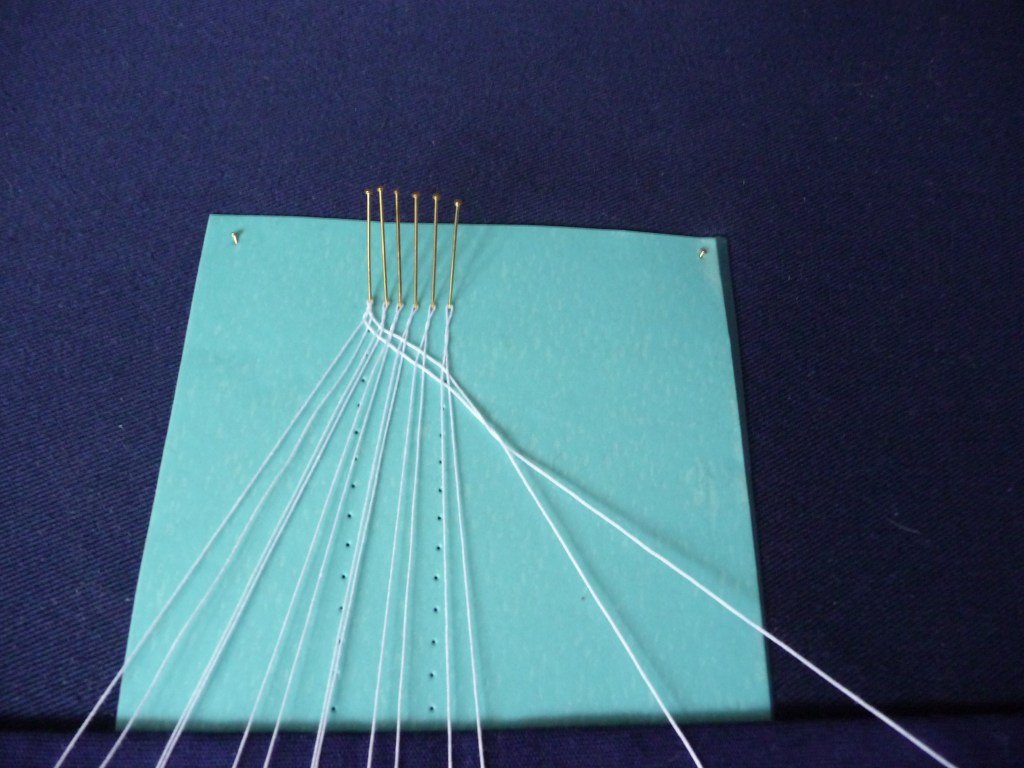
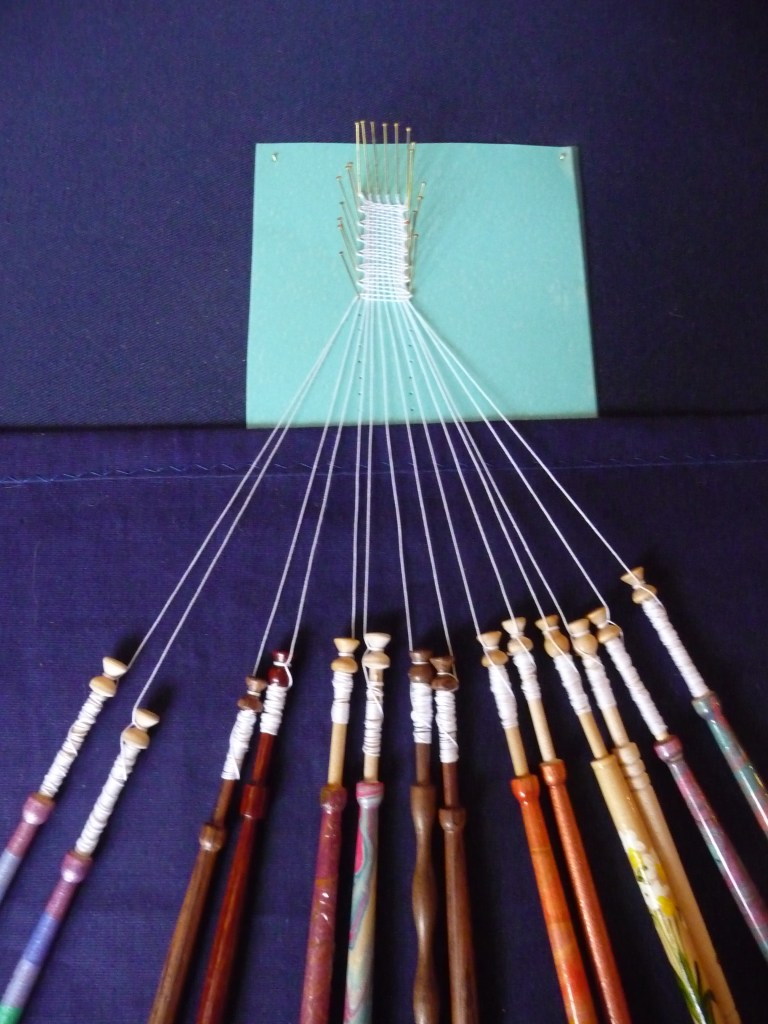
5. Add the worker pair to the pin on the far left hand side (on top of the pair that is already on that pin), laying it on the outside of the other pairs, and twist it twice
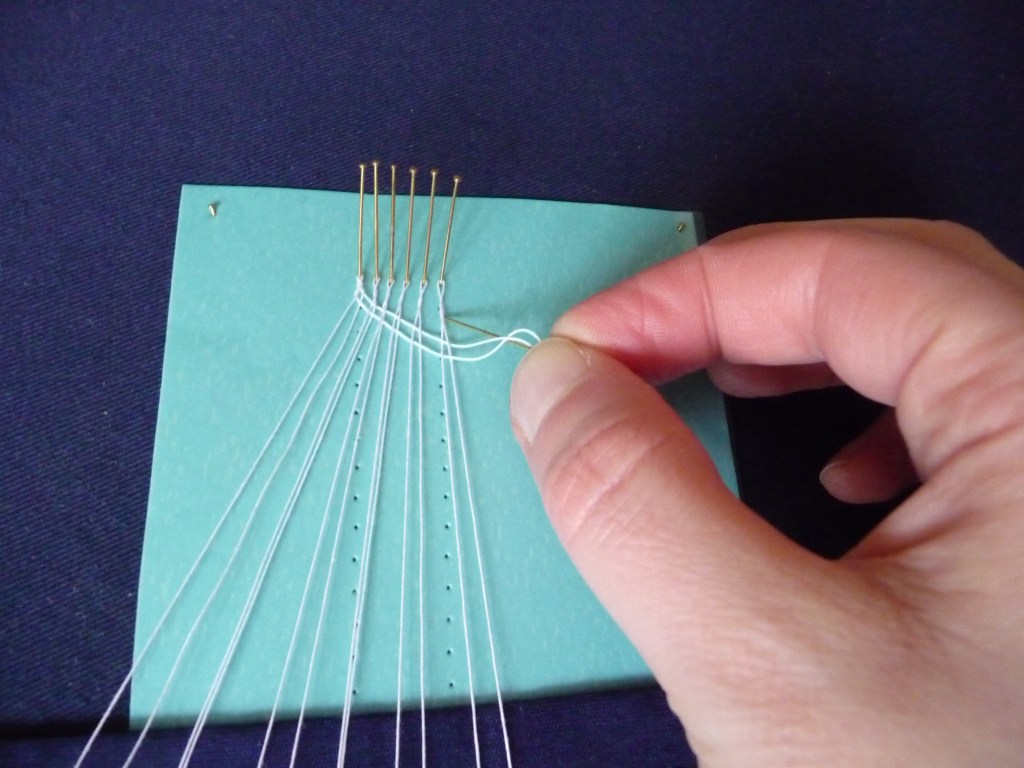
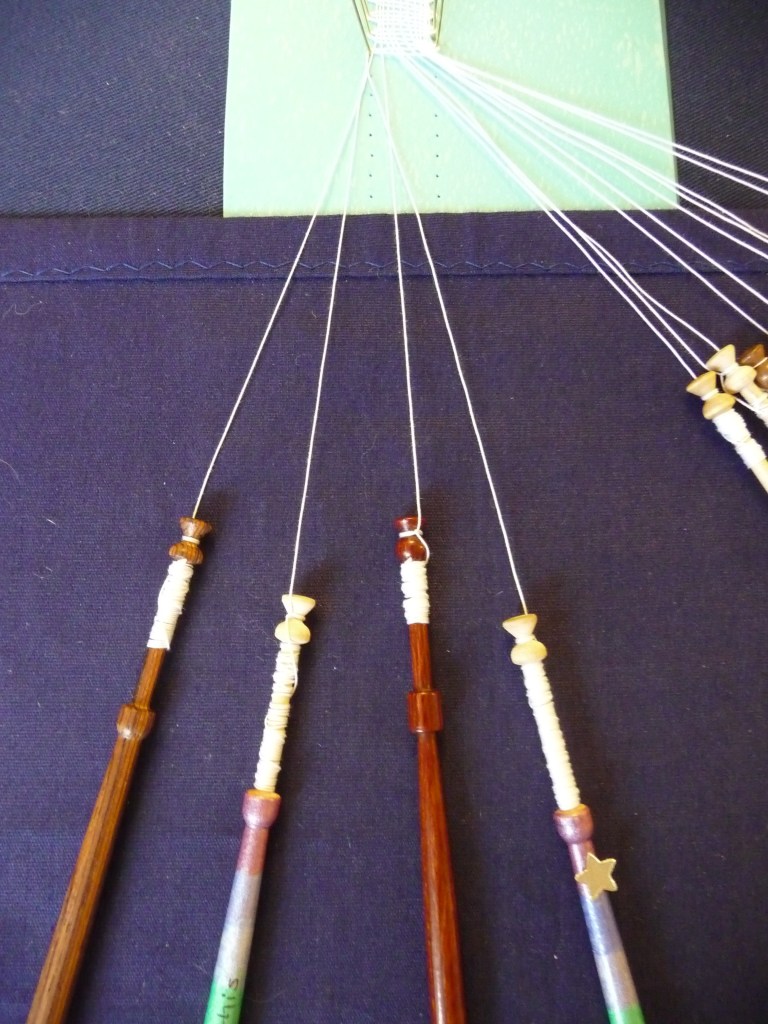
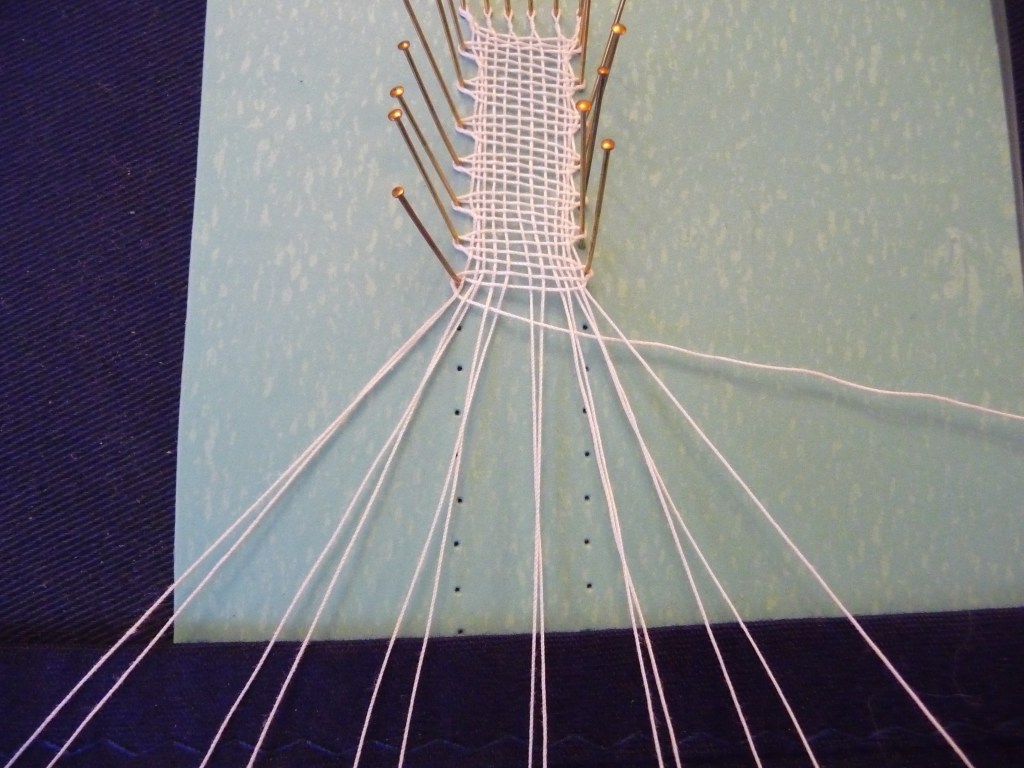
Whole stitch involves weaving the worker pair through the passive pairs until it gets to the pinhole at the other side. Each stitch is made like this:
6. Take your worker pair and the first passive pair, and push the other pairs carefully to one side, but keeping them aligned so that their threads don’t get crossed over. Count the bobbins left to right 1-4. These numbers will relate to the position of the bobbin and not the bobbin itself.
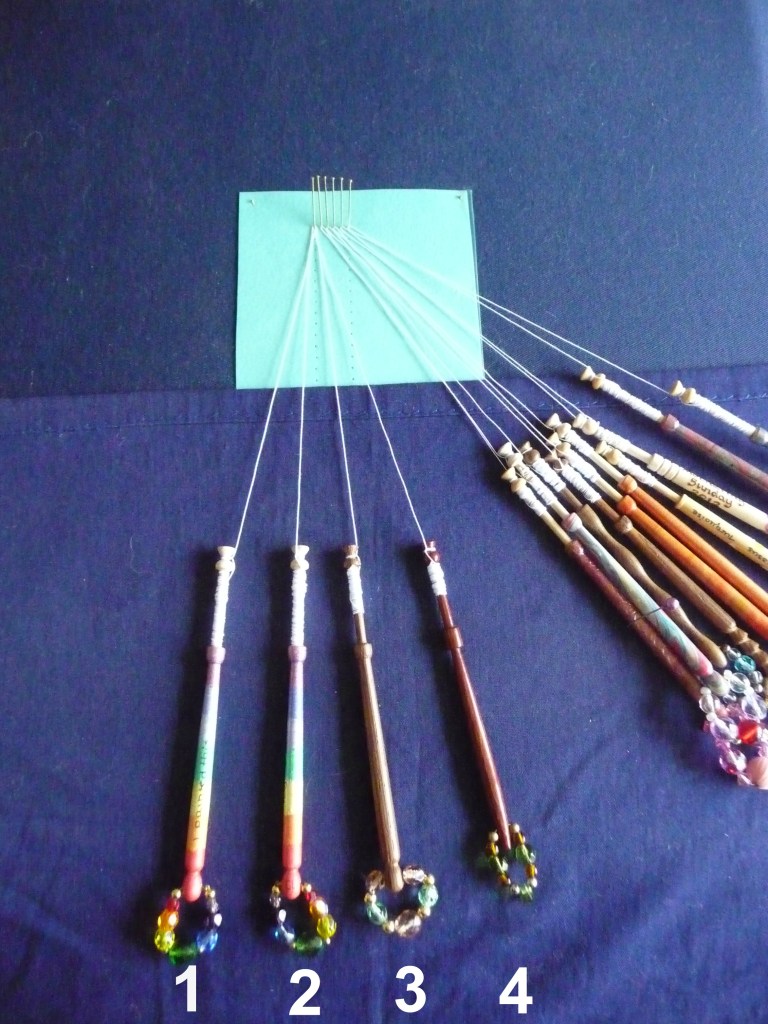
7. Pick up the bobbin in position two, and cross it over the bobbin in position three (i.e. left to right)
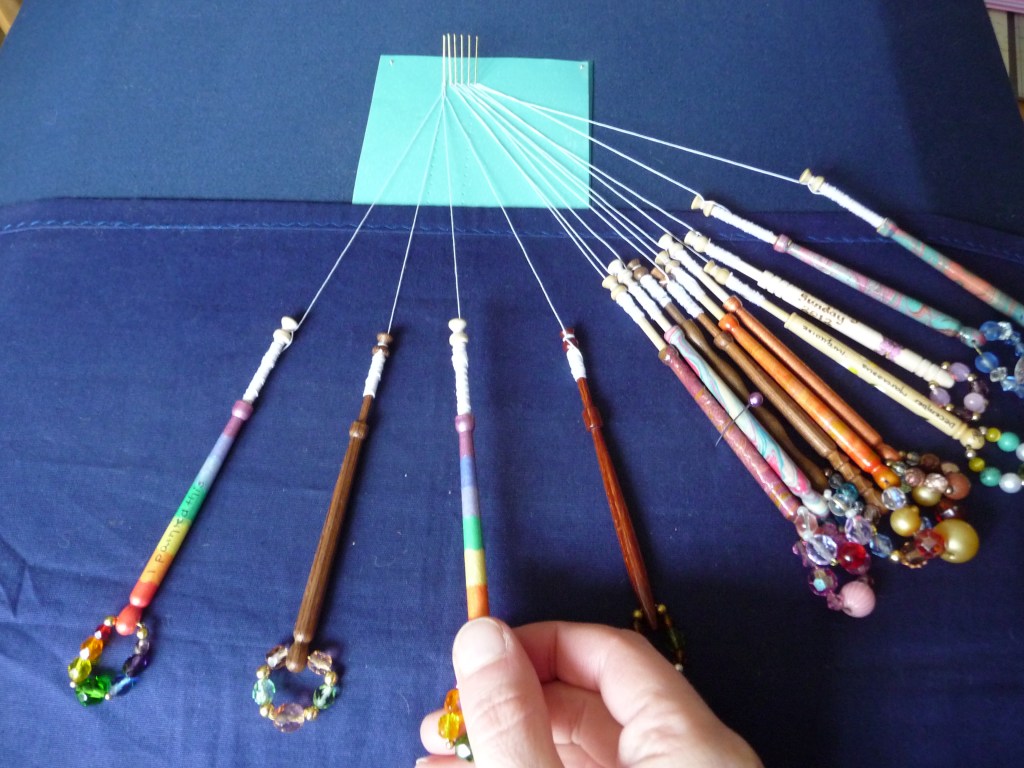
8. Pick up the bobbins in positions two and four (one in each hand) and twist them over bobbins one and three in one movement (i.e. right to left)
9. Repeat the first step, i.e. pick up the bobbin in position two, and cross it over the bobbin in position three
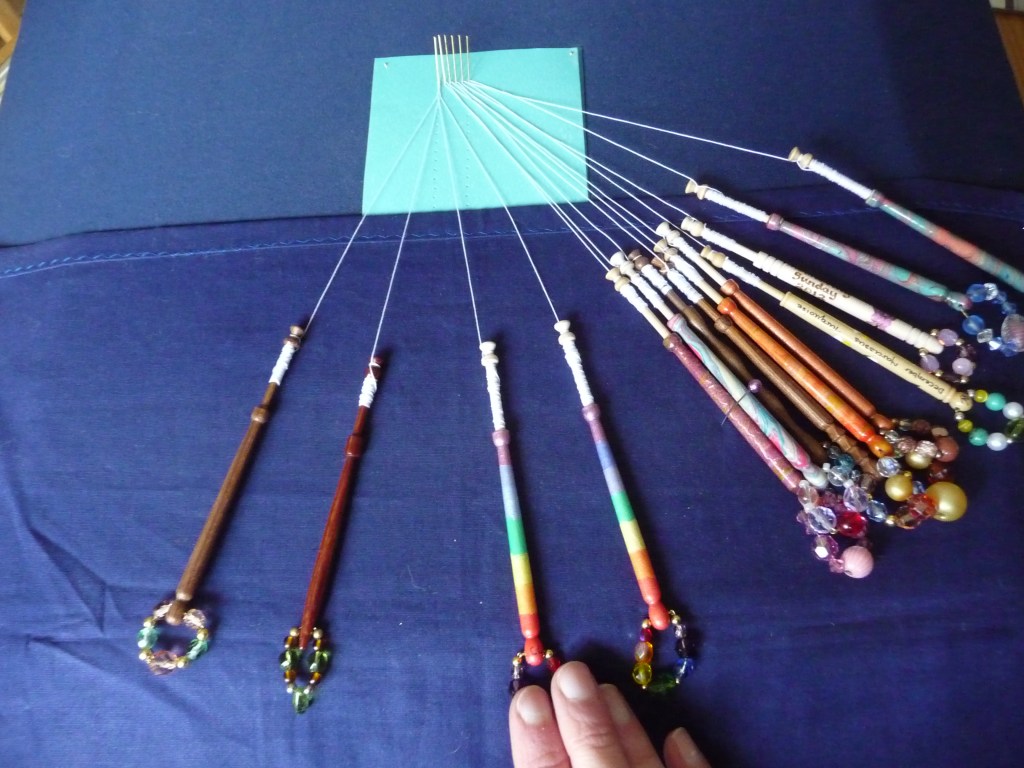
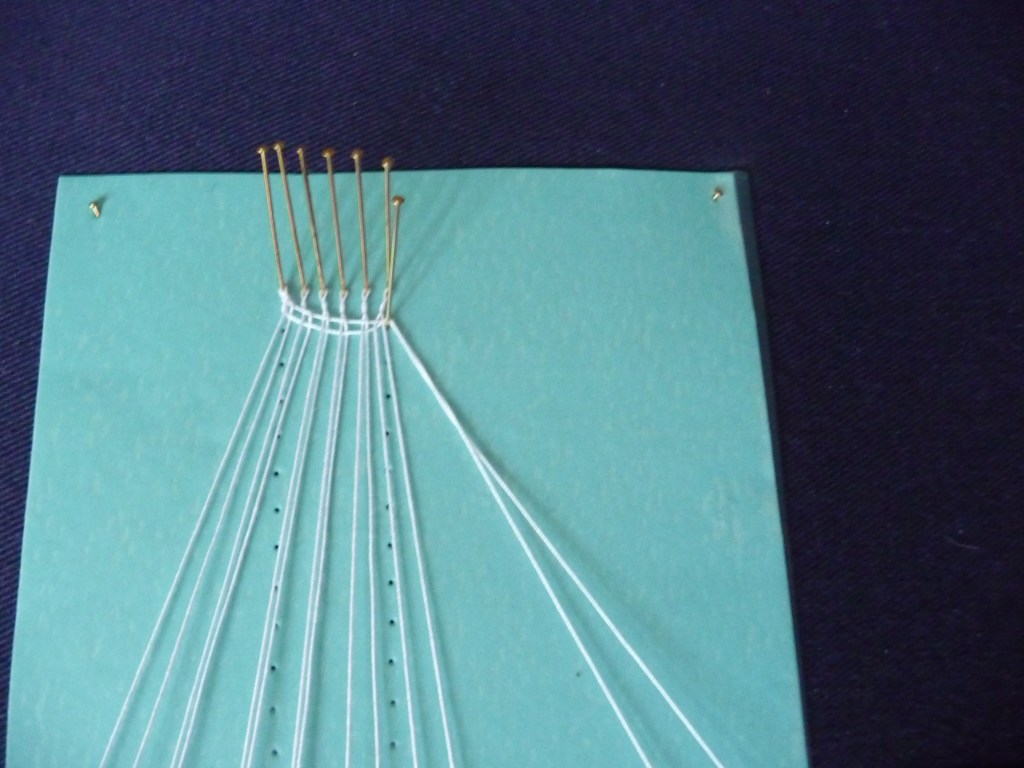
Can you see how the worker pair (my rainbow coloured pair) has now swapped places with the passive pair by passing through it?
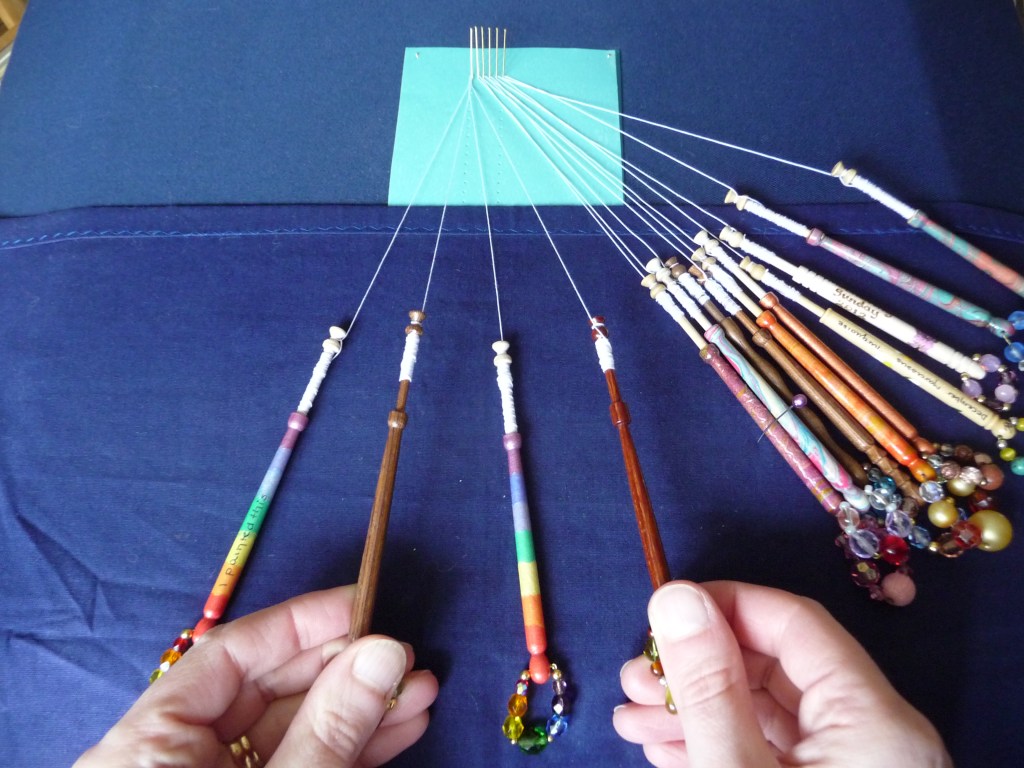
10. Put the passive pair you have just worked through to one side and repeat steps 7-9 above with the next passive pair, and the next and so on until you’ve no more pairs to work through. Keep the passive pairs parallel as you work as even one twist or cross will affect the overall appearance of the finished piece.
11. When you reach the end of the row, twist the worker pair twice (right over left for a twist, remember) to give the edge a bit of strength, and put a pin into the pinhole, inserting it between the last passive pair and the worker pair, and pushing it about a third of the way down and angled slightly backwards. Bring all your passive pairs into the centre and straighten them all out, pulling the worker pair gently as you do so to ensure good tension in the lace. Make sure all your passive pairs are hanging straight with no twists on them- this helps to keep your work neat and accurate.
Hooray, one row complete!
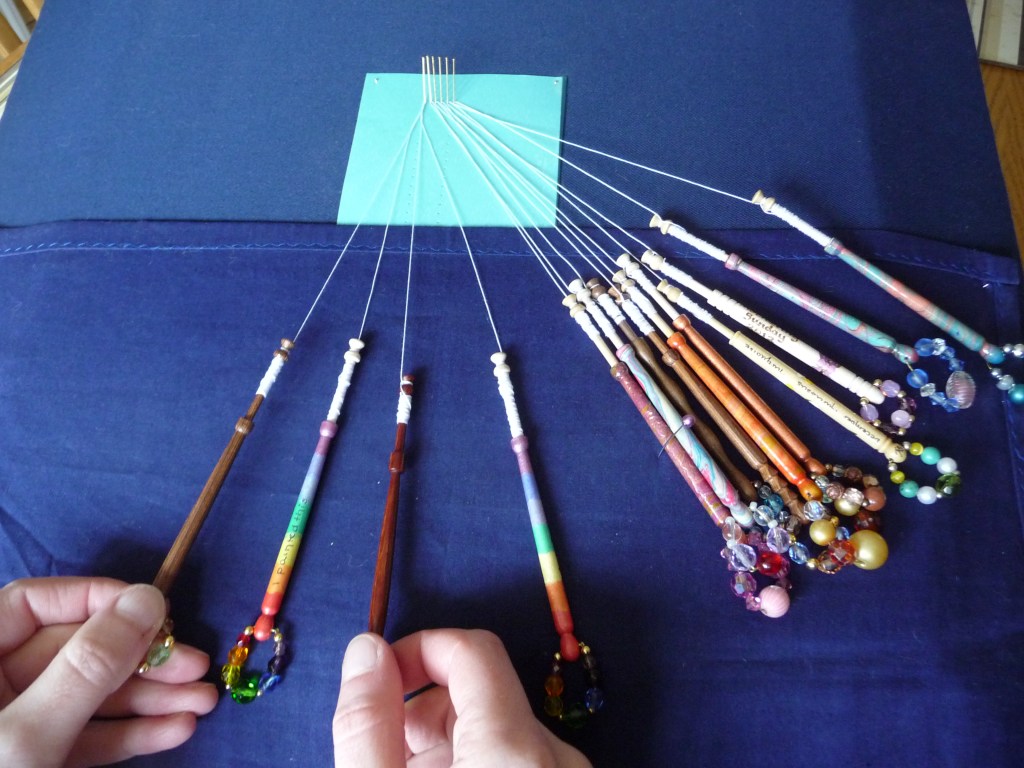
You then repeat this but travelling in the other direction to complete the next row. The movements stay the same, you’re just moving the workers to the left now.
Remember to do two twists at the end of each row to help keep the lace strong and in shape.
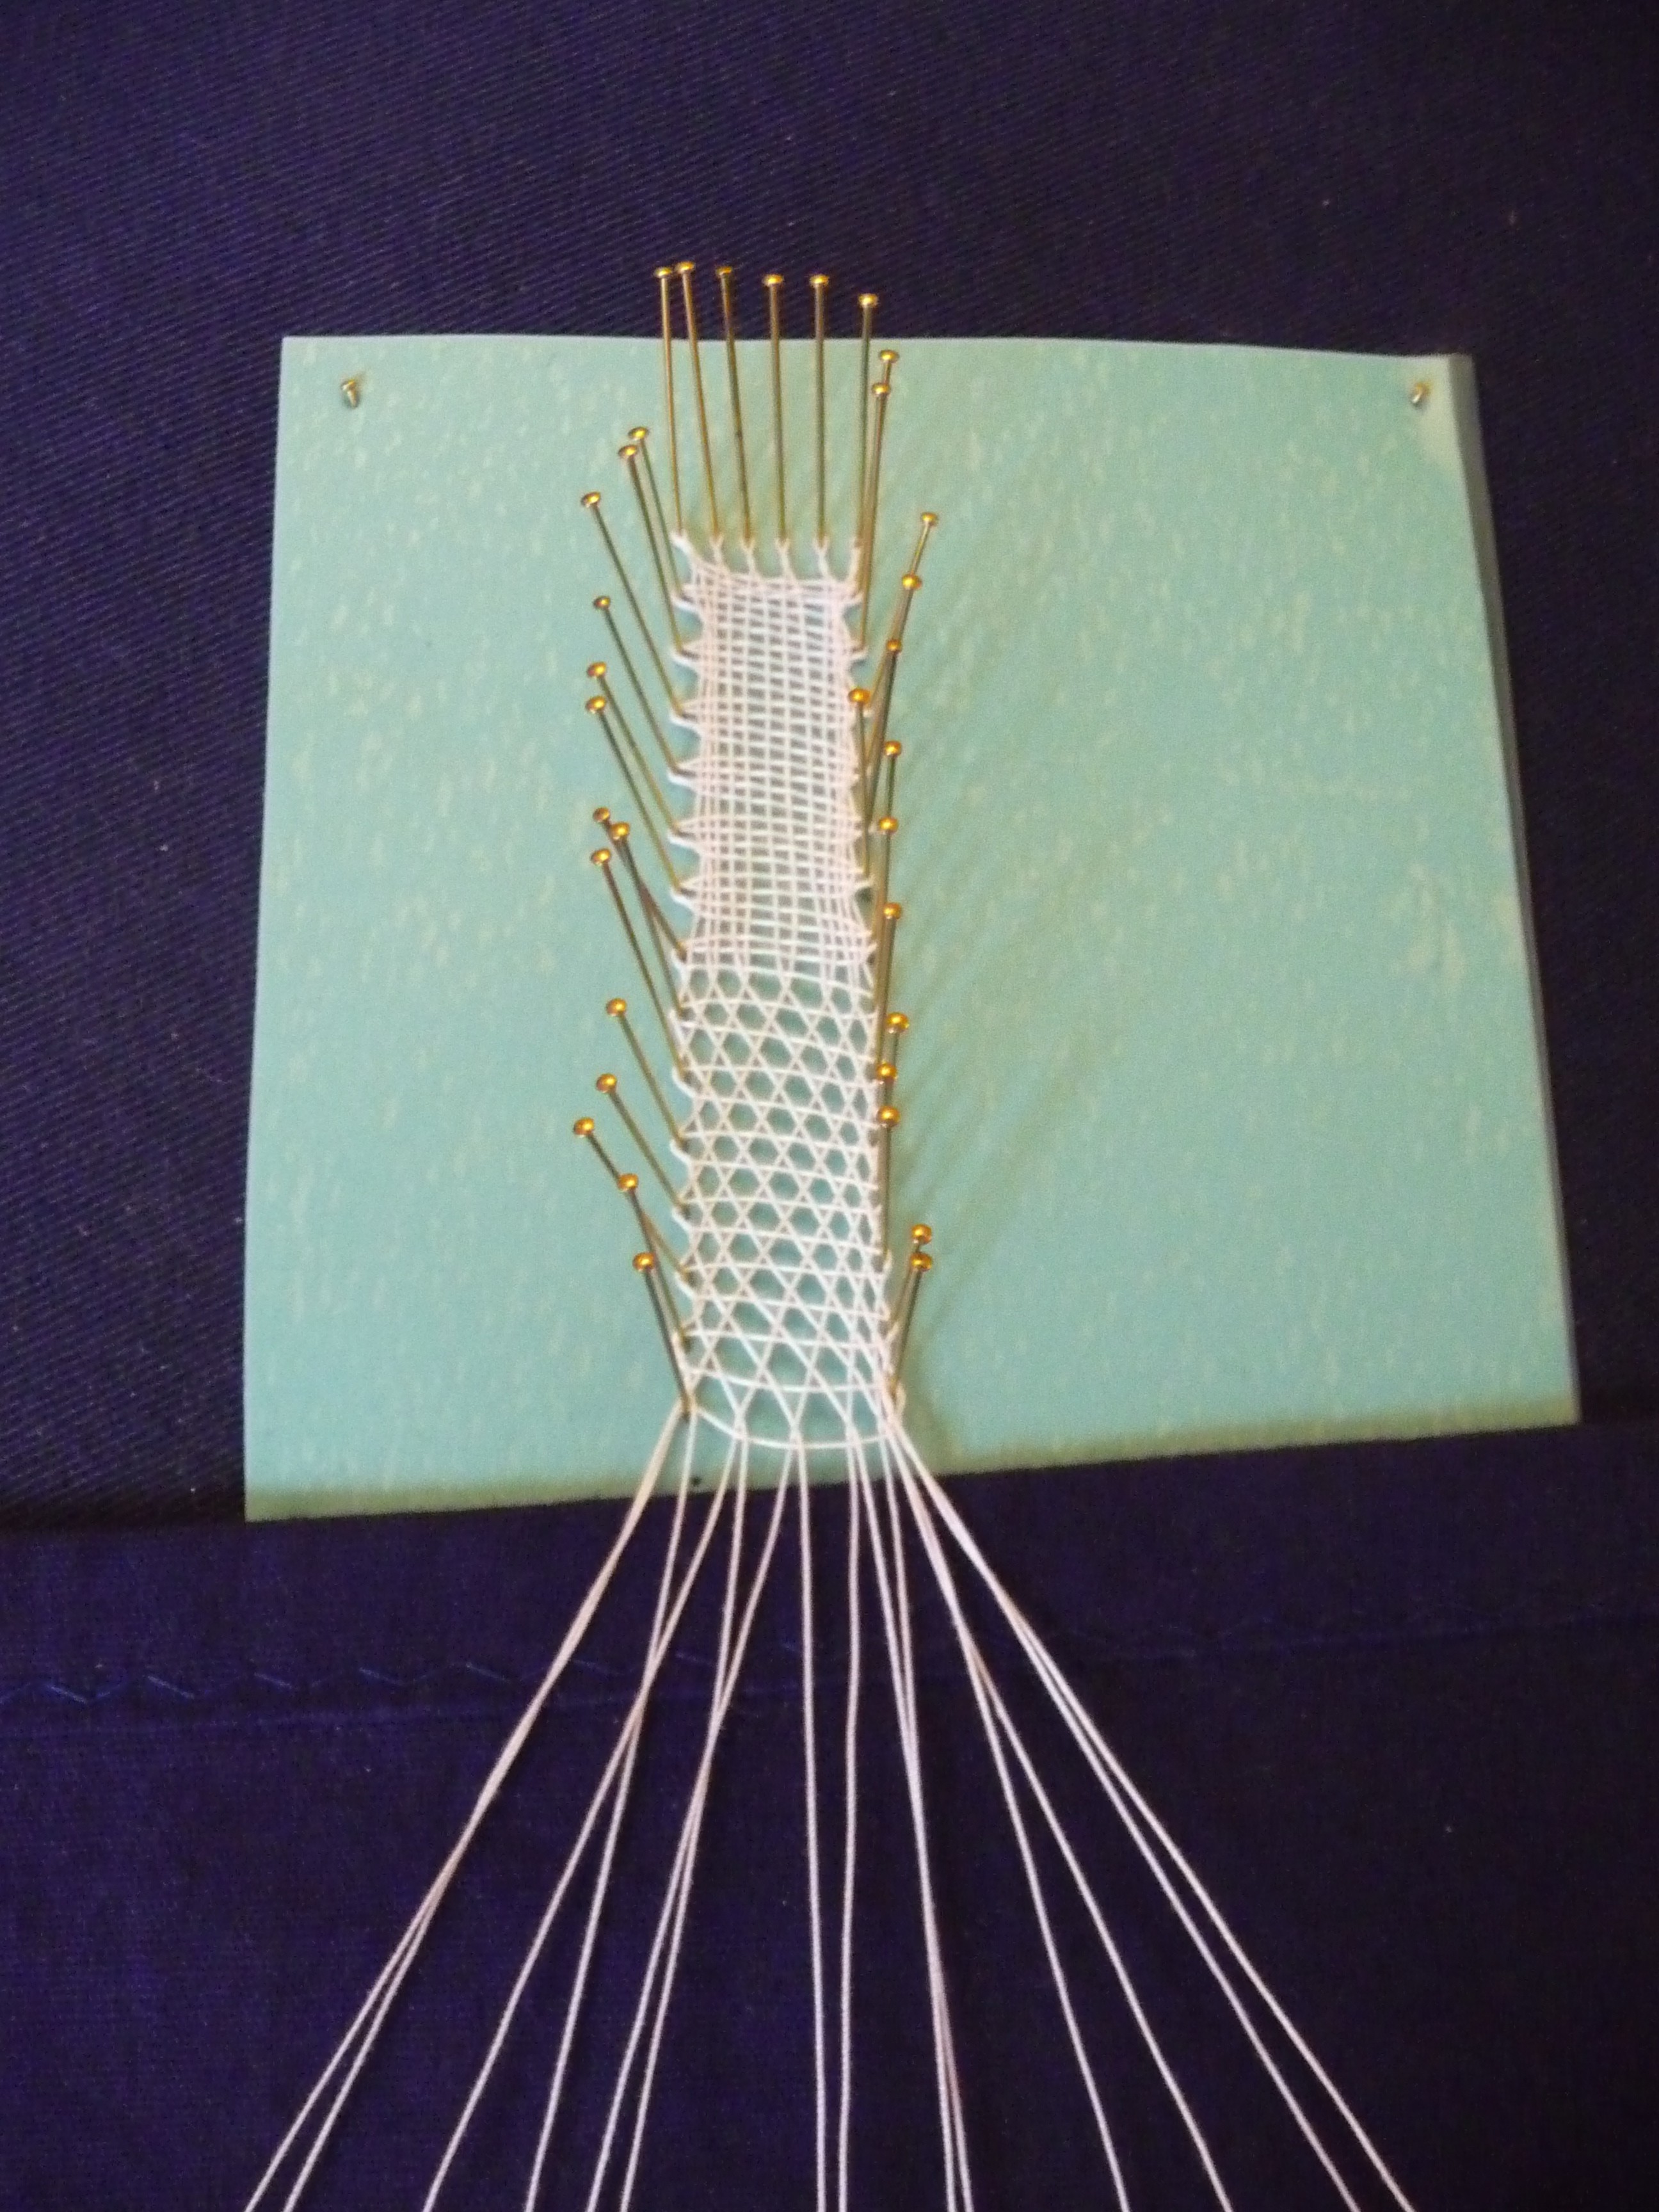
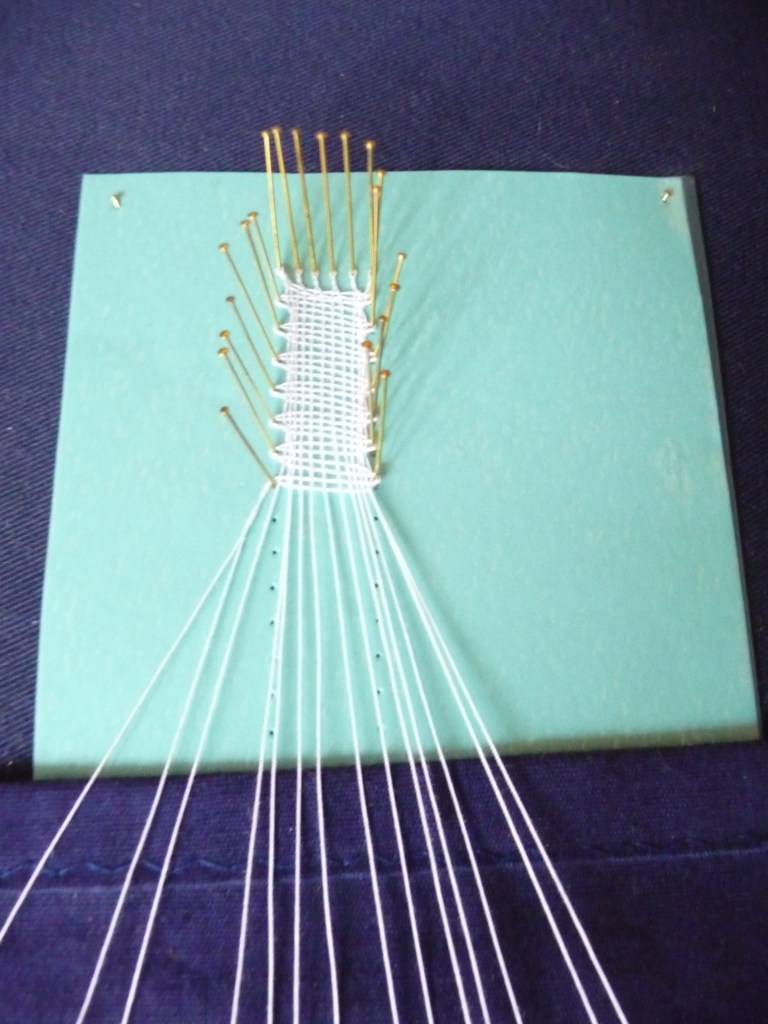
So go ahead and do a few rows (a dozen at least so you’ve really got the hang of it) and look… you’re making lace! Yipee!!
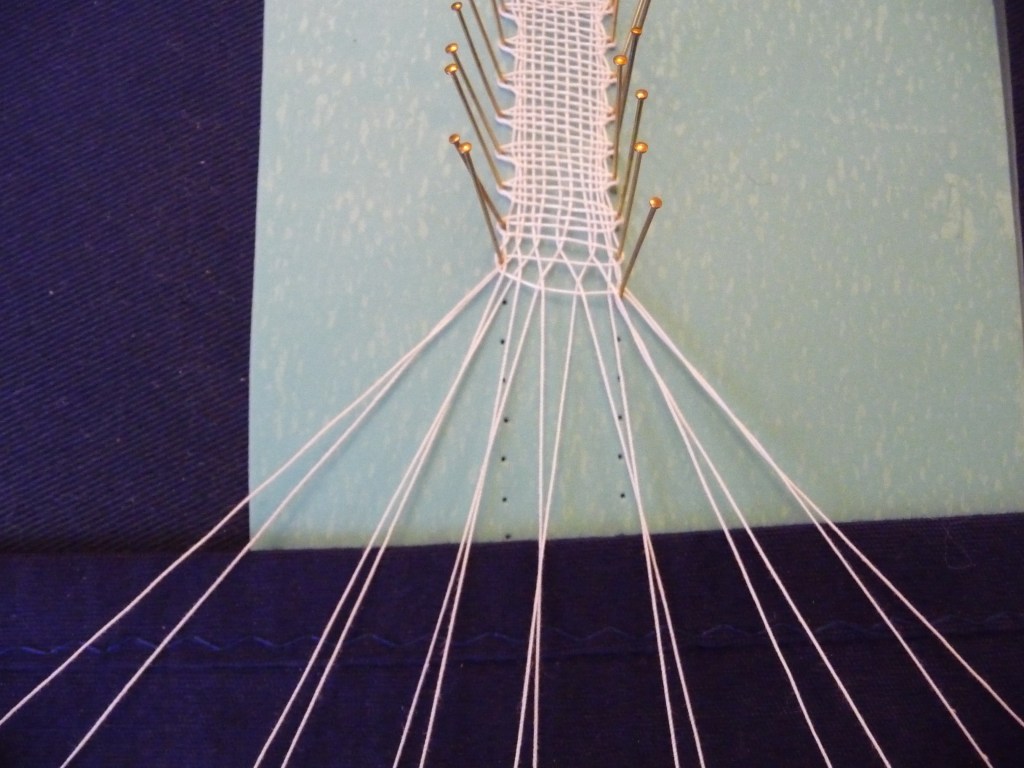
Half stitch
So now you’ve mastered whole stitch, the other stitch you need to know is half stitch. This stitch is very similar to whole stitch but the worker pair doesn’t stay as a distinct pair, so I’ve put a sticker on the bobbin which will be doing the travelling- watch out for it!
You could start again with a new grid but as we already have the bobbins wound and ready, let’s just carry on. Oh, and you should recognise the steps involved from whole stitch.
- Pick up the bobbin in position two, and cross it over the bobbin in position three
2. Pick up the bobbins in positions two and four (one in each hand) and twist them over bobbins one and three in one movement
And that’s it! Push the two left hand bobbins carefully to one side and move onto the next pair and repeat the above two steps. And then continue across the row until all the pairs have been used, twist twice, and put in the pin.
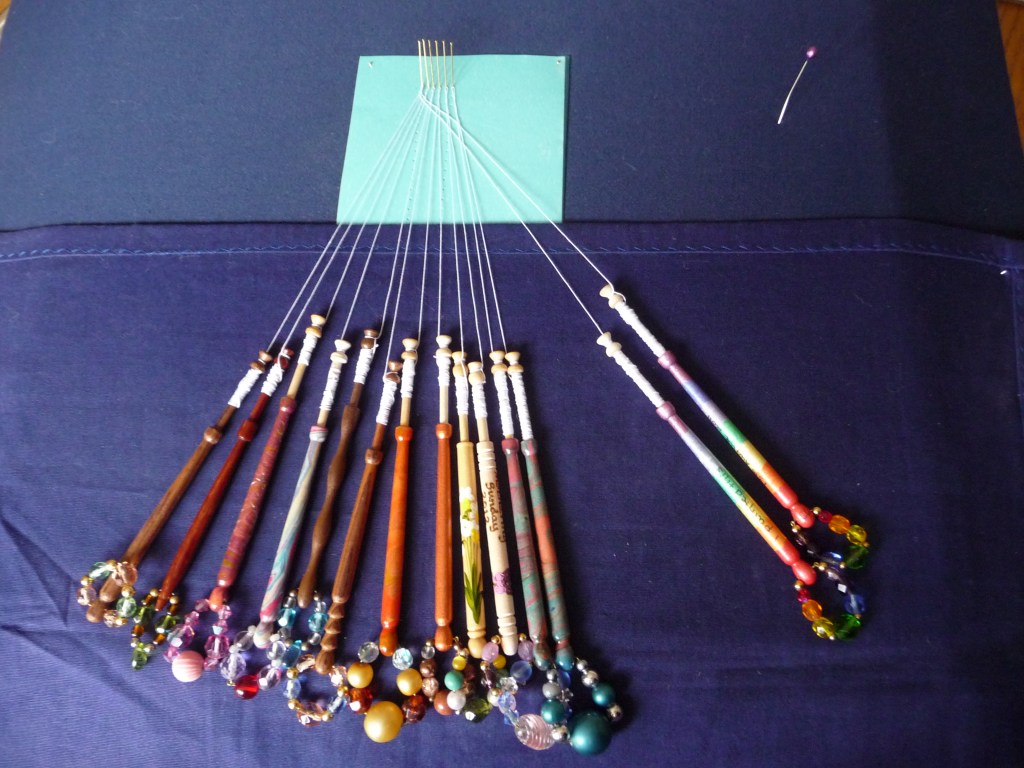
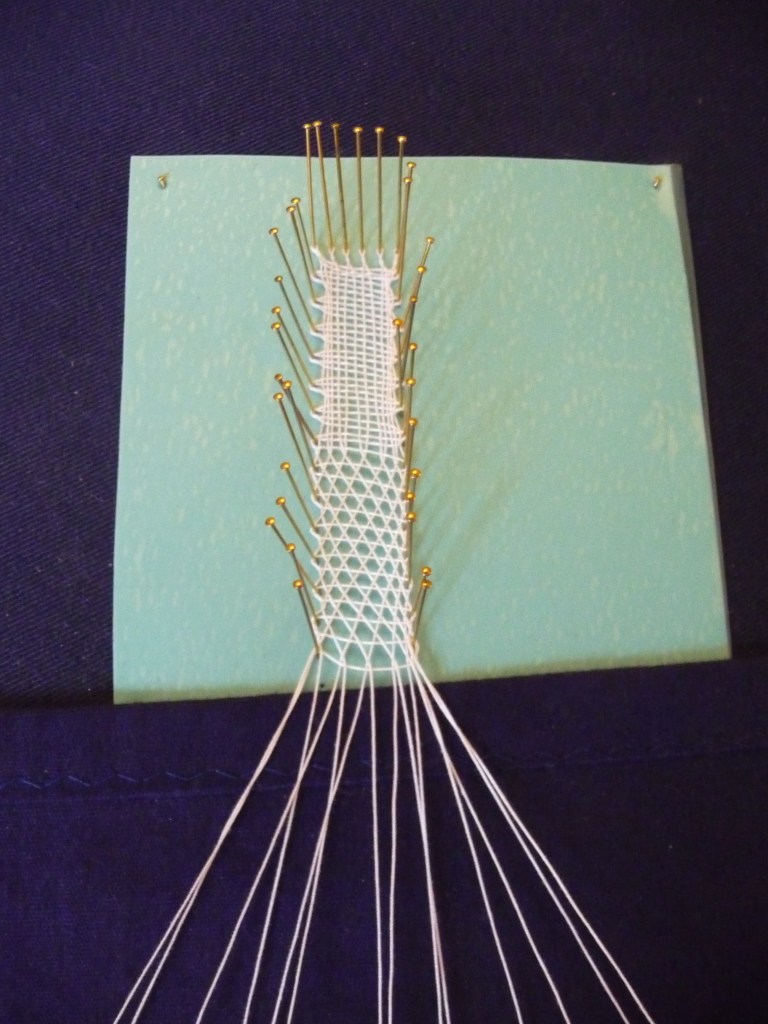
Can you see how only one of the original worker pair has moved across the row? So although we’ve still been working in pairs, half stitch is different because only half the original worker pair does all the work. If your bobbins were originally in matching pairs, they will now have got a bit mixed up and have a new partner. The passives will also have a twist on them- I’ve done a few rows here and you can see they all have a twist whereas with whole stitch they were parallel.
Again, practice this stitch for a few rows until you’ve got the hang of it. If you twist twice at the end of the rows, it will be a new worker bobbin which travels across the row, so while you are practising you could always just twist once at the end of each row so that the same bobbin acts as your worker all the way through.
Then perhaps do another block of whole stitch, and another of half stitch and you’ll soon have a strip of practice stitches which you could even put to use as a bookmark.
Well done! You’ve mastered the two basic lace making stitches. If you want to create some variation you can add twists at various points- try:
– Twisting the last passive pair after you’ve worked through it, before you put the pin in
– Putting a twist on the centre pair of passives after the workers have passed through it
– Doing whole stitch and twist i.e. twist the worker pair and each pair of passives after you’ve done the basic whole stitch.
Just by adding different twists in different places, new effects will emerge.
Now, let’s have a well-earned cuppa! 🙂