
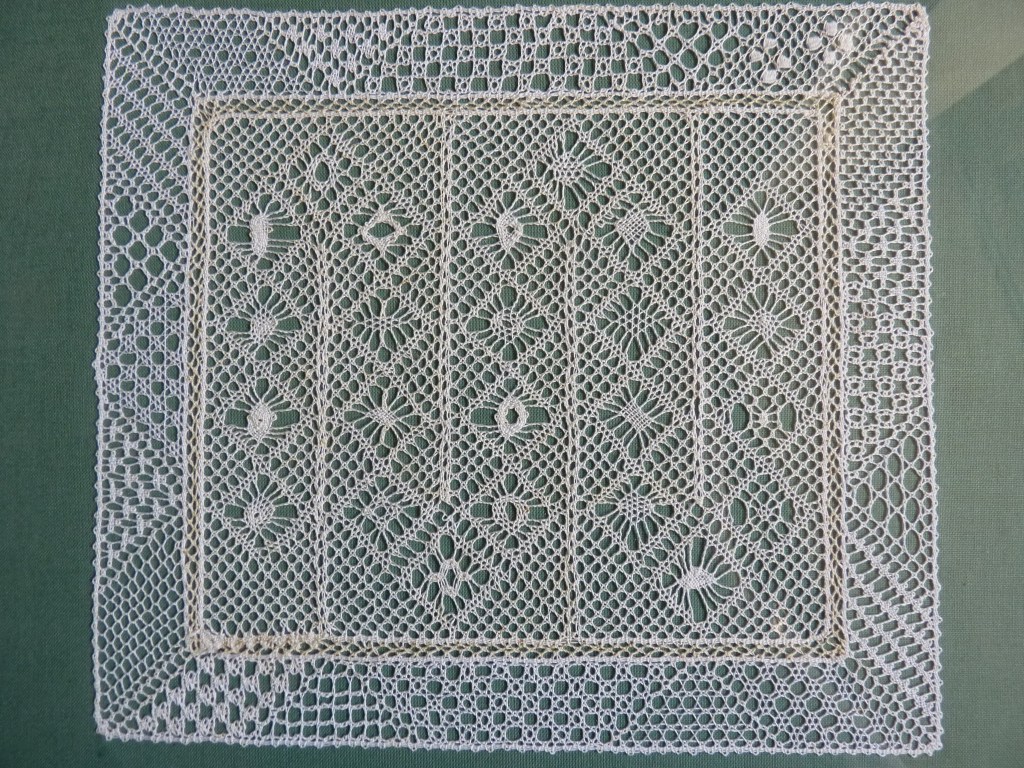
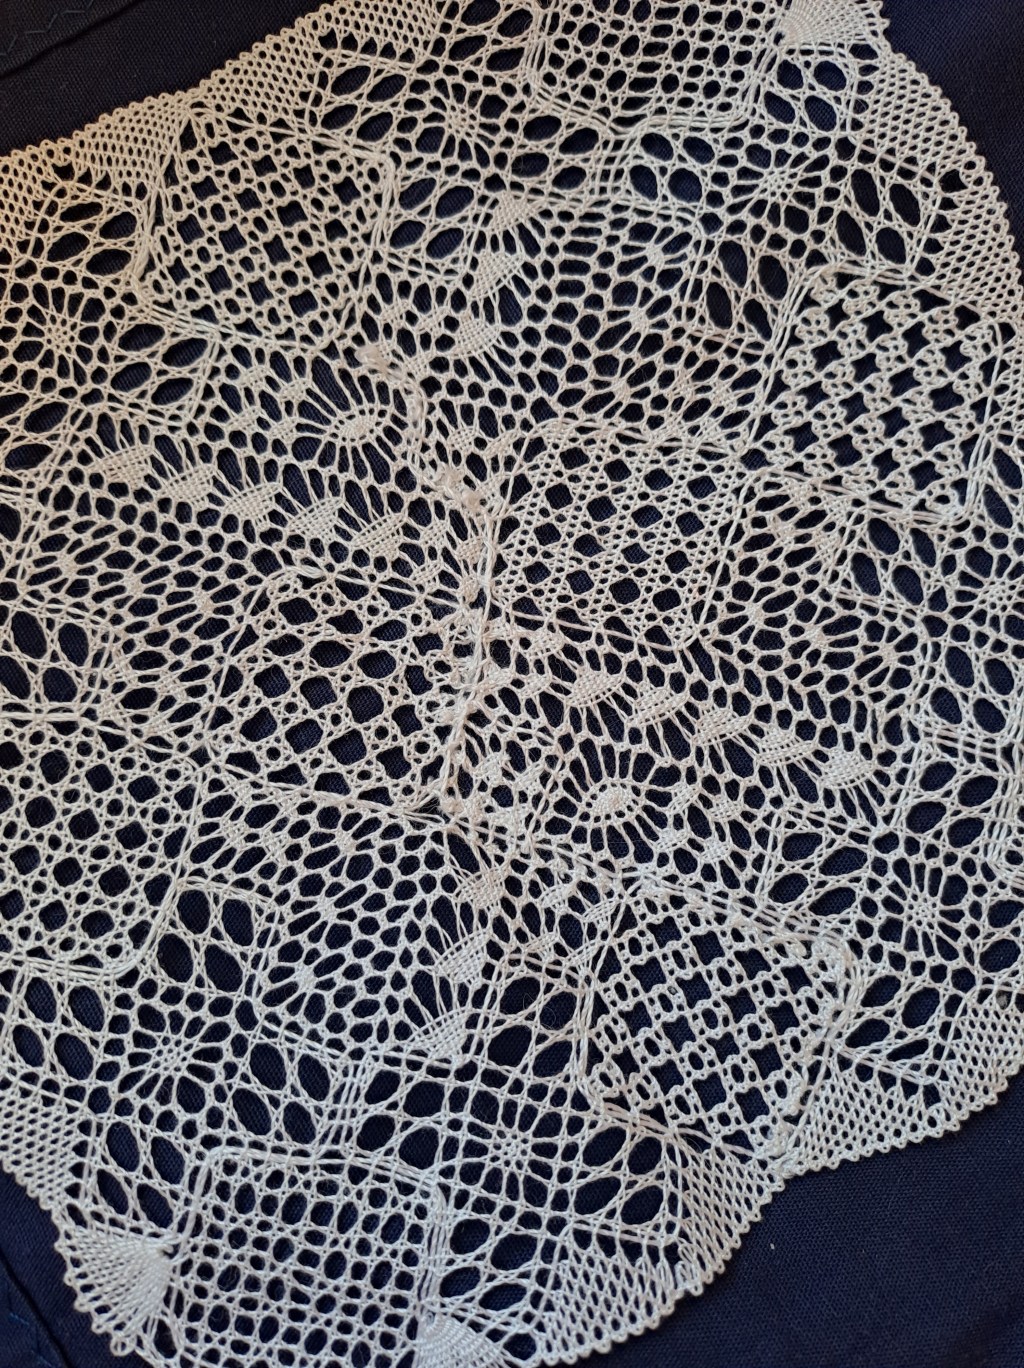
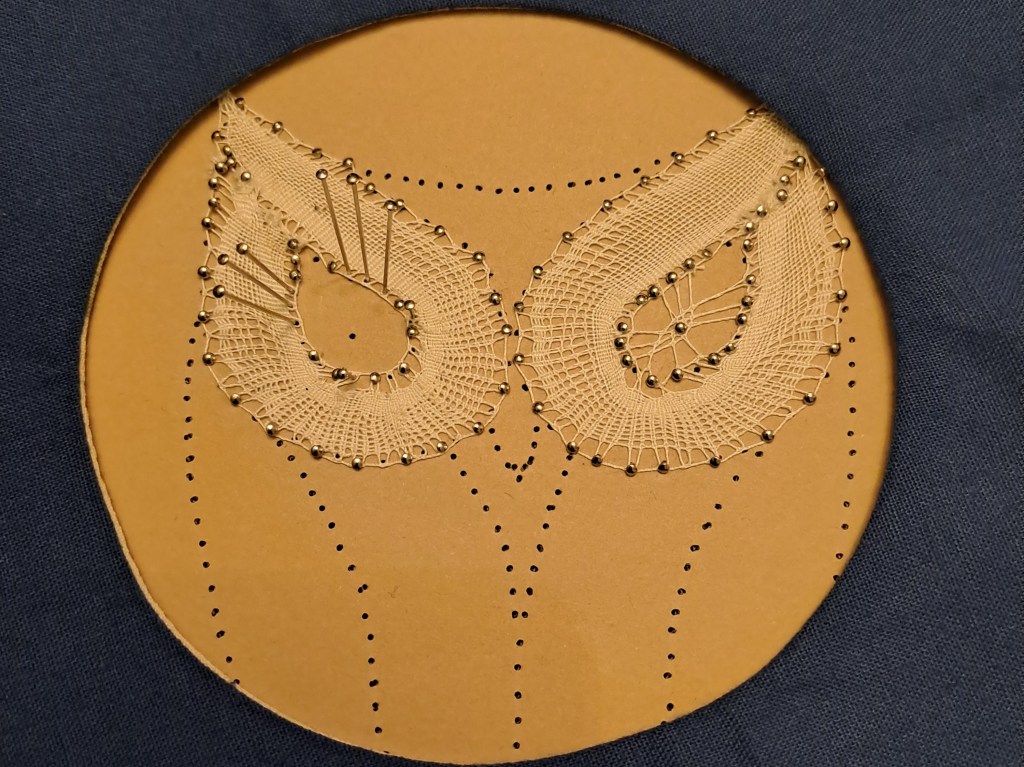
I posted last week about the disastrous Honiton perls so thought I’d make some notes here about how to get them looking better. These instructions are for perls on a trail- for perls on e.g. a blossom filling, use steps 4 to 7 (inclusive). In the images below I’m doing perls on the right hand side, which will therefore be on the left hand side once the lace is finished and turned over.
If you want to see a video of this technique being worked, check out my #40lacestitches video on YouTube: https://youtube.com/shorts/nFXNOLS9xqk?si=5GpcJmFZQ99K0XGm
- Work through the downrights including the coarse pair then twist the workers three times. Don’t put a pin in, but gently pull the workers up so everything is neat.
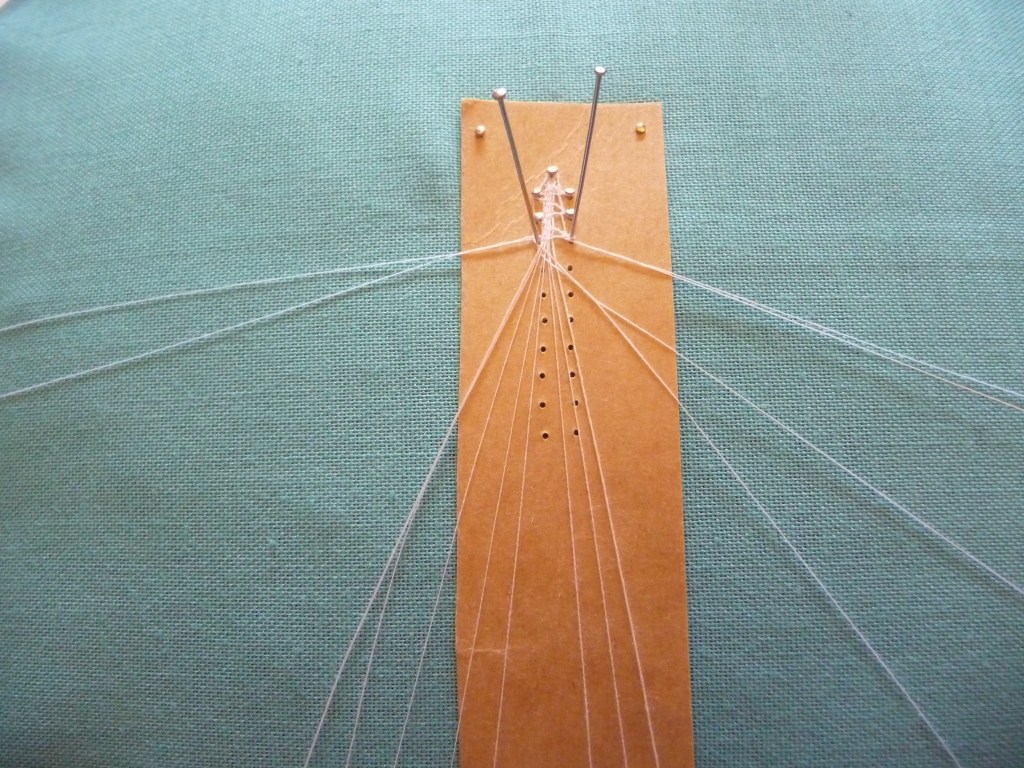
2. Work a whole stitch through the edge pair.

3. Twist the workers seven times.
4. Take your pin, tip pointing towards the work, and wrap it round the thread towards you. Put the pin in the hole.
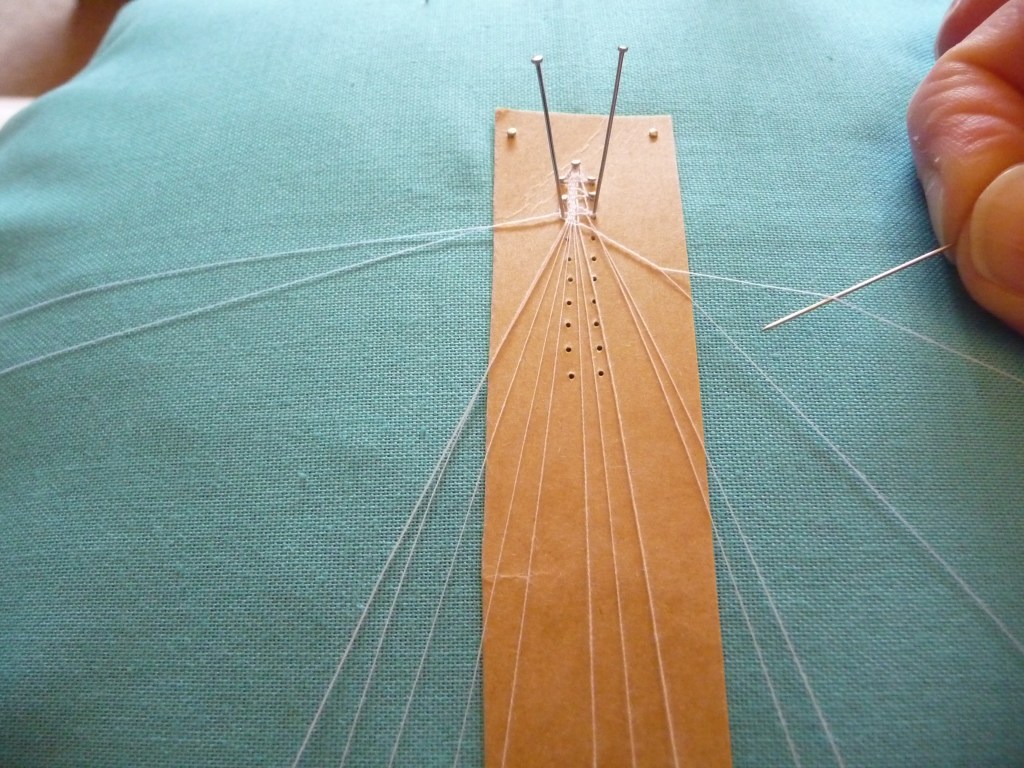
5. Take the other worker bobbin and pass the thread around the pin from outside, to inside (i.e. anti-clockwise for right hand perls and clockwise for left hand perls) and lay it back where it came from.
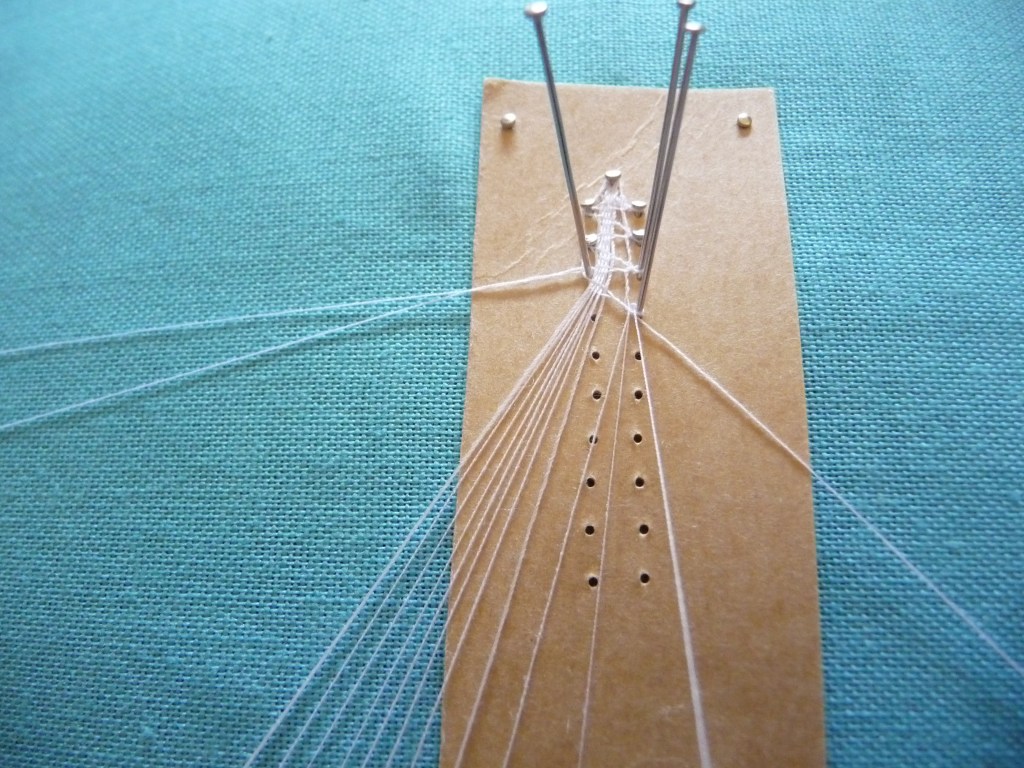
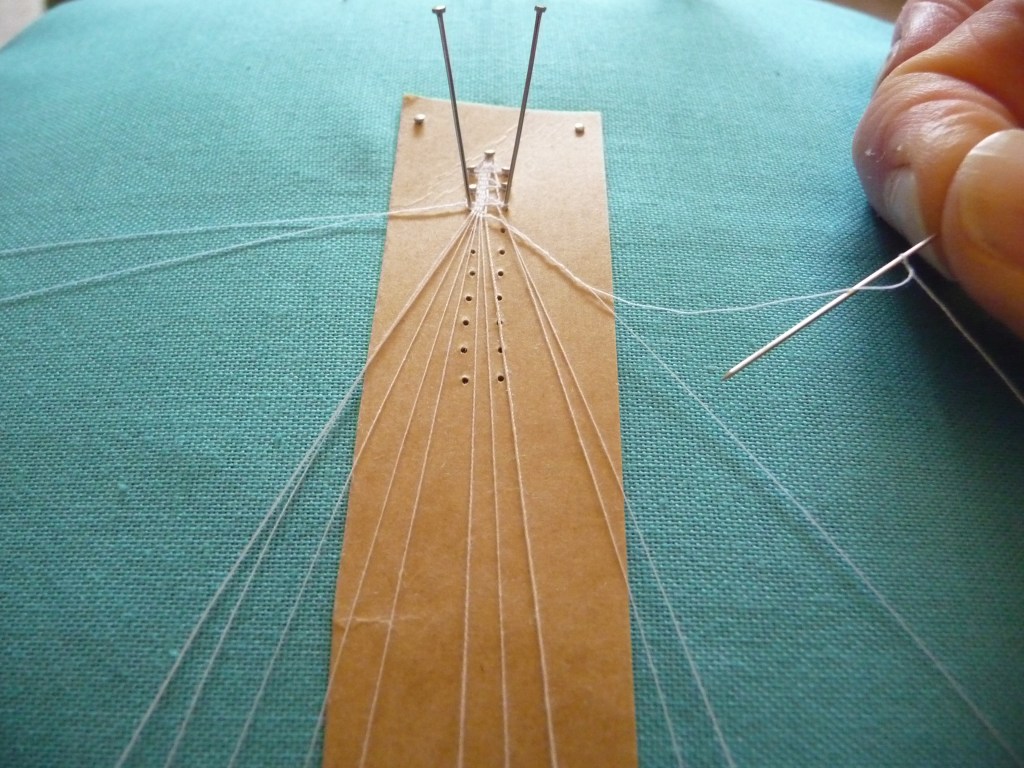
6. Twist the workers once for a right hand perl, and cross them twice for a left hand perl. Pull everything up again so it is nice and neat.
7. Work a whole stitch with the edge pair and twist both pairs three times. Pull up.
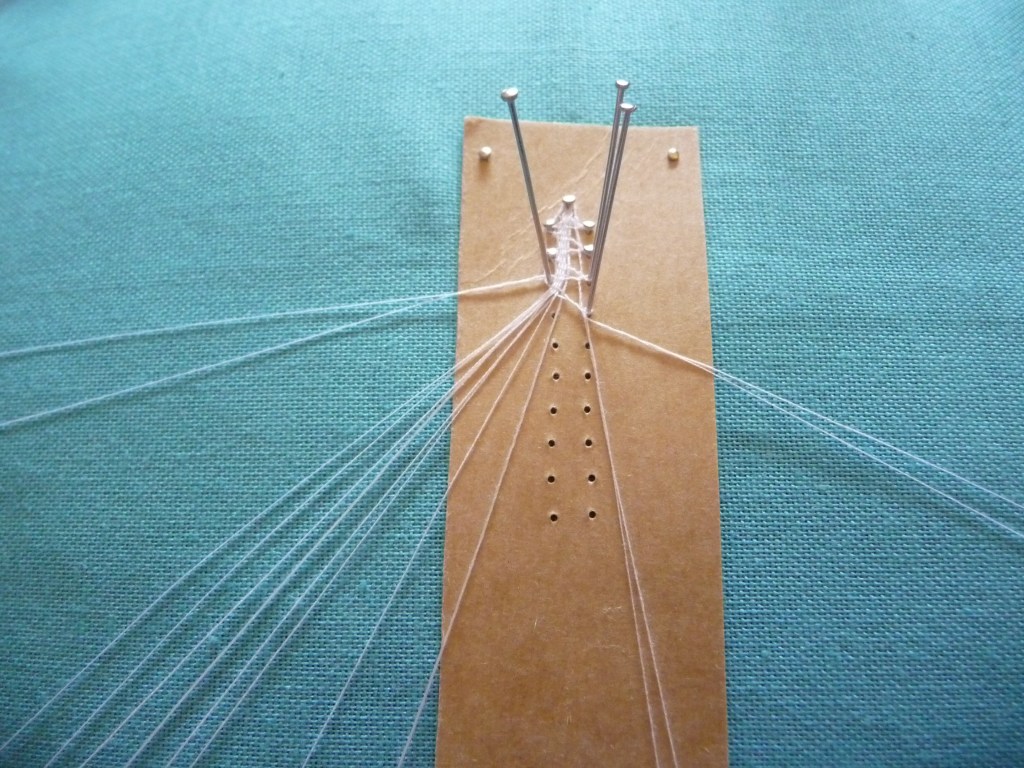
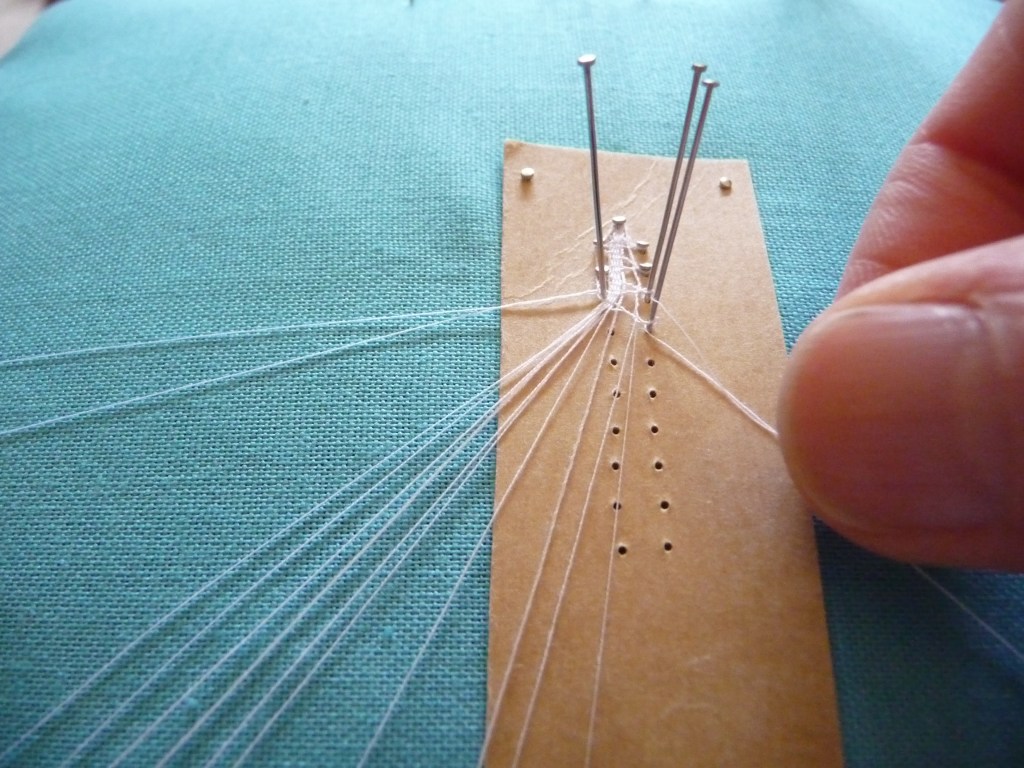
8. Work through the coarse pair in whole stitch and pull up again, then continue through the downrights in whichever stitch your trail demands.
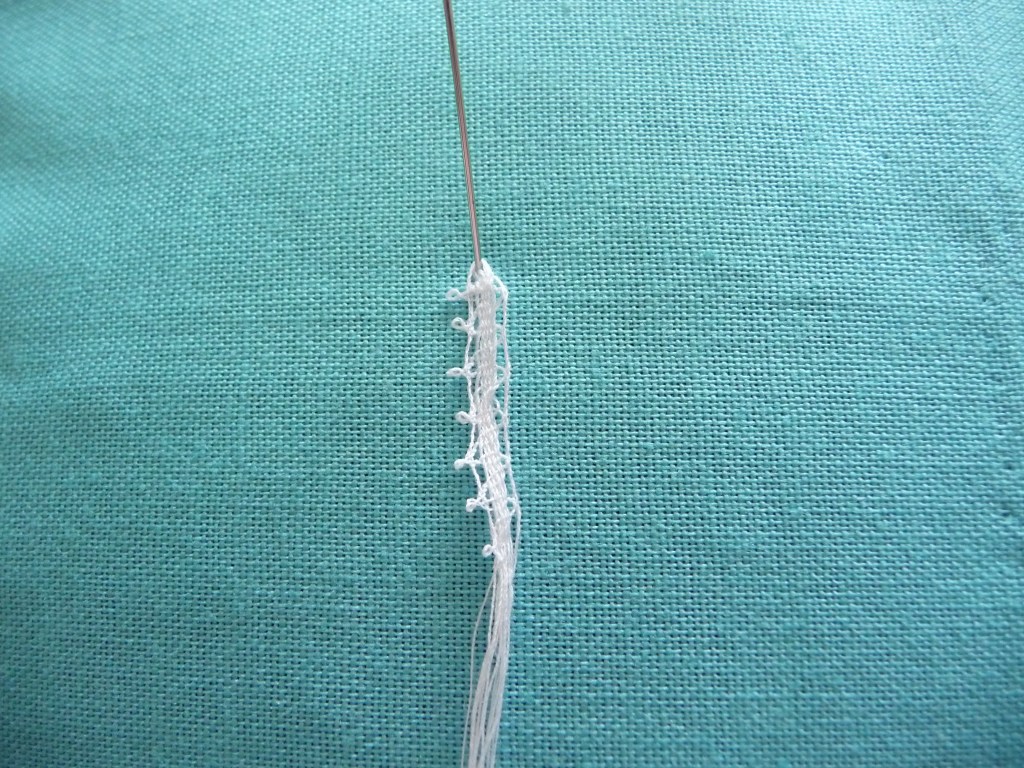
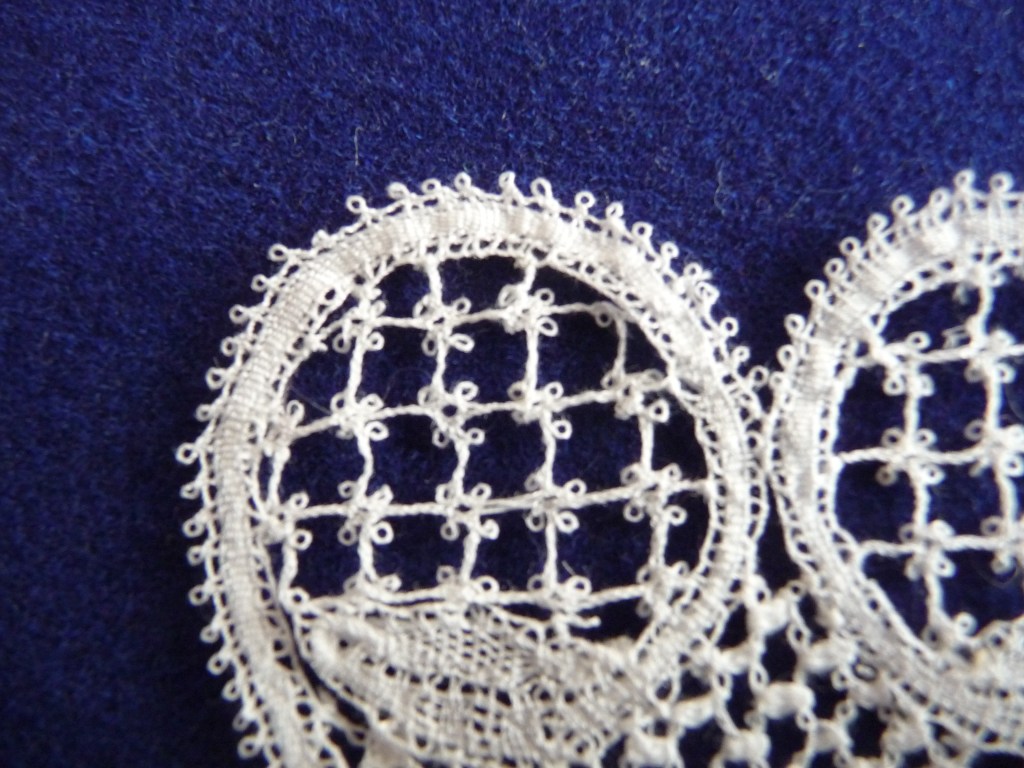
Ta dah! Neat, well behaved perls.


Leave a comment